User Manual
42
•
It is possible to change the area number from 1 to 4. Click the icon Area analysis with the touch pen repeatedly can add area on the screen
with the maximum number limitation as 4; or repeatedly press “OK” and then “Menu” when icon “Area analysis” is highlighted to add area on
the screen with the maximum number limitation as 4.
•
Press button C to exit and return to the live or frozen or save image.
Isotherm Analysis
•
Isotherm Analysis can be performed on live or zoomed or frozen or saved images.
•
In live or zoomed images, bring up the main menu, press “Tools” and then select option “Isotherm” under submenu “Analysis” either by the
touch pen or by pressing the buttons.
•
In frozen images, bring up the frozen toolbar with the touch pen or buttons. Click the icon “Isotherm analysis” with the touch pen to select it.
Or press “OK” to highlight the icon Isotherm analysis first and then press “Menu” to select it.
•
In saved images, isotherm analysis can be done when the images are replayed. Bring up the replay toolbar with the touch pen or buttons.
Click the icon “Isotherm analysis” with the touch pen to select it; or press “OK” to highlight the icon Isotherm analysis first and then press
“Menu” to select it.
•
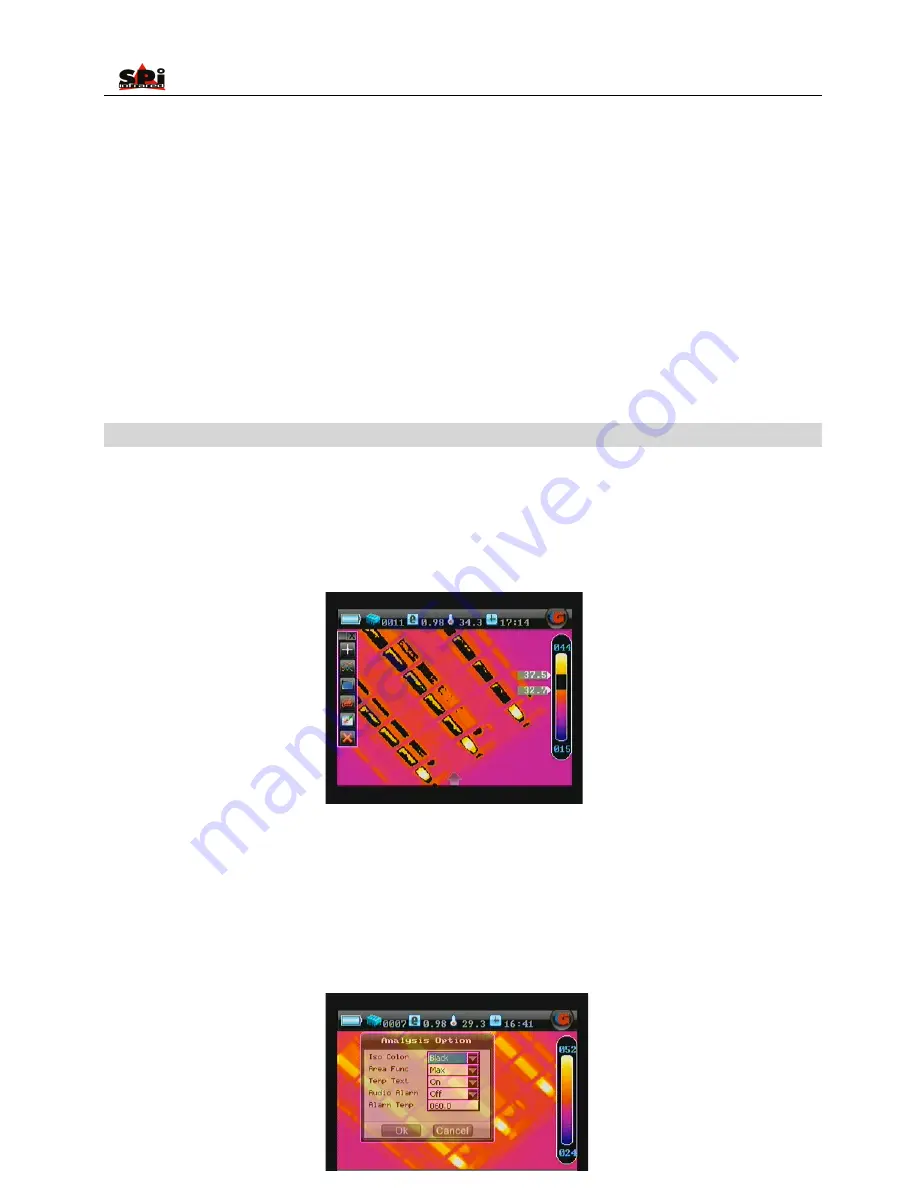
Move the button “Up” or “Down” to set the maximum temperature of the isotherm band, “Left” or “Right” to set the minimum temperature of
the isotherm band.
•
There are three isotherm colors to choose from, black, green and white. This is done by setting the value of sub-option Iso Color in option
Analysis under submenu Setup and then choosing button OK to confirm the setup.


