Procedure
1. Select the "Plant1" folder in the tree view.
2. Select "Picture(2)" in the detail view.
3. Press the <DEL> key.
The "Delete" message dialog opens.
4. Click "Yes".
The picture is deleted.
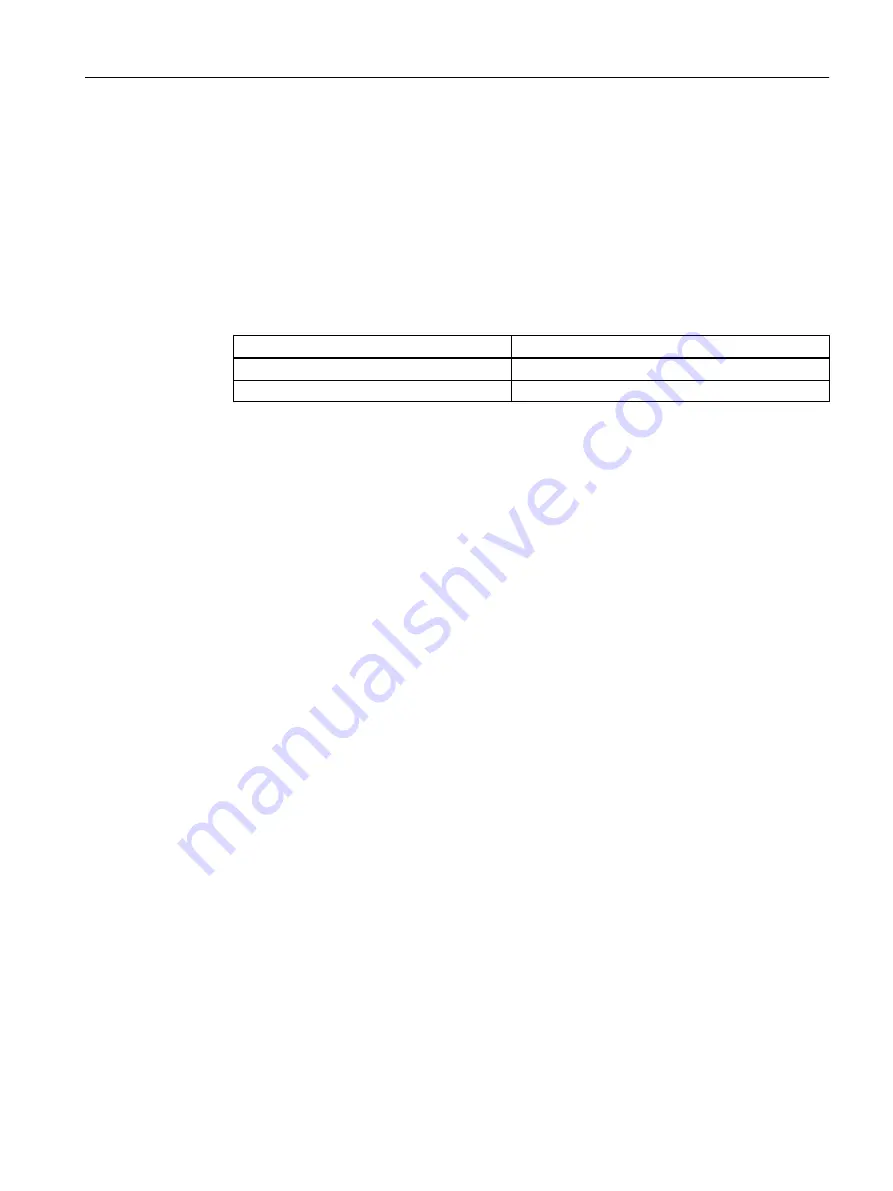
5. Repeat steps 1 through 4 for the following folders in the plant hierarchy:
Name of the Folder
Name of the Picture
FC111
Picture(4)
ADDIT
Picture(5)
9.4.2.3
Creating block icons
Prerequisites
● The color_gs project is open in SIMATIC Manager.
● The Plant View is activated.
● The option for creating block icons is selected.
You can find information about these settings in the section "How to Work with Picture
Procedure
1. Select the "color_gs_prj_MP\color_gs_prj_Prj\Plant1\ RMT1" folder in the tree view.
2. Select Options > Plant Hierarchy > Create/Update Block Icons....
The "Create/update block icons" dialog box opens. The list contains the pictures for which
block icons have been created. In this Getting Started document, the picture is called
"Plant1\RMT1\RMT1".
Configuring the operator station
9.4 Working in the SIMATIC Manager
PCS 7 SMART Getting Started - Part 1 (V9.0 with APL)
Getting Started, 12/2017, A5E42181435-AA
145


