04/99
Configuring Event Messages
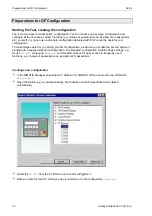
Getting Started with C7-621-AS-i
43
Configuring Event Messages
In the previous steps you could test the functioning of your system. What you still need is information on
the current operation of your system - the so-called event messages. For example, you want a message
to be displayed on the OP when you switch the system on.
Defining communication areas
So that the PLC can communicate with the OP, you must define data areas which can be accessed by
both sides. This is done via the
Area Pointers
dialog box.
Select this dialog box via
System
→
Area Pointers
in the menu bar.
You know that you want to configure screens with variable values (input, output) and messages. For the
variables you do not need a special data area, but for the messages you need a data area for event or
fault messages.
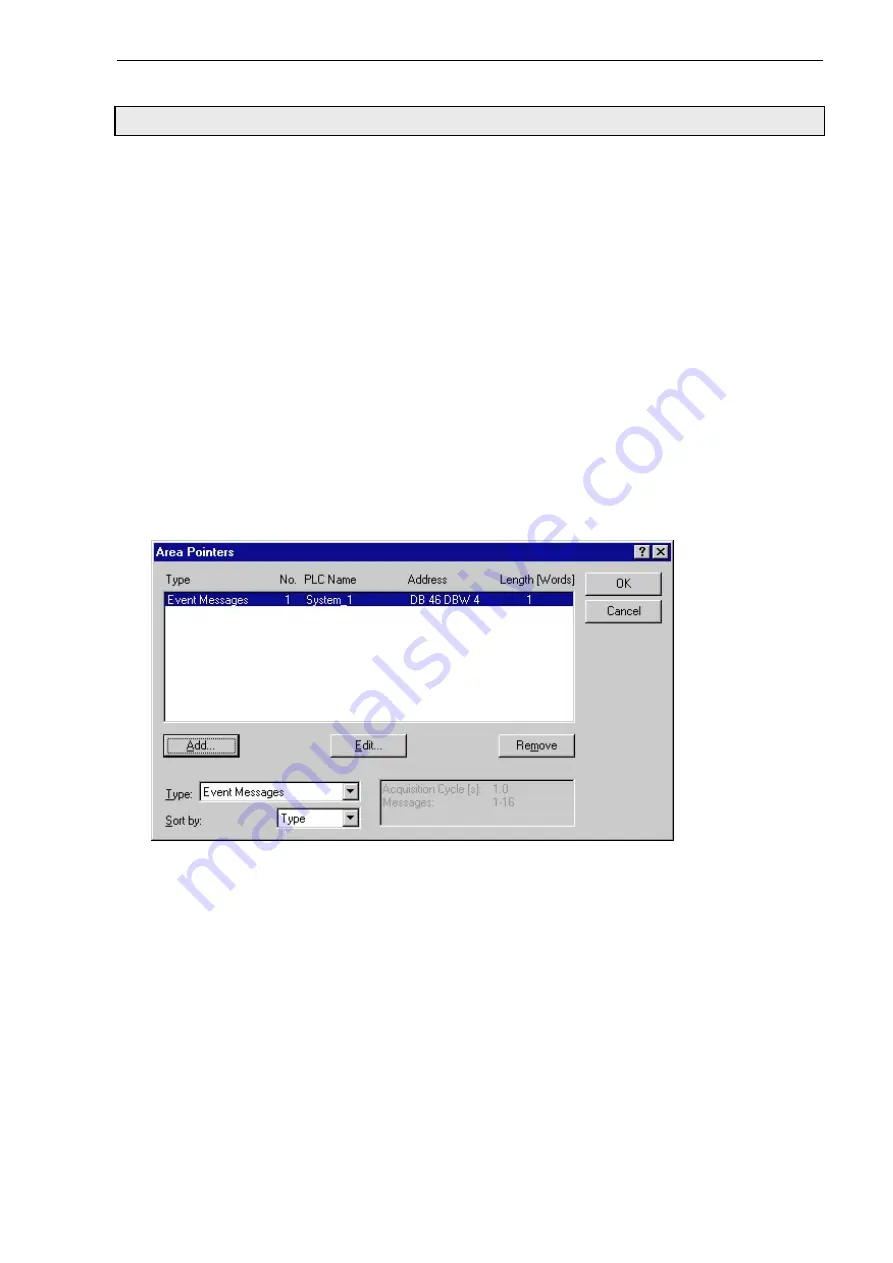
Because with the C7-621 you cannot configure fault and event messages differently, select under
Type
: in the
Area Pointers
dialog box the entry
Event Messages
. Then click on the
Add…
button.
The
Event Messages
dialog box appears, in which you configure the message area as follows:
As the address, enter for
DB:
46
, for
DBW
: 4, and for
Length:
1. Under
PLC name
select
System_1
.
Click on
OK
to quit the
Event Messages
dialog box and return to the
Area Pointers
dialog box.
Once you have made your entries, close the dialog box by clicking on
OK
. Your entries will be saved
automatically.
Now you can proceed with the actual configuring of your screens and messages.
Configuring event message texts
Open the Message Editor with the menu item
Insert
→
Message
→
Event Message
.
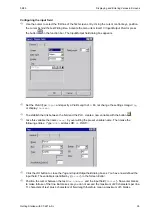
Now configure four messages numbered 001 through 004, e.g.
System ON, Fault in parcel
sequence, Fault in parcel stop
and
Optical Bero ON.
Содержание simatic c7-621
Страница 2: ......
Страница 20: ...Programming Preparations 04 99 20 Getting Started with C7 621 AS i ...
Страница 55: ...04 99 Program Example Getting Started with C7 621 AS i 55 ...


