14
14
SETUP CMT-240-K
h
RS485 Setup
Caution
Press only the
Communication Rate
button
on the RS485 Setup display.
If this is not done, the unit may not work properly.
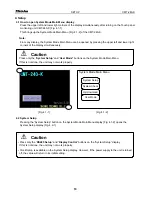
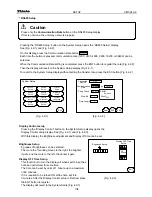
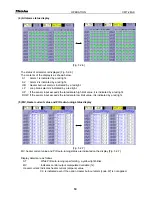
Pressing the “RS485 Setup” button on the System Setup opens the “RS485 Setup” display.
See [Fig. 4.2-1] and [Fig. 4.2-2].
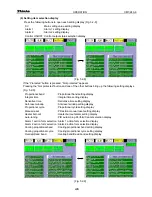
On this display, press the Communication Rate button .
Each time the button is pressed, communication rate (1200, 2400, 4800, 9600, 19200 or 38400) can be
selected.
When the Communication Rate setting is completed, press the ENT button to register the rate [Fig. 4.2-2].
Then the display will revert to the System Setup display [Fig. 4.2-1].
To revert to the System Setup display without setting the transfer rate, press the ESC button [Fig. 4.2-2].
[Fig. 4.2-1].
[Fig. 4.2-2].
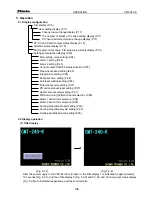
Display Control setup
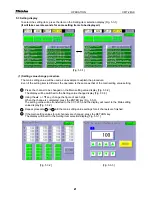
Pressing the “Display Control” button on the System Setup display opens the
Display Control setup display. See [Fig. 4.2-1] and [Fig. 4.2-3].
With this display the Brightness adjustment and Display off time can be set.
Brightness Setup
8 grades of brightness can be selected.
The more the
*
marking moves to the right, the brighter
it gets, and the more to the left, the darker it gets.
Display OFF Time Setup
This function is to turn the display off when switch input has
not been performed for some time.
The time can be set by units of 1 minute up to a maximum
of 60 minutes.
If it is required to be turned ON all the time, set it to
0 minutes. After the Display Control setup is finished, press
[Fig. 4.2-3]
the ENT button to register.
The display will revert to the System Setup [Fig. 4.2-1].
System Setup
RS232C
Setup
RS485
Setup
HostCommand
Setup
Clock
Setup
Switch
Setup
Display
Control
Display
Direction
Error Disp
Setup
Printer
Setup
RAM File
Setup
System
Language
End
Connected
Device
ENT
PLC
Detail
ESC
Communication
Rate
19200 bps
RS485
Parity Check
EVEN
Stop Bit
1
Data Length
7
RS232C
Not Used
RS485
PLC
ENT
Brightness Setup
Display OFF Time
Setup
0
min.


