40
DV-NC55U/C/M
From (2)
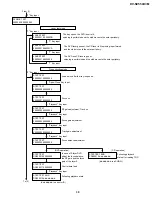
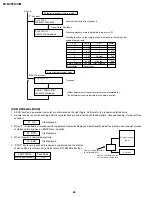
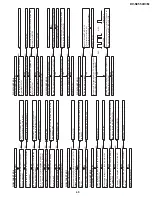
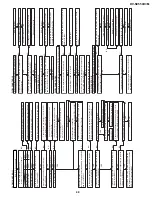
PLAY TEST
30000001 00000000
PLAY TEST
DD000303
~~~~~~~~
SPIN OFFSET
"3" Key input
"MENU" Key input
"Open/Close" Key input
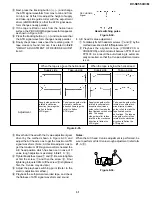
Load a disc after the tray is opened.
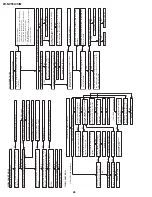
Following playback state (
~~~~~~~~
is a sector ID)
Pressing the keys on the remote control mentioned in the table below
enables the test jump.
Tray open.
ADJUST COMPLETE
00000000 0000
~~~~
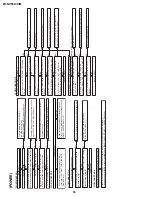
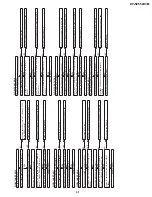
Following playback, jump test mode
Spin offset adjustment mode
1
-1
3
1
4
-102
6
102
7
-510
9
510
C
-511
M
511
2
-765
Repeat
765
5
-766
A-B
766
8
-7000
Program
7000
Before skipping.
-15000
After skipping.
15000
Next replay Layer Jump
Key
Jump
Key
Jump
(Offset adjustment of the spindle is executed automatically.)
The adjustment result is indicated in the
~~~~
section.
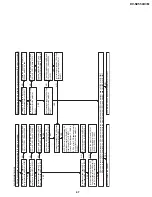
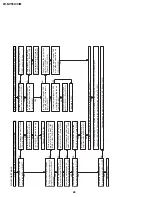
[ROM RENEWAL MODE]
1. A DVD itself and a personal computer are articulated as the right figure. Software for the renewal is started more.
2. A power source is put with pushing a DVD's own playback key and a halt key at the same time. (It keeps pushing it for about three
seconds.)
3. When "Y" is inputted in accordance with the personal computer display and data transfer indication is shown and renewal process
is started normally when an ENTER key is pushed.
4. When renewal is completed normally.
5. "STOP" key is surely pushed if renewal is completed and the display
of above NO.4 is confirmed.It is made to turn off POWER after that.
R : OK
It is displayed.
W : STR
It is displayed.
W : END
It is displayed.
Personal computer
(DOS)
DVD itself
DIGITAL It is articulated to the
OUT terminal connection child.
Fixture for the ROM renewal
(RUNTK0808GEZZ)
PART CODE
Price Code
RUNTK0808GEZZ
CD
Содержание DV-NC55C
Страница 75: ...75 DV NC55U C M M E M O ...
Страница 82: ...88 DV NC55U C M A B C D E F G H I J 1 2 3 4 5 6 7 8 9 10 13 3 VTR DISPLAY CIRCUIT SCHEMATIC DIAGRAM ...
Страница 91: ...103 DV NC55U C M 10 11 12 13 14 15 16 17 18 19 A B C D E F G H I J 1 2 3 4 5 6 7 8 9 10 Wiring Side SIDE A ...
Страница 93: ...105 DV NC55U C M 10 11 12 13 14 15 16 17 18 19 A B C D E F G H I J 1 2 3 4 5 6 7 8 9 10 Wiring Side SIDE B ...
Страница 98: ...110 DV NC55U C M A B C D E F G H I J 1 2 3 4 5 6 7 8 9 10 POWER PWB Component Side SIDE A Wiring Side SIDE A ...
Страница 100: ...112 DV NC55U C M A B C D E F G H I J 1 2 3 4 5 6 7 8 9 10 INTERFACE PWB Component Side SIDE A Wiring Side SIDE A ...
Страница 106: ...122 DV NC55U C M A B C D E F G H I J 1 2 3 4 5 6 7 8 9 10 M E M O ...
Страница 127: ...Ref No Part No Description Code Ref No Part No Description Code 143 DV NC55U C M ...

