13
DV-NC55U/C/M
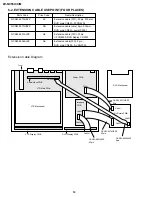
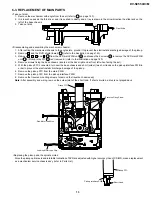
<Replacing the pickup and the spindle motor>
Since the pickup optical axis and turntable inclination of DVD are adjusted with higher accuracy than of CD/MD, make a replacement
as a mechanism service chassis ass'y (refer to Parts List).
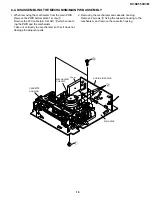
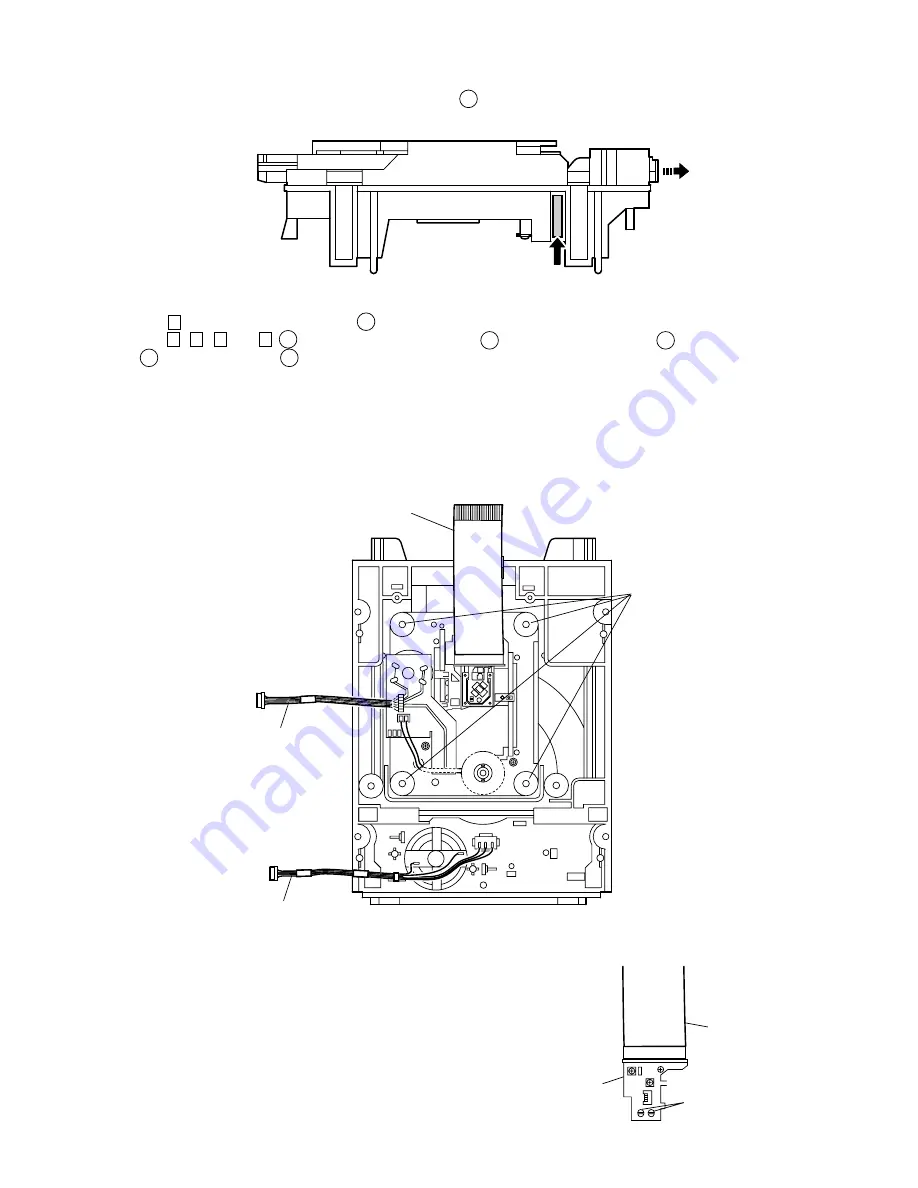
Front Side
Sled Motor Lead Wire
Pickup FFC
Traverse Fixing Screw
Loading Motor Lead Wire
Pickup interface PWB
Pickup FFC
Short Land
6-3. REPLACEMENT OF MAIN PARTS
<Take out disk>
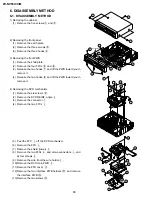
1. Remove the mechanism with angle from the set (refer to 35 on page 140).
2. It is in such cases as the thin driver, and it is pushed in slowly, and a tray is drawn in the arrow direction the slide rack on the
left of the base chassis.
3. Take out disk.
<Disassembling and assembling the mechanism chassis>
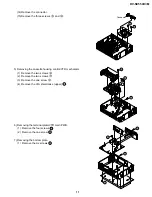
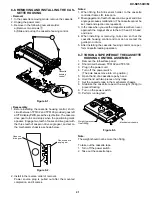
1. After setting the mechanism chassis to the angle state, ground it to prevent the electrostatic discharge damage of the pickup.
2. Remove S and the DVD shield (lower) 56 (refer to the illustration on page 140).
3. Remove P , Q , Z and R 83 from the DVD main PWB unit 68 , and loosen the 4 screws 45 to remove the DVD main PWB
unit 68 . (Pickup relay FFC 74 isn't removed.) (refer to the illustration on page 140)
4. Remove screws fixing the base chassis (located at the back right and at front left when facing the set).
5. With the pickup FFC connected, turn over the base chassis and short (solder) two short lands on the pickup interface PWB in
order to prevent the electrostatic discharge damage of the pickup.
6. Remove the pickup FFC from the main PWB.
7. Remove the pickup FFC from the pickup interface PWB.
8. Remove the traverse mounting screws to remove the traverse chassis ass'y.
Note: After assembly and wiring, remove the solder joint of the short land. If short-circuited, a disk is not played back.
Содержание DV-NC55C
Страница 75: ...75 DV NC55U C M M E M O ...
Страница 82: ...88 DV NC55U C M A B C D E F G H I J 1 2 3 4 5 6 7 8 9 10 13 3 VTR DISPLAY CIRCUIT SCHEMATIC DIAGRAM ...
Страница 91: ...103 DV NC55U C M 10 11 12 13 14 15 16 17 18 19 A B C D E F G H I J 1 2 3 4 5 6 7 8 9 10 Wiring Side SIDE A ...
Страница 93: ...105 DV NC55U C M 10 11 12 13 14 15 16 17 18 19 A B C D E F G H I J 1 2 3 4 5 6 7 8 9 10 Wiring Side SIDE B ...
Страница 98: ...110 DV NC55U C M A B C D E F G H I J 1 2 3 4 5 6 7 8 9 10 POWER PWB Component Side SIDE A Wiring Side SIDE A ...
Страница 100: ...112 DV NC55U C M A B C D E F G H I J 1 2 3 4 5 6 7 8 9 10 INTERFACE PWB Component Side SIDE A Wiring Side SIDE A ...
Страница 106: ...122 DV NC55U C M A B C D E F G H I J 1 2 3 4 5 6 7 8 9 10 M E M O ...
Страница 127: ...Ref No Part No Description Code Ref No Part No Description Code 143 DV NC55U C M ...


