LISST-
Tau User’s Manual
Introduction and Tutorial
Page 3
and start menu. Do not remove the memory card from your computer
until the installation is complete.
4: Start LISST-
Tau Application
and Establish
Communication
with the LISST-
Tau
Start the LISST-Tau software by selecting the shortcut the installer
placed on your desktop. Upon starting the LISST-Tau software will
attempt to automatically detect a serial port that is connected to a
LISST-Tau.
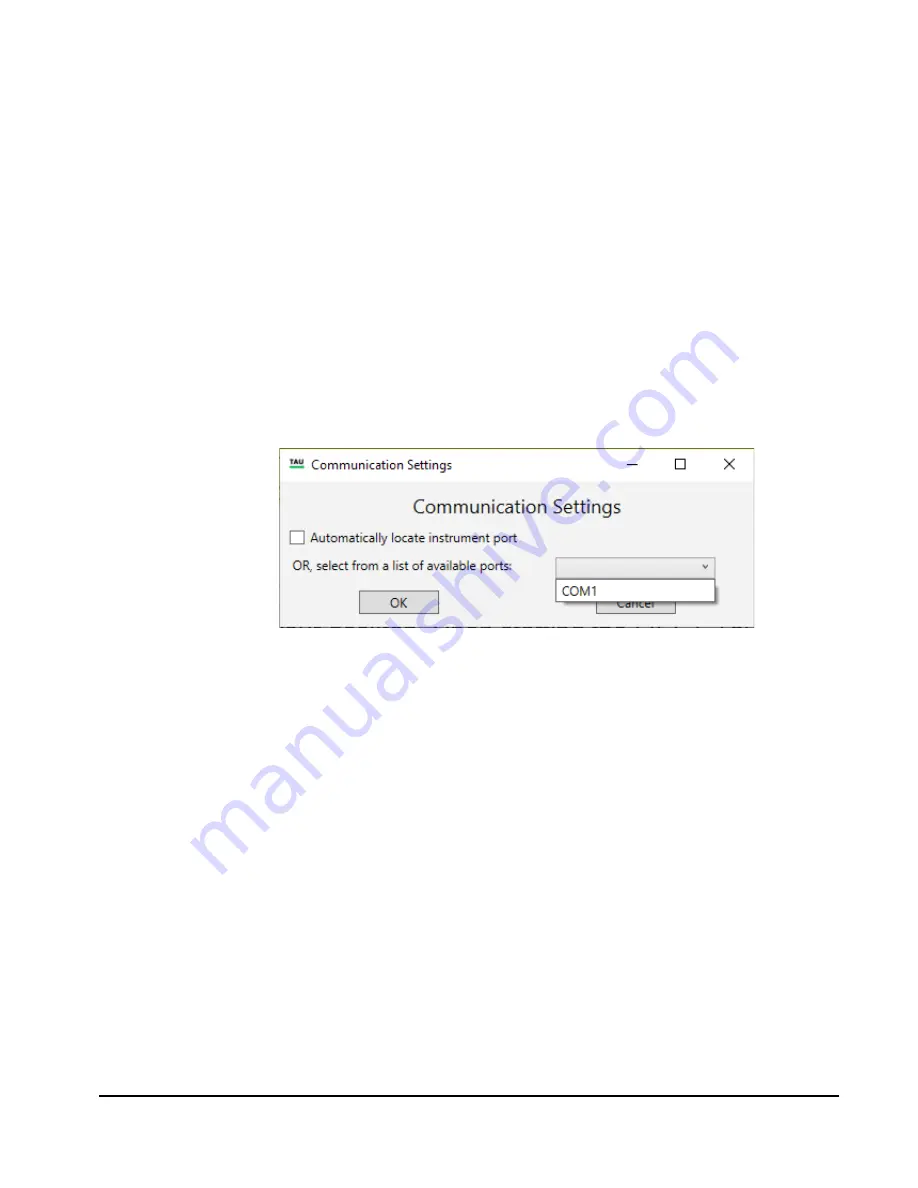
If a port is not automatically detected when the program starts or if you
have multiple LISST-Tau instruments connected to the PC you can
manually select the serial port by clicking on the Settings icon (Gears)
in the lower right corner of the window and choosing Communications
Settings. The short cut to Communications Settings is Ctrl-R. Uncheck
the Automatically locate instrument port and select from the list of
available ports in the drop-down list. It is possible to open multiple
copies of the LISST-Tau software to simultaneously communicate with
multiple instruments.
5: Verify
Operation
After connecting to the LISST-Tau, the software begins displaying the
beam attenuation, updated every second. You can also switch the
display to show transmission rather than attenuation. If the instrument
is in air, the beam attenuation may be negative, or the transmission
greater than 100%. These readings would be nonsensical in water, but
are normal in air, since air has less attenuation than water.
If you block the beam, you should see the transmission drop to near
zero, or the attenuation to go to a very high value.
6: Clean
windows
For a quick cleaning, rinse the windows with lukewarm water and a
mild soap solution (e.g. hand soap, liquid dish soap) and then rinse off
all soap residue with clean, particle free water such as deionized
water, distilled water or bottled purified drinking water. The windows
can also be wiped clean with a soft cloth (e.g. a lens cloth) or glass
cleaner. Do NOT use stronger solvents such as acetone or toluene,
and DO NOT use any abrasive cleaner or wipes. Treat the windows as
you would an expensive camera lens.
More detailed instructions for cleaning the windows can be found on
page 13.


