Assembly
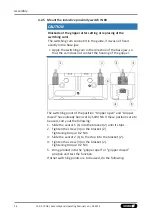
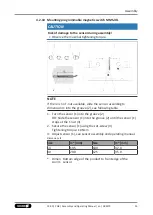
4.2.14 Mount the analog position sensor APS-M1
To be able to mount the sensor, the gripper has to be retrofitted
with a special mounting kit.
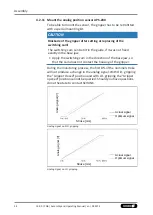
CAUTION
Blockade of the gripper after setting or replacing of the
switching cam!
The switching cam can be tilt in the guide, if it was not fixed
exactly in the base jaw.
•
Apply the switching cam in the direction of the base jaw, so
that the cam does not contact the housing of the gripper.
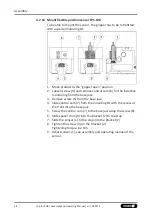
1. Move product to the "gripper open" position.
2. Loosen screw (4) and remove control cam (6) for the inductive
monitoring from the base jaw.
3. Apply adhesive to the top and sides of the control cam (6) from
the mounting kit.
✓
Make sure that there is no adhesive on the bottom of the
control cam (6), which comes into contact with the sensor.
✓
SCHUNK recommends the adhesive Loctite 290 or 638.
4. Slide control cam (6) out of the mounting kit front into the base jaw.
✓
Ensure that the higher front side of the control cam (6) is
pointing outwards.
5. Tighten screw (4) slightly.
6. Turn the screw (5) to push the position of the control cam (6).
7. Tighten screw (4) and in doing so press the control cam (6) in
the direction of the gripper finger.
8. Slide the sensor (1) to the stop into the bracket (2).
9. Tighten the screw (3) on the bracket (2).
Tightening torque: 0.2 Nm
10. Adjust sensor (1), see assembly and operating manual of the sensor.
39
13.00 | PGB | Assembly and Operating Manual | en | 389275
Содержание PGB
Страница 1: ...Original operating manual Assembly and Operating Manual PGB 2 finger parallel gripper with center bore...
Страница 50: ......
Страница 51: ......

