


User Guide
27
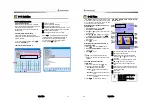
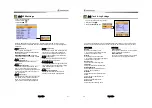
3-4-13 Tracks Settings in the chart window.
For tracks setting in the chart window,
press and hold
. (See 4-5 Track
Setting)
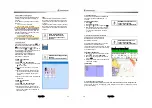
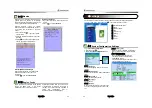
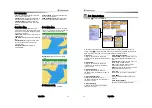
3-5 Video
It
’
s available to use video function when it
’
s connected to Camera.
Please follow below process in order to this video function.
1 Press
long then select system setting.
2 Select additional function then select Video.
3 Press
를
then press
를
then selcect video or press .
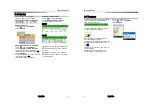
3-5-1 Options
Brightness: : Enable to control brightness.
Contrast : Enable to control contrast.
Saturation : Enable to control saturation.
Color : Enable to control color.
Default: : set default.
Data bar: Please refer Compass(2-7)
User Guide
28
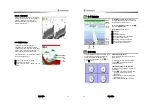
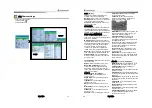
3-6 Sonar
It is available to use a sonar function when this equipment is connected to an depth
transducer.
Please refer the following process to use Sonar.
1 Press
button longer and set system section.
2 Please add the page and select Sonar.
3 Press
button and press
button on the main page and then select Sonar or
press button.
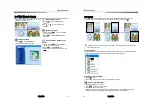
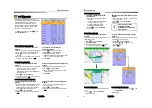
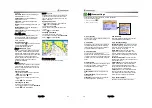
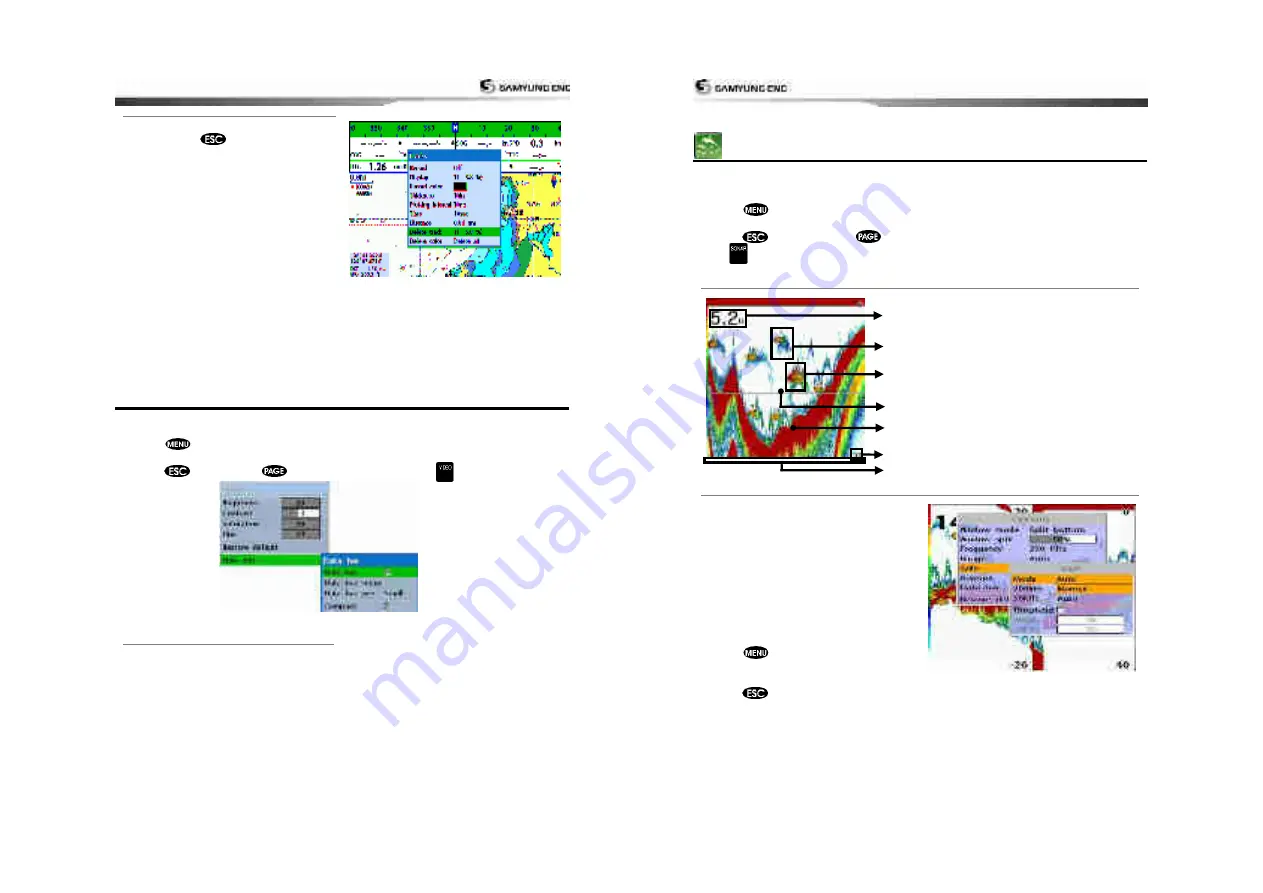
3-6-1 Interpreting the display
Depth
Single fish : Fish symbols with depth.
School of fish
Depth line
Bottom : Hard bottoms such as rock
and coral shown as wide bands. Soft
bottoms such as mud, weed and sand
show as narrow bands.
Range of display
Data from right to left.
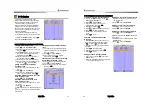
3-6-2 Mode
There are two options you can select.
•
Auto-mode: This is the most commonly
used option. In this mode, settings are
automatically adjusted for the best
display of fish and bottom according to
environment.
•
Manual Mode: Use this option for manual
setting. The option might bring you best
result for your purpose.
To change a mode;
1 Press
then select Gain.
2 Select Mode then choose Manual or Auto
mode.
3 Press
to exit until returning to the
chart window.
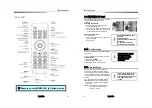
⑦
①
②
③
④
⑤
⑥
⑥
⑦
⑧
②
⑨
④
Содержание N5100
Страница 1: ...User Guide 1 User Guide 2...
Страница 33: ...User Guide 65 User Guide 66...