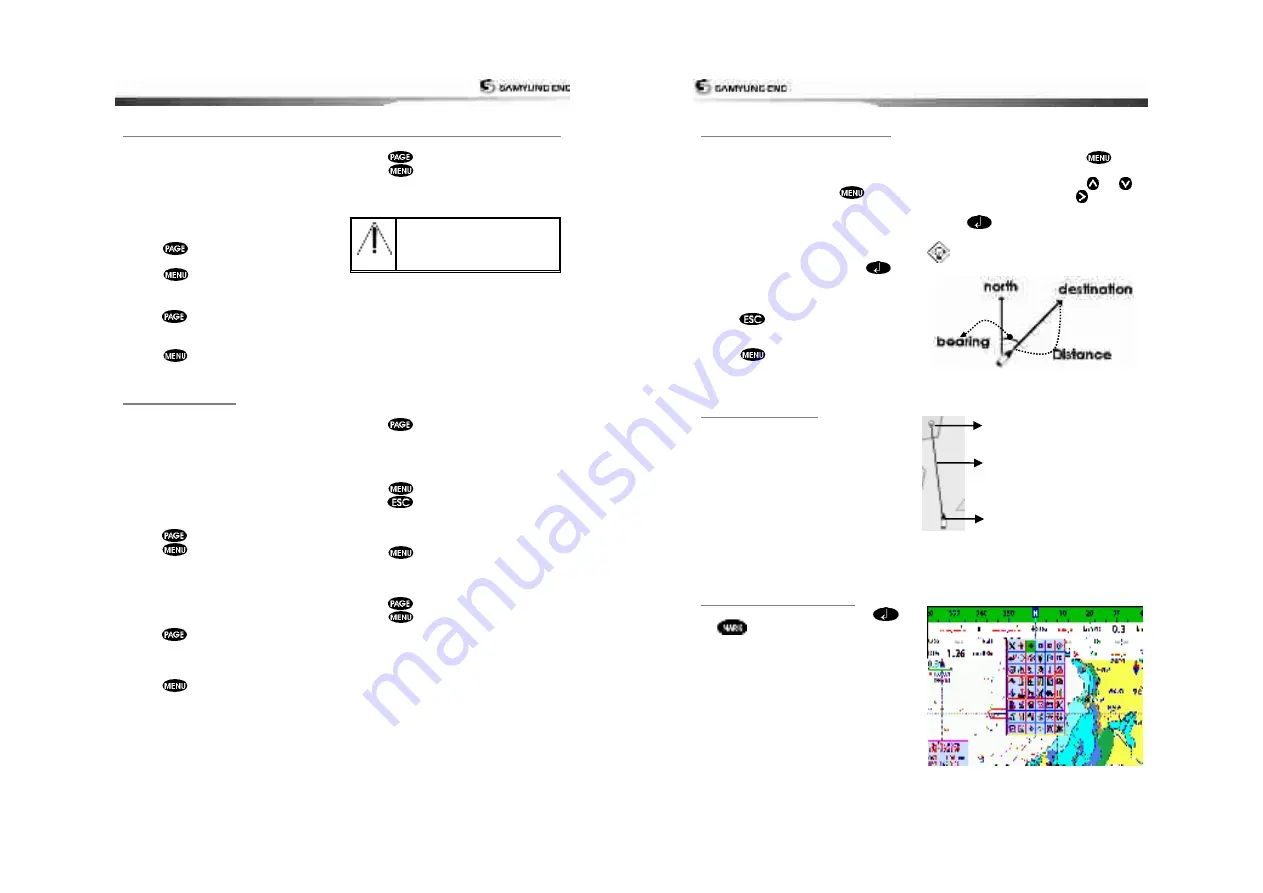
User Guide
25
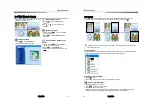
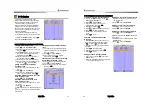
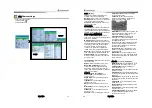
3-4-8 Going to a waypoint or to a point on the chart
A waypoint is a particular location on a
voyage whether it is a starting, intermediate
or destination point. A waypoint is the
simplest piece of information your equipment
requires to get you to a destination. In the
shortest distance possible. This unit can save
up to 10,000 waypoints.
Go to Cursor Option
1 Press
and select the
Chart
window.
2 Move the cursor to the destination point.
3 Press
and select
Go to cursor
to
start navigating.
Goto WPT Option
1 Press
and select the
Chart
window
2 Move the cursor to place cursor on a
waypoint.
3 Press
and select
Goto WPT
to start
navigating.
Cancelling navigating
1 Press
and select the
Chart
icon.
2 Press
and select
Cancel Goto
.
Make sure the course does
not pass over land or
dangerous waters.
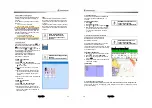
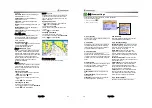
3-4-9 Following a route
Often a trip from one place to another
involves several course changes, requiring a
series of route points (waypoints) which you
navigate to, one after another. The sequence
of waypoints leading to the ultimate
destination is called a route. You can save up
to 100 routes and a route may consist of 100
waypoints.
.
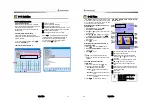
Start Route Option
1 Press
and select the chart window.
2 Press
and select
Start Route
.
3 Move cursor keys to select a route to start
navigating.
4 Select
Forward
or
Reverse
to decide
which direction you want to navigate.
Route Window Option
1 Press
and select the routes window
2 In the route window, mover the cursor to
highlight a route you want to start
navigating to.
3 Press
and select
start
4 Select
Forward
or
Reverse
to decide
which direction you want to navigate.
Create Route Option
1 Press
and select the chart window.
2 Select
New route
.
3 Name a route name.
4 Move cursor keys to select a waypoint.
(Repeat this step as much as you need)
5 Press
and select
Add
.
6 Press
.
7 Repeat 2-4 steps of Route window option.
Skipping a waypoint
1 Press
and select
Skip
.
2 Repeat above step if necessary.
Cancelling a route
1 Press
and select the chart window.
2 Press
and select
Cancel route
.
User Guide
26
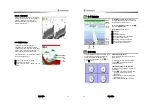
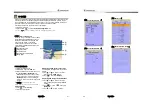
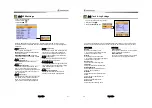
3-4-10 Distance and bearing calculator
The unit can show the bearing and the length
of leg and the total distance of legs.
Setting Legs
1 In the chart window, press
and
select
Distance
. Information is displayed
on window showing bearing/leg
distance/total distance at bottom pop up
at the bottom left side
2 Move the cursor to the start point which is
start point of first leg and press
.
3 Move the cursor to a point which is the end
of first leg.
4 Repeat 2-3 steps for more legs.
5 Press
to exit.
Deleting the last leg
1 Press
and select
Remove
.
2 Repeat above step if you want to remove
more legs.
Saving as a route
1 Once you set all the legs, press
and
select
Save
.
2 Enter a route name by pressing
or
to select a letter then press
for next
letter.
3 Press
to save the new route.
Tip:
Bearing and distance
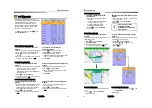
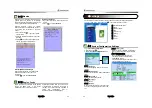
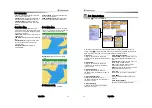
3-4-11 Projected course
The projected course shows you how far it
can go at give time and speed.
This function is very useful to avoid collusion
with other vessels.
3-4-12
Finding a chart symbol
In the chart window, press and hold
Or
then select destination chart
symbol.
Projected position
Boat’s projected course
Boat position
Содержание N5100
Страница 1: ...User Guide 1 User Guide 2...
Страница 33: ...User Guide 65 User Guide 66...


