User Guide
11
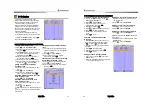
2-1 Installation
The chart plotter is supplied with bracket and flush mounting kit. You can choose a method of
installation according to your preference.
2-1-1
Bracket Mounting
Before installing ensure the area the bracket is mounted to is strong enough to support the
weight of the GPS chart plotter. After the location is found, attach the mounting base to the
area using the supplied hardware.
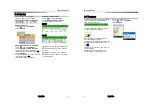
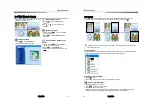
Mounting the display Unit:
1
Hold the display unit and find a groove
joint between the display unit and
bracket.
2
Gently push the display unit into the
groove of bracket
3 Turn the knob to clockwise to lock.
Removing the display unit:
1 Turn the unit off
2 Turn the knob to counter clockwise and
pull the display unit out.
.
2
Getting Started
User Guide
12
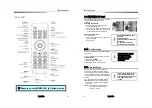
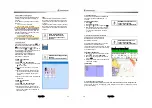
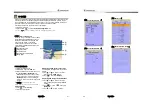
2-2 Keys
[FRONT]
Mark
–
Indication for makring in Menu
MOB
–
Indication for the destination of boat
Control of brightness
Convert screen
Track
–
Tracking selection
GOTO
–
Movement to destination
Menu
–
Indication for the option in the screen
-
Zoom out to multiple chart
Page
–
Indication for the favorite page
-
Zoom in to multiple chart level
Move
–
Movement in a map, check records
Enter
–
Selection for the option
ESC
–
Escape or moving to previous page
WPT
–
Creating the waypoints
Power
–
Turn on /off
CHART
–
Movement to map
SONAR
–
Movement to fish finder
DATA
–
Movement to Data
NAV.
–
Movement to Highway
VIDEO
–
Movement to Video
Содержание N5100
Страница 1: ...User Guide 1 User Guide 2...
Страница 33: ...User Guide 65 User Guide 66...


