•
Format : Select a device and click on format after which a format confirmation window appears.
Click on the <
OK
> button to format the selected storage device.
J
`
Formatting will delete all the recording data that has been saved. Be careful.
`
While formatting is ongoing, you cannot record video.
`
Do not remove a formatting device until it is finished.
•
HDD Map : You can check the location according to the assigned number for the HDDs installed inside.
`
Refer to this when servicing or installing an additional HDD.
HDD Alarm Setting
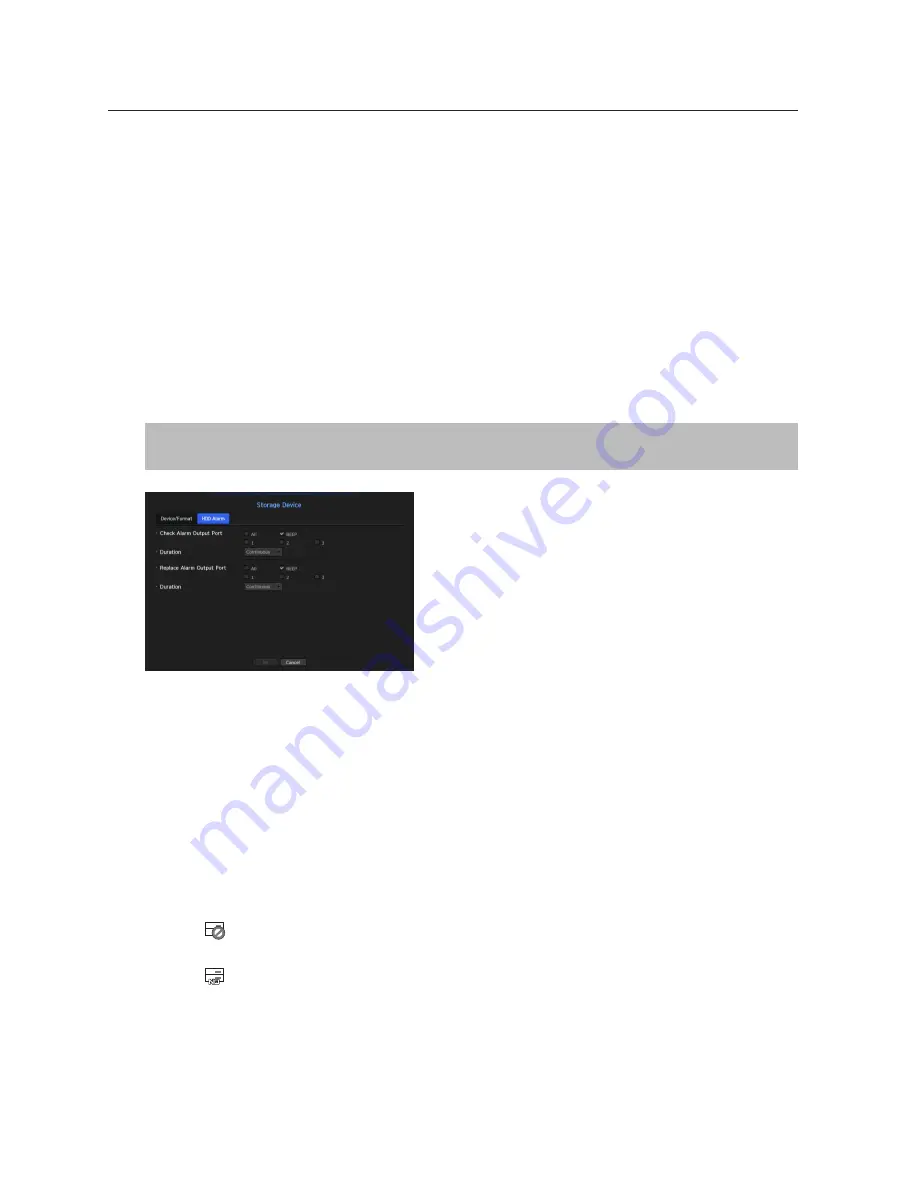
You can set the inspection alarm output terminal, the replacement alarm output terminal and the alarm time for
HDD defects.
[
MENU
]
Ö
[
ENTER
]
Ö
▼
Ö
<
Menu
>
Ö
[
ENTER
]
Ö
▼
Ö
<
Device
>
Ö
►▼
Ö
<
Storage Device
>
Ö
[
ENTER
]
Ö
▼►
Ö
<
HDD Alarm
>
Ö
[
ENTER
]
Ö
▲▼◄►
Ö
[
ENTER
]
• Alarm
- Alarm signal will output through the alarm out port on the rear side when selected <
1
>, <
2
>, <
3
>.
- If <
BEEP
> was selected, a beep will sound.
- If <
All
> was selected, both beep sound and alarm signal through rear side ports will output.
• Check Alarm Output Port : If HDD generates check alarm, the alarm signal will output to the specified alarm
output port.
• Replace Alarm Output Port : If HDD generates replace alarm, the alarm signal will output to the specified
alarm output port.
• Duration : Sets the alarm duration for the alarm signal and beep sound.
M
`
<
Check
> status means that the HDD is operating but it has problems that require technical examination.
(
) appears on the Live screen.
`
<
Replace
> status means that the HDD has defect and requires immediate replacement.
(
) appears on the Live screen.
66_
menu setup
menu setup


