109
6.
Messages for this account display on the Inbox tab. You
can also view Personal information for this account,
Receipts (if you setup the account to return receipts),
Travel information, and more (if available).
7.
Tap
Done
to store the new account.
Important!:
Only some “Plus” accounts include POP access allowing this
program to connect. If you are not able to sign in with your
correct email address and password, you may not have a paid
“Plus” account. Launch the Web browser to access your
account.
Opening an Email
1.
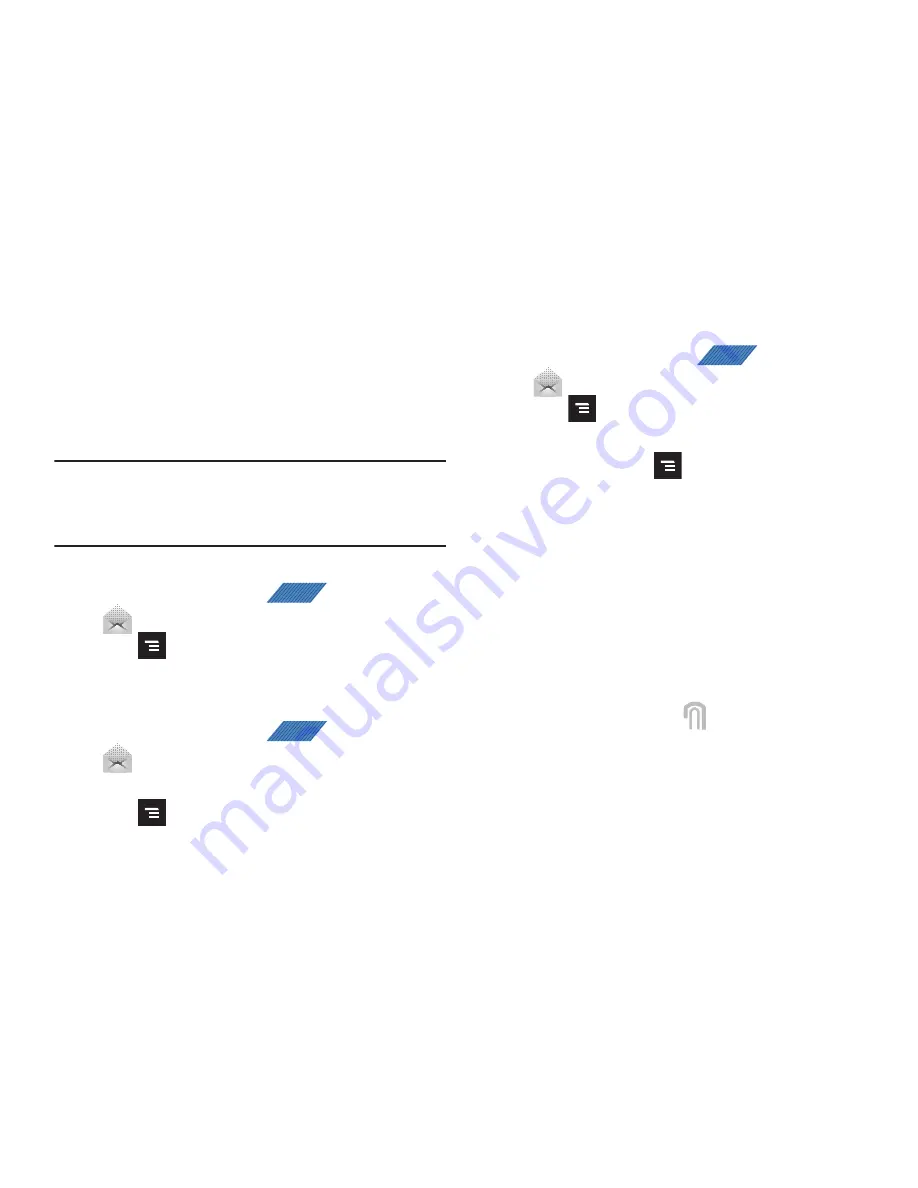
From the Home screen, tap
(
Applications
)
➔
(
).
2.
Press
and then tap
Accounts
.
3.
Select an email account and tap an email message.
Refreshing Email messages
1.
From the Home screen, tap
(
Applications
)
➔
(
).
2.
Select an email account.
3.
Press
and then tap
Refresh
.
Composing Email
1.
From the Home screen, tap
(
Applications
)
➔
(
).
2.
Press
and then tap
Accounts
.
3.
Select an email account.
4.
Tap
Inbox
and press
.
5.
Tap
Compose
.
6.
Enter the message recipient’s email address in the
To
field.
•
If you are sending the email message to several recipients, separate
the email addresses with a comma. You can add as many message
recipients as you want.
7.
Tap the
Cc/Bcc
field to carbon copy or blind copy
recipients.
8.
Tap the
Subject
field and enter the email subject.
9.
Tap the email text field and compose your email message.
•
To add an attachment, tap
(
Attach
) (from the bottom of the
screen) and make a selection.
10.
Once complete, tap
SEND
.
APPS
APPS
APPS


