Rose Point Radar Installation Guide
8
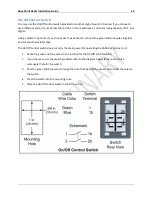
Mounting the Control Box
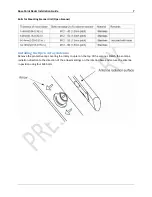
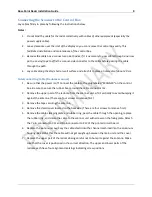
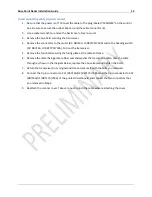
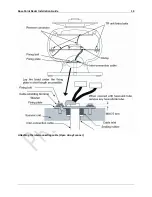
After you have finished installing the scanner unit, install the control box in the same way. Choose the
proper bolt length according to the thickness of the surface on which you are going to install the control
box. Hole diameter is different when using bolts rather than tapping screws. When using tapping screws,
drill appropriately sized holes. When using bolts and nuts, drill holes in diameter of 6 mm (0.24 in.).
Hole positions for the control box
Содержание MDS-51
Страница 13: ...Rose Point Radar Installation Guide 10 Attaching the Cover Radome scanner ...
Страница 14: ...Rose Point Radar Installation Guide 11 Attaching the interconnecting cable Radome Scanner ...
Страница 16: ...Rose Point Radar Installation Guide 13 Attaching the interconnecting cable Open Array Scanner ...
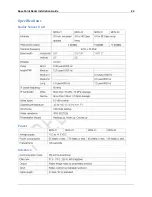
Страница 26: ...Rose Point Radar Installation Guide 23 Specifications Radar Sensor Unit Power Interface ...
Страница 27: ...Rose Point Radar Installation Guide 24 Drawings Interconnection Diagram ...
Страница 28: ...Rose Point Radar Installation Guide 25 RB715A Scanner Unit ...
Страница 29: ...Rose Point Radar Installation Guide 26 RB716A Scanner Unit ...
Страница 30: ...Rose Point Radar Installation Guide 27 RB717A 718A Scanner Unit ...
Страница 31: ...Rose Point Radar Installation Guide 28 MDS 5 MDS 6 Control Box ...


