Galaxy RAID GALHDX-7370S-8+12U4D Installation and Hardware Reference Manual
BBU Installation
2-10
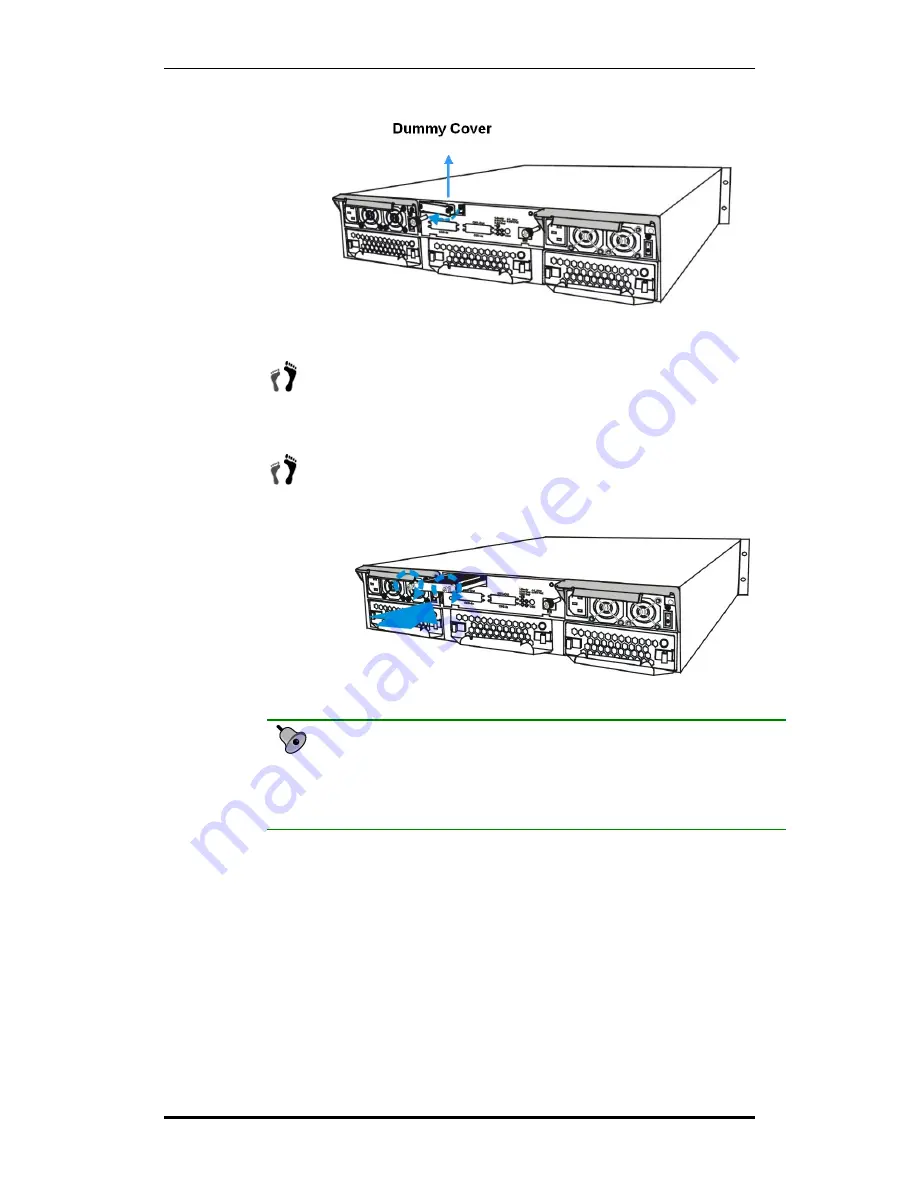
Figure 2-3: Removing the BBU Slot Dummy Plate
Step 3.
Install the BBU module.
Align the BBU module with the BBU
module slot and gently insert the BBU module until the back of the
BBU module reaches the end of the slot.
Step 4.
Secure the BBU module to the chassis.
Fasten the two (2) retention
screws on the BBU module rear panel to secure the BBU module to
the chassis. (See
Figure 2-4
)
Figure 2-4: Installing the BBU Module
IMPORTANT!
If a BBU is added when the subsystem has already been put to use, reset the subsystem
for the configuration change to take effect. Although a BBU can be added online, the
BBU module will only be functional after a subsystem reset.
Содержание Galaxy Raid GALHDX-7370S-8U4D
Страница 28: ...Galaxy RAID GALHDX 7370S 8 12U4D Installation and Hardware Reference Manual Hot Swappable Components 1 16...
Страница 43: ...Chapter 2 Installation 2 15...
Страница 65: ...Galaxy RAID GALHDX 7370S 8 12U4D Installation and Hardware Reference Manual Power Off Procedure 4 12...
Страница 91: ...Galaxy RAID GALHDX 7370S 8 12U4D Installation and Hardware Reference Manual Spare Parts and Accessories B 4...
Страница 96: ...Appendix C Pinouts Main Power C 5 Main Power...


