11
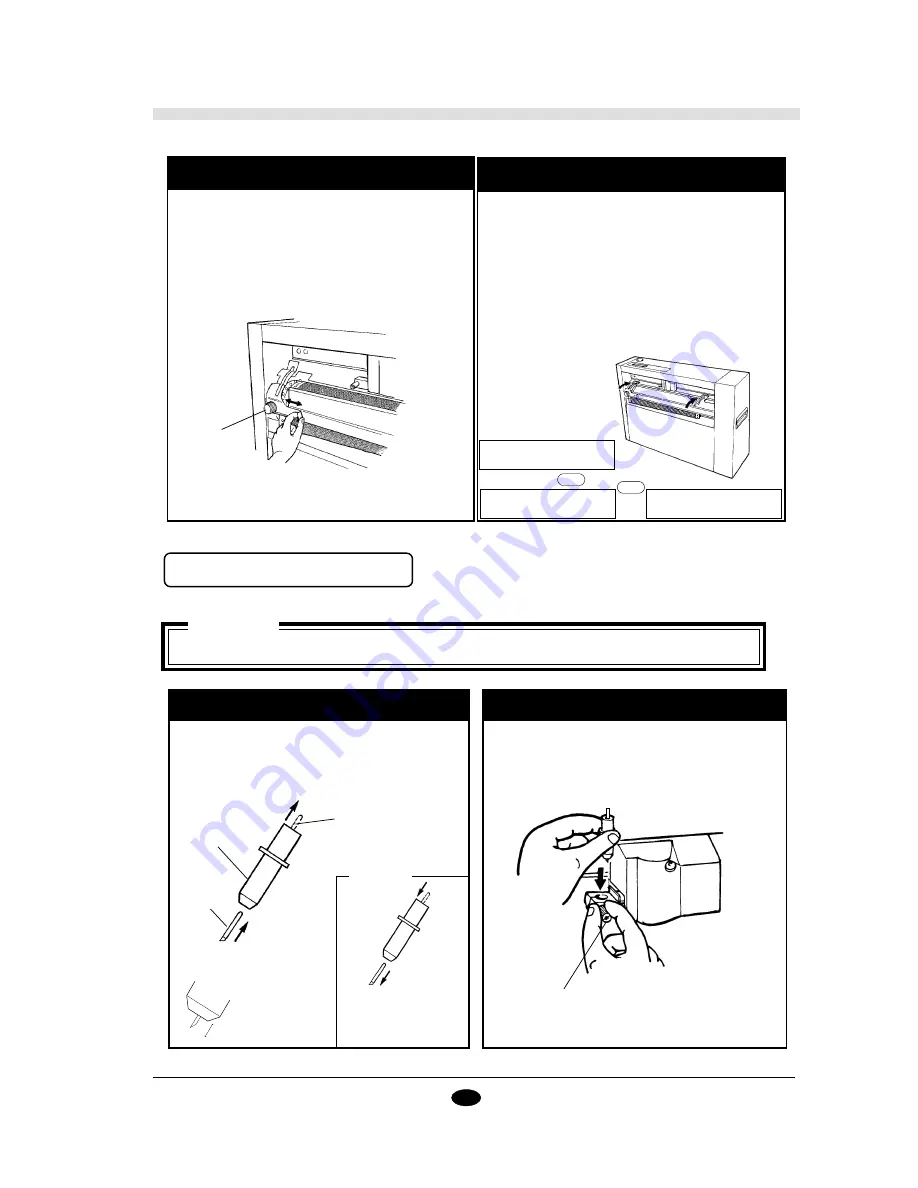
If the pinwheel has been moved, the pinwheel
door must also be shifted to match the position
of the pinwheel. Loosen the screw indicated by
the arrow in the figure, and adjust so that the the
pins are centered in the pin wheel door. After
moving, retighten the screw securely.
5
6
2.5 Installing the Blade
2
1
Loosen the tool setscrew on the tool carriage and
insert the blade holder.
Tighten the tool mounting screw so that the blade
holder does not move.
Tool setscrew
Caution
When setting or changing the blade, handle the blade carefully to avoid injury.
Check Sheet
then Press ENTER
WIDTH
13400
Coordinate Display
x= 0 y= 0
↓
→
ENTER
ENTER
After completing steps 1 through 5, completely
lower both the front and rear sheet guides.(The
sheet may not be advanced properly when the rear
sheet guide is lowered, depending on the sheet. If
this is the case, carry out cutting with the rear
sheet guide remaining raised.)
The following message appears on the display.
Press the control panel keys as explained in the
procedure given below. When sheet loading has
been completed, message 3 is shown.
Screw
2
1
3
Remove
Press the push-pin and
remove the blade from
the blade holder.
Blade holder
Blade
Push-pin
Insert the blade into the blade holder until it snaps
into place with an audible click. Be careful not to
break off the blade when doing this.
Blade Completely Installed
Approximate 4 mm
Содержание Sign Maker CAMM-1 PNC-1050
Страница 1: ...ROLAND DG CORPORATION Model PNC 1050 User s Manual SIGN MAKER...
Страница 41: ...39...
Страница 42: ...F2082693BE V3 1...


