19
(3)
To roteta a figure 90
°
Chapter 3 Explanation of Display Menu
SELECT XY AXIS
<RO-0> RO-90
See (2)-1 —(2)-6 on the page 21
(3)
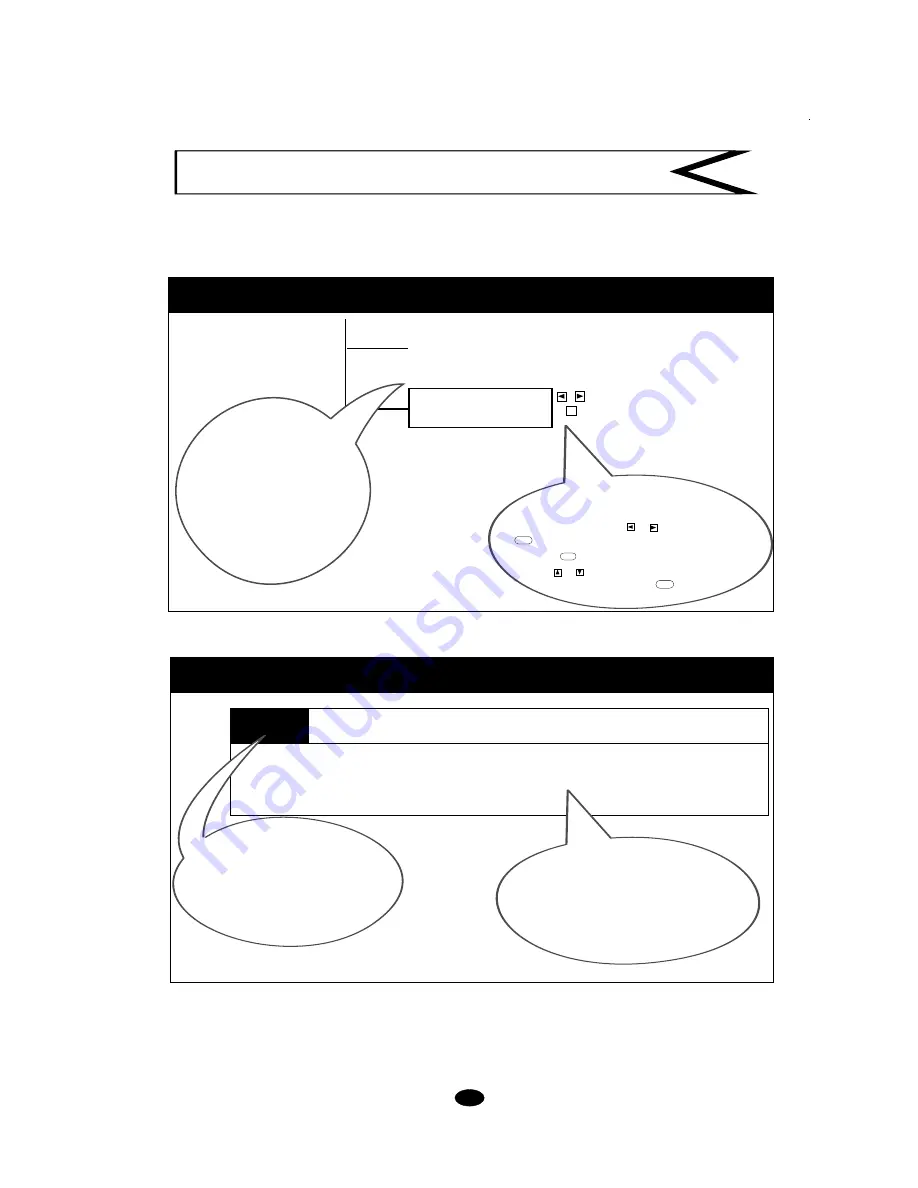
This chapter contains flowcharts for the display menus, along with explanations of each menu.
Given below is a description of how to read this chapter.
Here is a description of the functions
of this menu.
The flowchart symbols
indicate control panel key operations. The
meanings of these symbols are as shown below.
- Choose the item with the or key, then press the
ENTER
key to enable the selection.
- Press the
MENU
key to move on to the next screen.
- Use the or key to change the setting, and enable
the setting by pressing the
ENTER
key.
If you want to know about
the functions of the menu
currently displayed, check the
number showed here and
refer to pages 23 through 28,
which contain numbered
explanations.
This corresponds to
the number shown in the
flowcharts. For an explanation of
how to move to the screen where the
setting for this function is made, and
how to actually make the setting,
see the flowcharts on pages
20 to 22.
Display Menu Flowchart
E
This rotates the figure 90
°
. The origin point is normally at the lower left, but when the
figure is rotated 90
°
with this function, the origin point is at the lower right. Refer to the
following when rotating a figure.
Description of Functions
Содержание Sign Maker CAMM-1 PNC-1050
Страница 1: ...ROLAND DG CORPORATION Model PNC 1050 User s Manual SIGN MAKER...
Страница 41: ...39...
Страница 42: ...F2082693BE V3 1...


