


Connection of USB Devices
R&S FSMR
1313.9617.12
1.36
E-2
Connection of USB Devices
Up to two USB devices can be directly connected to the analyzer via the USB interface on the rear of the
R&S FSMR. This number can be increased as required by interconnecting USB hubs.
Owing to the wide variety of available USB devices, the R&S FSMR can be expanded with almost no
limitations. The following list shows a selection of USB devices suitable for the R&S FSMR:
•
Power Sensor R&S NRP-Z11 or R&S NRP-Z21 (Adapter Cable R&S NRP-Z4 required)
•
Pendrive (memory stick) for easy data transfer from/to the PC (e.g. firmware updates)
•
CD-ROM drive for easy installation of firmware applications
•
PC keyboard for entering comments, file names, etc
•
Mouse for easy operation of Windows dialogs
•
Printer for documentation of measurement results
•
Modem for remote control of the R&S FSMR over great distances
The installation of USB devices is quite simple under Windows XP since all USB devices are Plug&Play.
Apart from the keyboard and the mouse, all USB devices can be connected to or disconnected from the
R&S FSMR while the instrument is running.
After the instrument is connected to the USB interface, Windows XP automatically searches for a
suitable device driver.
If Windows XP does not find a suitable driver, you will be prompted to specify a directory where the
driver software can be found. If the driver software is on a CD, a USB CD-ROM should first be
connected to drive to the R&S FSMR.
As soon as the connection between the R&S FSMR and the USB device is interrupted, Windows XP will
again recognize the modified hardware configuration and will deactivate the corresponding device driver.
Example:
Connecting a pendrive (memory stick) to the R&S FSMR:
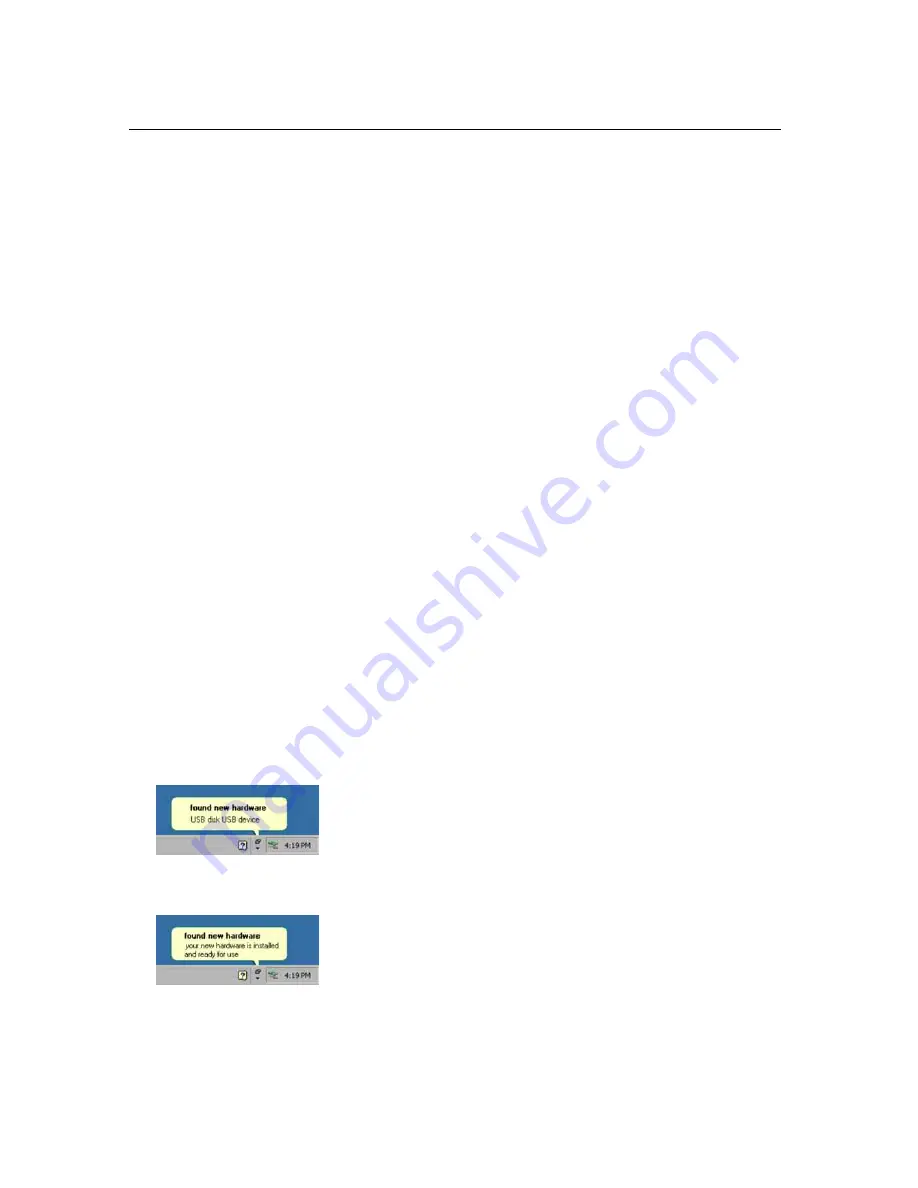
1. After the pendrive is connected to the USB interface, Windows XP will recognize the newly
connected hardware:
2. Windows XP installs the corresponding driver.
After successful installation, XP signals that the unit is ready for operation:
3. The pendrive is now available as a new drive and is displayed in Windows Explorer:
Содержание FSMR series
Страница 1: ...R S FSMR Measuring Receiver Getting Started Test Measurement Getting Started 1313 9698 02 03 ...
Страница 7: ......
Страница 9: ......
Страница 11: ...Contents Preparing for Operation R S FSMR 1313 9723 12 I 1 2 E 1 Fig 1 1 Front View ...
Страница 13: ...Front View R S FSMR 1313 9723 12 1 2 E 2 Fig 1 1 Front View ...
Страница 15: ...Front View R S FSMR 1313 9723 12 1 4 E 2 Fig 1 1 Front View ...
Страница 17: ...Front View R S FSMR 1313 9723 12 1 6 E 2 Fig 1 1 Front View ...
Страница 19: ...Front View R S FSMR 1313 9723 12 1 8 E 2 Fig 1 1 Front View ...
Страница 51: ......
Страница 71: ......
Страница 102: ...R S FSMR Menu Overview 1166 3363 12 3 29 E 3 AMPT Key ...
Страница 107: ...Menu Overview R S FSMR 1166 3363 12 3 34 E 3 DEMOD Key ...
Страница 108: ...R S FSMR Menu Overview 1166 3363 12 3 35 E 3 AUDIO Key ...
Страница 111: ...Menu Overview R S FSMR 1166 3363 12 3 38 E 3 AMPT Key ...
Страница 112: ...R S FSMR Menu Overview 1166 3363 12 3 39 E 3 MEAS Key ...
Страница 113: ...Menu Overview R S FSMR 1166 3363 12 3 40 E 3 ...
Страница 114: ...R S FSMR Menu Overview 1166 3363 12 3 41 E 3 BW Key ...
Страница 116: ...R S FSMR Menu Overview 1166 3363 12 3 43 E 3 Menu Overview another Keys MKR Key ...
Страница 120: ...R S FSMR Menu Overview 1166 3363 12 3 47 E 3 TRACE Key ...
Страница 123: ...Menu Overview R S FSMR 1166 3363 12 3 50 E 3 FILE Key ...
Страница 125: ...Menu Overview R S FSMR 1166 3363 12 3 52 E 3 SETUP Key ...
Страница 127: ...Menu Overview R S FSMR 1166 3363 12 3 54 E 3 LOCAL Menu LOCAL ...
Страница 128: ...R S FSMR Menu Overview 1166 3363 12 3 55 E 3 Menu Overview Ext Generator Control ...


