


Connecting a Printer
R&S FSMR
1313.9617.12
1.28
E-2
The factory setting for DEVICE 2 is “Clipboard”. In this case, the printout will be copied to the
Windows XP clipboard which is supported by most Windows applications. The contents of the
clipboard can be pasted directly into a document via EDIT – PASTE.
Table 1-1 shows the factory settings for the two output devices.
Table 1-1 Factory settings for
DEVICE 1
and
DEVICE 2
in the
HCOPY
menu
Setting
Selection in
configuration table
Setting for
DEVICE 1
Setting for
DEVICE 2
Output device
DEVICE
WINDOWS METAFILE
CLIPBOARD
Output
PRINT TO FILE
YES
---
Orientation
ORIENTATION
---
---
Installation of Plug&Play Printers
The installation of Plug&Play printers under Windows XP is quite simple:
After the printer is connected and switched on, Windows XP automatically recognizes it and installs its
driver, provided the driver is included in the XP installation.
If the XP printer driver is not found, Windows XP prompts you to enter the path for the corresponding installation
files. In addition to pre-installed drivers, a number of other printer drivers can be found in directory D:\I386.
When you install printer drivers that are not pre-installed on the instrument, the installation
process will prompt you to specify the path containing the new driver. This can be a
memory stick or USB CD-ROM drive (see section “Connection of USB Devices”).
Installation of Non-Plug&Play Printers
The dialogs below can be controlled either from the front panel or via the mouse and
keyboard (see sections “Connecting a Mouse” and “Connecting a Keyboard”). Mouse
and PC keyboard are absolutely essential for configuring network printers.
A new printer is installed with the
INSTALL PRINTER
softkey in the
HCOPY
menu
.
COLORS
HCOPY
DEVICE
SETUP
DEVICE
1
2
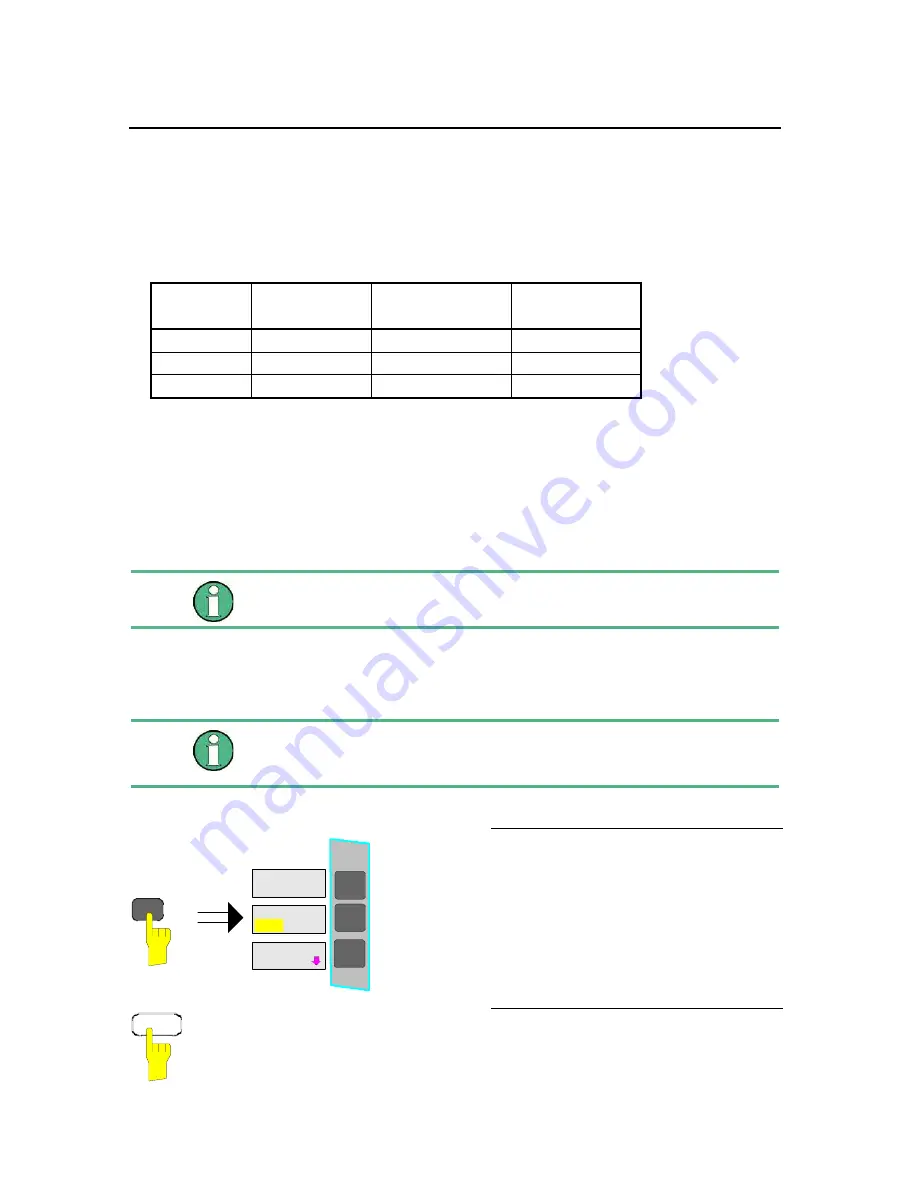
Press the
HCOPY
key.
The
HCOPY
menu will open.
NEXT
Press the NEXT key to open the side
menu.
Содержание FSMR series
Страница 1: ...R S FSMR Measuring Receiver Getting Started Test Measurement Getting Started 1313 9698 02 03 ...
Страница 7: ......
Страница 9: ......
Страница 11: ...Contents Preparing for Operation R S FSMR 1313 9723 12 I 1 2 E 1 Fig 1 1 Front View ...
Страница 13: ...Front View R S FSMR 1313 9723 12 1 2 E 2 Fig 1 1 Front View ...
Страница 15: ...Front View R S FSMR 1313 9723 12 1 4 E 2 Fig 1 1 Front View ...
Страница 17: ...Front View R S FSMR 1313 9723 12 1 6 E 2 Fig 1 1 Front View ...
Страница 19: ...Front View R S FSMR 1313 9723 12 1 8 E 2 Fig 1 1 Front View ...
Страница 51: ......
Страница 71: ......
Страница 102: ...R S FSMR Menu Overview 1166 3363 12 3 29 E 3 AMPT Key ...
Страница 107: ...Menu Overview R S FSMR 1166 3363 12 3 34 E 3 DEMOD Key ...
Страница 108: ...R S FSMR Menu Overview 1166 3363 12 3 35 E 3 AUDIO Key ...
Страница 111: ...Menu Overview R S FSMR 1166 3363 12 3 38 E 3 AMPT Key ...
Страница 112: ...R S FSMR Menu Overview 1166 3363 12 3 39 E 3 MEAS Key ...
Страница 113: ...Menu Overview R S FSMR 1166 3363 12 3 40 E 3 ...
Страница 114: ...R S FSMR Menu Overview 1166 3363 12 3 41 E 3 BW Key ...
Страница 116: ...R S FSMR Menu Overview 1166 3363 12 3 43 E 3 Menu Overview another Keys MKR Key ...
Страница 120: ...R S FSMR Menu Overview 1166 3363 12 3 47 E 3 TRACE Key ...
Страница 123: ...Menu Overview R S FSMR 1166 3363 12 3 50 E 3 FILE Key ...
Страница 125: ...Menu Overview R S FSMR 1166 3363 12 3 52 E 3 SETUP Key ...
Страница 127: ...Menu Overview R S FSMR 1166 3363 12 3 54 E 3 LOCAL Menu LOCAL ...
Страница 128: ...R S FSMR Menu Overview 1166 3363 12 3 55 E 3 Menu Overview Ext Generator Control ...


