


54
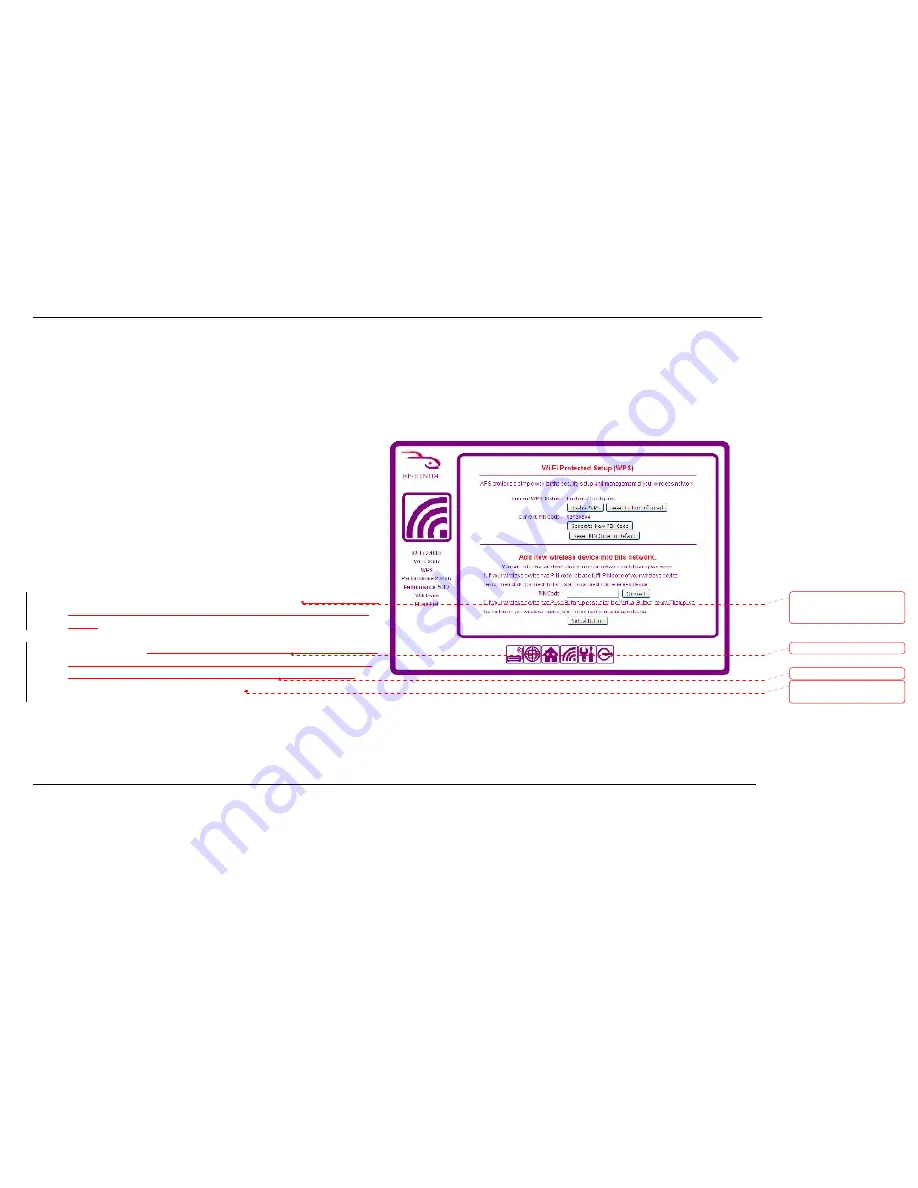
Configuring WPS (Wi-Fi Protected Setup)
Wi-Fi Protected Setup (WPS) System is a simplified method for securing your wireless network during the initial setup and the process of adding a new device to the
network. The Wi-Fi Alliance (WFA) has certified it across different products and manufacturers. There are two simple methods to securely add a device to your network via
WPS; The Push Button Configuration (PBC) method and the Personal Identification Number (PIN) Code method. Both of these WPS methods greatly reduce the time it takes
to get a new device on your network while using WPA2 encryption.
To add a new device using the PBC method:
1.
Press the
Virtual Button
on the Wi-Fi Protected Setup Page or hold down
the
CONNECT
button located on the front of your wireless router device
for approximately 3 seconds. The RocketFish router will attempt to find
other devices that support WPS within range.
2.
Go to your wireless client and hold down the
CONNECT
button on the
front of your wireless client device for approximately 3 seconds. Your
client should find the signal of the router and they should connect within
2 minutes.
To add a new device using the PIN Code method:
1.
Acquire the PIN number for your wireless client device.
On the RocketFish
Wi-Fi Invite Home Hub, the PIN number is printed on the bottom of the
device.
2.
On the RocketFish router, enter the PIN into the field labeled
PIN Code
and click
Connect.
On the Wi-Fi Invite Hub, press the CONNECT button on
the front panel to confirm the connection. On other brands of hub, start
the WPS tool and confirm theconnection with the CONNECT button.
The
two devices will connect within 2 minutes
.
格
格
格
格式化
式化
式化
式化:::: 字型: 非粗體
格
格
格
格式化
式化
式化
式化:::: 字型: 非粗體
刪除
刪除
刪除
刪除
:
Usually a device will have a
PIN Code printed on the device
itself somewhere.
刪除
刪除
刪除
刪除
:
should connect within 2
minutes.
Содержание RF-HTN104
Страница 1: ...RocketFish RF HTN104 Wi Fi Invite Home Router User Manual ...
Страница 10: ...10 Hardware Overview FRONT PANEL ...
Страница 11: ...11 Hardware Overview Continued REAR PANEL ...
Страница 17: ...17 6 Disconnect the Ethernet cable from the router and reconnect your computer to your network ...
Страница 25: ...25 ...
Страница 27: ...27 ...
Страница 29: ...29 ...
Страница 33: ...33 ...
Страница 41: ...41 Click the button to save your settings when you have finished If you wish to cancel press the button ...
Страница 43: ...43 Click the button to save your settings when you have finished If you wish to cancel press the button ...
Страница 45: ...45 Click the button to save your settings when you have finished If you wish to cancel press the button ...
Страница 52: ...52 enter an invalid value the router will return an error ...
Страница 59: ...59 ...
Страница 64: ...64 ...