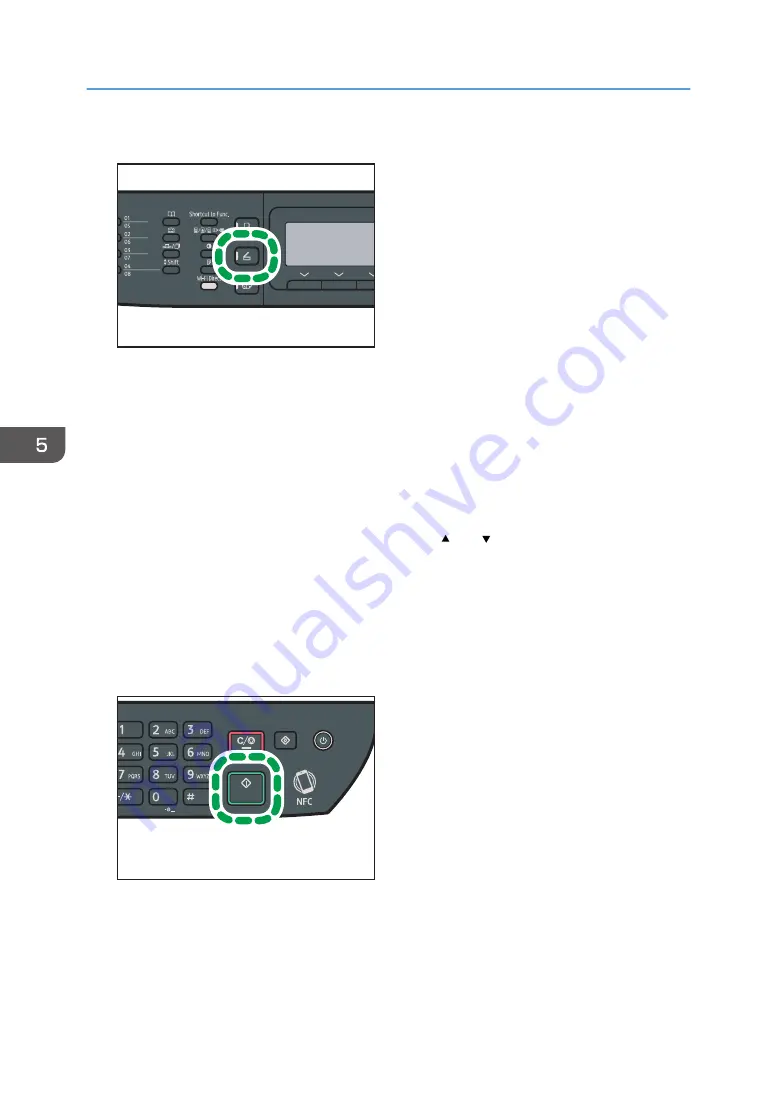
2.
Press the [Scanner] key, and then press the [Address Book] key.
DSG144
Alternatively, you can press the [Shortcut to Func.] key if [Shortcut to Function] under [Admin. Tools]
is set to [Select Scanner Address]. For [Shortcut to Function], see page 206 "Administrator
Settings".
3.
Make sure [Search Address Book] is selected, and then press the [OK] key.
If you want to search for a specific entry by its name, enter the first letters of the name using the
number keys, and then press the [OK] key. Each time you enter a character, the display changes to
show the matching name.
4.
Search for the desired destination by pressing the [ ] or [ ] key to scroll the Address
Book, and then press the [OK] key.
When you specify a scan destination, the machine's scan settings change automatically according
to the information registered for that destination in the Address Book. If necessary, you can change
the scan settings using the control panel. For scan settings, see page 132 "Specifying Scan
Settings for Scanning".
5.
Press the [Start] key.
DSG133
Depending on the machine's settings, you may see the following screen on the display when
scanning from the exposure glass.
5. Scanning Originals
114
Содержание SP 320SFN
Страница 2: ......
Страница 14: ...Smart Organizing Monitor 1 Click Help on the Printer Configuration screen DSG253 12 ...
Страница 18: ...16 ...
Страница 36: ...1 Guide to the Machine 34 ...
Страница 81: ...2 Press the Clear Stop key DSG129 Basic Operation of Copying 79 ...
Страница 136: ...5 Scanning Originals 134 ...
Страница 138: ...DSG273 6 Sending and Receiving a Fax 136 ...
Страница 222: ...7 Configuring the Machine Using the Control Panel 220 ...
Страница 293: ...DSG187 5 Lower the ADF Clearing Misfeeds 291 ...
Страница 320: ...11 Configuring Network Settings Using OS X 318 ...
Страница 376: ...MEMO 374 ...
Страница 377: ...MEMO 375 ...
Страница 378: ...MEMO 376 EN GB EN US EN AU M289 8616A ...
Страница 379: ... 2016 ...
Страница 380: ...M289 8616A AU EN US EN GB EN ...


