生活美好,臂不可少
http://www.realman-robotics.com
98
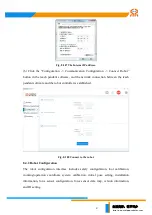
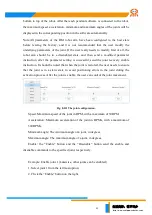
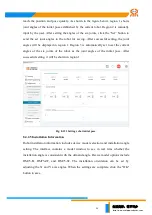
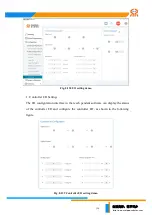
reach the position and pose quickly. As shown in the figure below, region 1 shows
joint angles of the initial pose established by the current robot. Region 2 is manually
input by the user. After setting the angles of the six joints, click the “Set” button to
send the set joint angles to the robot for saving. After successful setting, the joint
angles will be displayed in region 1. Region 3 is automatically set to set the current
angles of the six joints of the robot as the joint angles of the initial pose. After
successful setting, it will be shown in region 1.
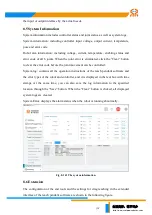
Fig. 8-123 Setting robot initial pose.
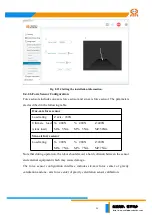
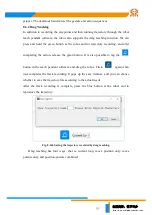
8.4.2.5 Installation Information
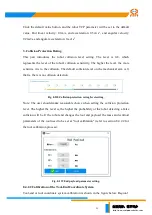
Robot installation information includes device model selection and installation angle
setting. The interface contains a model window to see in real time whether the
installation angle is consistent with the demand angle. Device model options include
RM75-B, RM75-ZF, and RM75-6F. The installation orientation can be set by
adjusting the X and Y axis angles. When the settings are complete, click the "OK"
button to save.

