


生活美好,臂不可少
http://www.realman-robotics.com
91
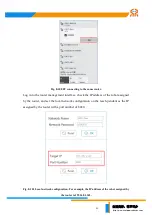
When the robot joint is replaced, the origin position of the corresponding joint must
be reset.
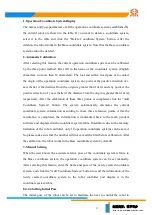
Example of setting origin:
Note that not all versions of RM robotics support this functionality. Please confirm
with RealMan Intelligent Technology Co., Ltd., before proceeding.
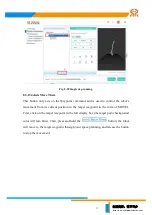
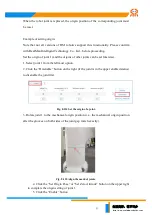
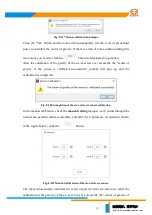
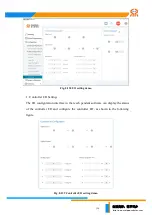
Set the origin of joint 1 (and the origins of other joints can be set likewise).
1. Select joint 1 from the leftmost option.
2. Click the “Disenable” button on the right (if the joint is in the upper enabled status)
to disenable the joint first.
Fig. 8-114 Set the origin of a joint.
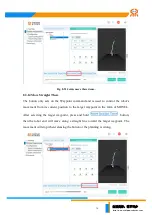
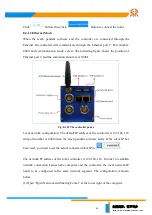
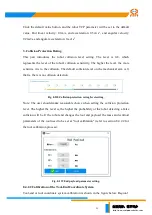
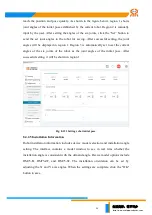
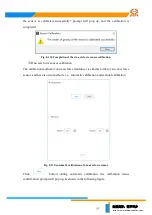
3. Rotate joint 1 to the mechanical origin position (i.e., the mechanical origin position
after the grooves on both sides of the joint gap match exactly).
Fig. 8-115 Align the mark of joints.
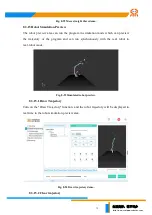
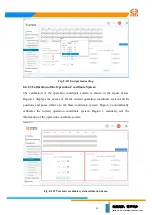
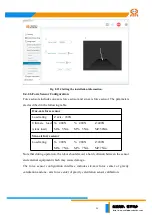
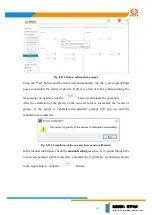
4. Click the “Set Origin Pose” or “Set Zero Attitude” button on the upper right
to complete the origin setting of joint 1.
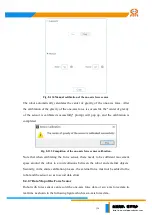
5. Click the “Enable” button.


