22
for further information consult our website
www.raleigh.co.uk •
for video support & download
v-stYLE AnD CAntiLEvER bRAkEs
If the 21 point Safety Check has revealed that the brake pads are worn down to the
wear line or close to the bottom of the grooves in the pad, don’t delay fitting new
ones.
To remove the old pads, try to identify how they’re fixed to the brake arms. Two
different designs are shown on the opposite page but once you loosen the fixing
bolt, usually low down at the back of the brake arm, you should be able to pull the
old pads out quite easily. Although in some cases you’ll find it easier if you remove the
wheel first.
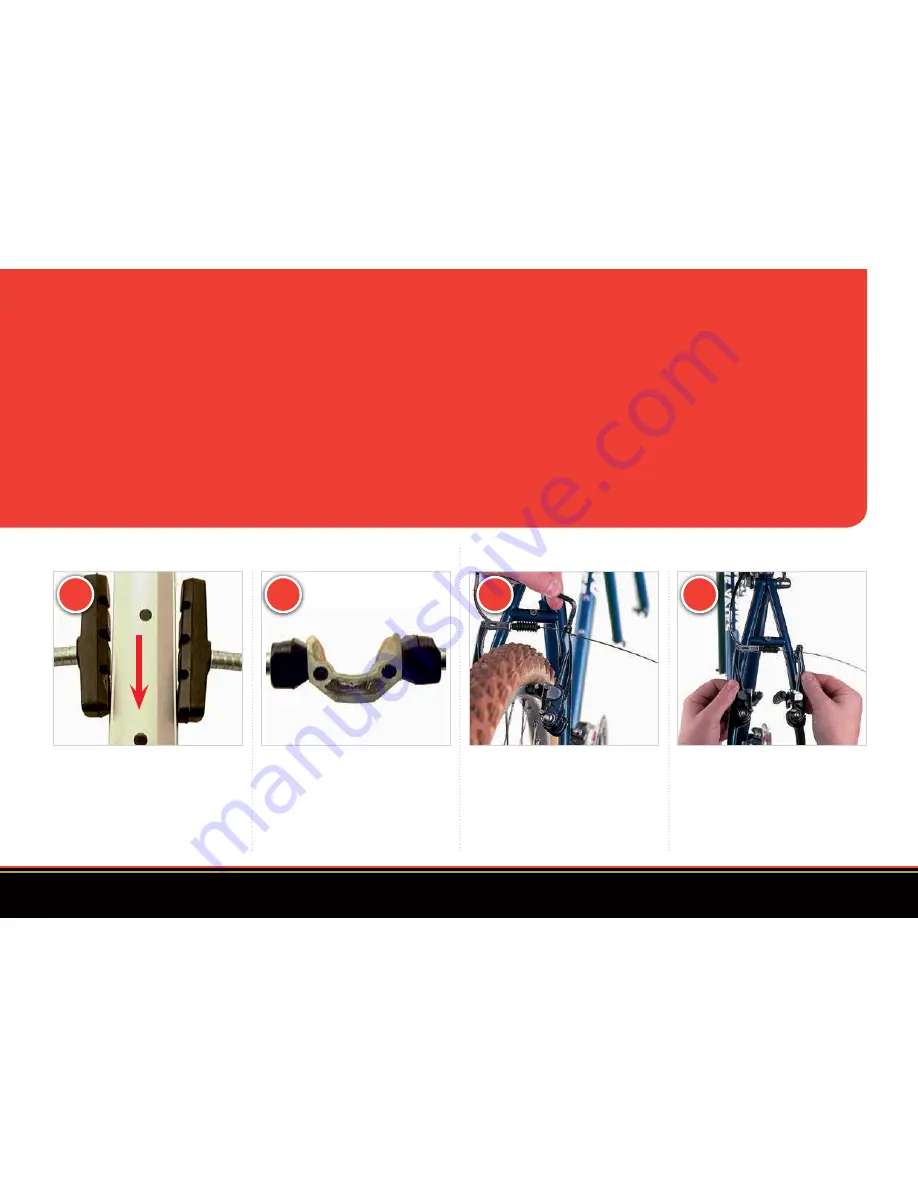
When fitting the new pads, take a moment to work out how they go. If-the pads are
curved, they must follow the curve of the rim. On the other hand, if there’s an arrow
on the side of the pads, it must point forwards. And there must be at least 1mm
between the top of the pad and the top of the rim, as shown on page 21.
When you’ve checked all these points, tighten the fixing nut but leave it loose enough
to allow you to do two more adjustments.
The first of these is toe-in. This means that when the brakes are applied, the front of
the pad hits the rim before the back does. Then, when the moving wheel rim drags
the brake pad forward, the brake arm bends a little. So the rest of the pad reaches the
rim smoothly, without juddering or snatch. Sometimes a ‘pip’ of rubber at the back of
the pad helps you to gauge the 1 to 2 mm toe-in normally recommended. In other
cases, a special gauge is supplied with the pads but it’s often just a matter of eye.
The second adjustment concerns alignment with the wall of the rim. You must adjust
the pad so that it touches the wheel rim square on when the brakes are applied. This
ensures that the largest possible area of rubber is in contact with the wall of the rim,
so you get the best possible braking.
Then make sure that the cable is
completely free. Push the brake arms
into a more upright position and lightly
do up the cable clamp. Check that there’s
enough room for the wheel between the
pads and tighten the cable clamp again.
Once you’ve got the toe-in right, pull the
brake lever and bring the pads up close
to the rim. Then adjust the angle of the
pad so that it contacts the rim square on.
Finally, tighten the fixing nuts and check
all three adjustments.
V-style brakes work best when the
brake arms are almost upright. If the
brakes look wrong or don’t work well,
there’’s probably too much inner cable
showing between the brake arms. If you
suspect this, undo the cable clamp.
If there’s no gauge to help you set the
toe-in, aim to position each pad so that
there’s a 1 to 2 mm gap between the
back of the pad and the rim, There’s no
need to measure it exactly, so long as the
gap is exactly the same both sides.
New brake pads
V-style brakes
1
1
2
2
Front


