5.
Enter or verify network settings. Following is an example that works with its
relative PC settings throughout this procedure.
a.
Disable DHCP.
b.
Set the Host IP Address, which is the address of AutoRAE 2 Controller.
(The following values are for reference only; use values specific to your
network.)
Note:
The AutoRAE 2 Controller is the host (or server) when connected to
the PC via Ethernet.
Enter: 172.16.121.25
Subnet mask: 255.255.255.0
Default gateway: 172.16.121.1
Port number: (use your active port number)
6.
Restart the AutoRAE 2 Controller (turn it off and on again).
7.
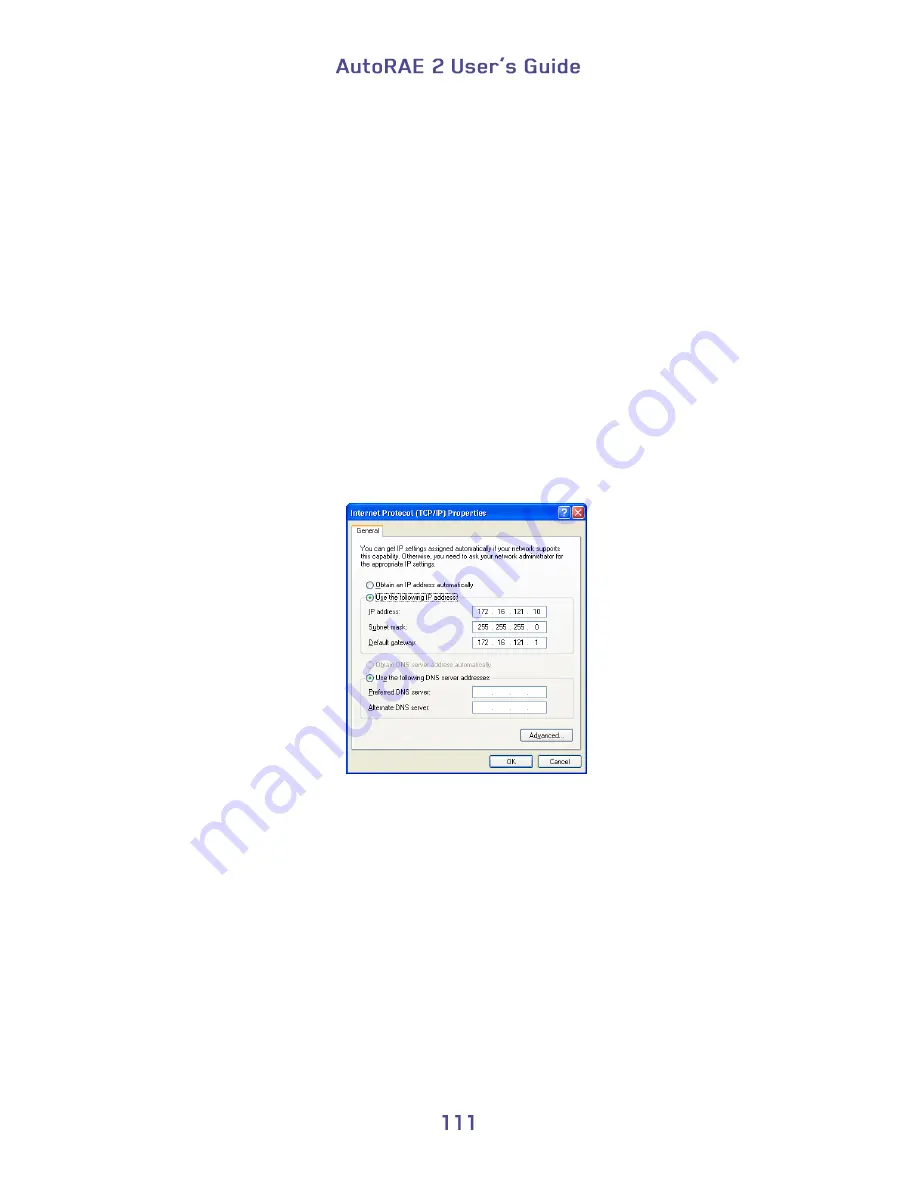
Set the corresponding PC Ethernet port IP address, subnet mask, and default
gateway manually as shown in Figure 2 for connection to AutoRAE2.
Figure 2. Manually Set PC network properties for connection to AutoRAE 2.
8.
Run ProRAE Studio II. The program should be able to detect the AutoRAE 2
Controller via the Ethernet cable and communicate with the AutoRAE 2
Controller normally.
24.2. Part Two: Configure The WiFi Adapter & Test
The Network
Disconnect the Ethernet cable from the PC and the AutoRAE 2 Controller. You will now
use the PC’s built-in Wi-Fi wireless modem and a WiFi Internet Adapter connected to
AutoRAE2. Communication will be over a wireless network.
Содержание AutoRAE 2
Страница 1: ......
Страница 38: ...Select Exit to return the monitor to Normal Measurement Mode...
Страница 43: ...When you click on Gas Config 8 the two gas bottles Gas Inlet 15 and Gas Inlet 16 are shown...
Страница 76: ......
Страница 95: ...Set the password for access to the AutoRAE 2 Note The default value is 0000...
Страница 106: ...6 This screen appears 7 Expand either Online or Offline to view Instruments 8 Click Instruments...
Страница 107: ...Instruments that have been bump tested and calibrated on a system with this AutoRAE 2 Controller are shown...
Страница 108: ...9 Double click on an instrument to view its reports The Reports window opens for this instrument...
Страница 121: ......


