Configuring the SDS using a Web interface
Quatech SDS User’s Manual
Page 64
940-0183-155
April 2008
Step
Procedure
Description
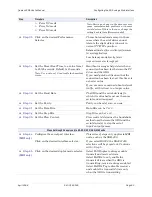
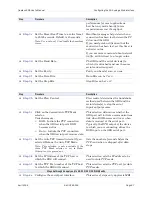
Step 4c
(MEI only)
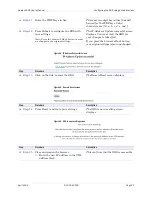
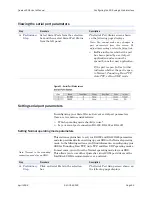
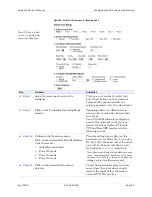
Click on the desired connector setup.
Select
Loopback All
to internally loopback
RTS and CTS in the SDS. AuxIn and
AuxOut are looped at the connector.
Select
Modem Control
to send RTS on
the AuxOut signal and to receive CTS on
the AuxIn signal.
Step 4d
(MEI only)
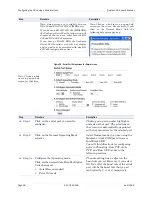
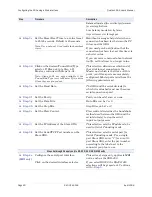
Select 2- or 4-wire communication.
Select
2-wire
to use the transmit pair for
both transmit and receive in RS-422/485.
Select
4-wire
to use a separate pair of wires
for transmit and receive in RS-422/485.
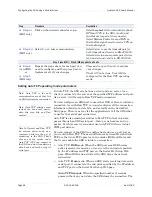
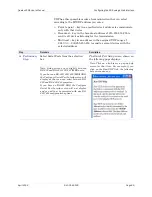
Step 4 (non-MEI) / Step 5 (MEI) applies to all units
Step 4
(non-MEI)
or
Step 5
(MEI only)
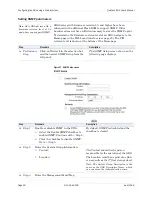
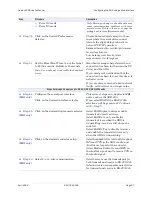
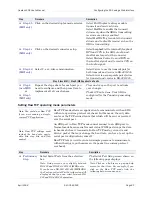
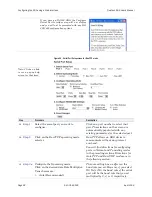
Repeat the steps above for each port you
need to configure and then press Save to
implement all of your changes.
Close and re-open the port to activate
your changes.
That’s it! You’re done. Your SDS is
configured for the Raw TCP operating
mode.
Setting Auto TCP operating mode parameters
In Auto TCP, the SDS acts both as a client and as a server. As a
client, it connects to the server at the specified TCP address and port.
As a server, it will accept a Raw TCP mode connection.
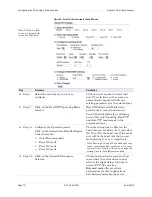
You can configure an SDS port to use either DSR or Data to initiate a
connection. As with Raw TCP, you must configure all the connection
information (baud rate, data bits, and so forth) on the Serial Port
Setup page. There is no way for the application to tell the SDS what
to use for that serial port connection.
Auto TCP is also somewhat similar to Raw TCP in that only data
passes through an SDS serial port – there are no headers and no
packet. For this reason, you cannot use Auto TCP with our virtual
COM port drivers.
You can connect to the SDS via another host and use a port just as
you would in Raw TCP. The main differences between Raw and Auto
TCP are that Auto TCP operates in two modes (DSR and Data) and
that it can enable the SDS to initiate a connection.
¾
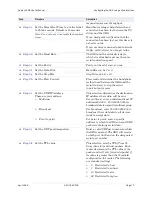
Auto TCP–
DSR
mode: When the SDS port sees DSR become
active (raised), it connects, on its own, to the end point specified
by the IP address and TCP port on the Serial Port Setup Web
page. When DSR is de-activated, the SDS drops the network
connection.
¾
Auto TCP–
Data
mode: When an SDS starts receiving data on its
serial port, it connects to the end point specified by the IP address
and TCP port on the Serial Port Setup Web page.
Auto TCP timeout
: When the specified number of seconds
passes without any new data, the SDS closes the connection. The
Note: Auto TCP is the only
communication mode that lets
an SDS initiate the connection.
Note: In Normal and Raw TCP,
an outside device such as a
computer performs the act of
connecting to the SDS. That’s
also one of the modes under
Auto TCP. A PC can connect to
the SDS and start transferring
data back and forth using its
serial port.
Note: Auto TCP settings must
include the baud rate, parity,
data bits, stop bits, and flow
control.


