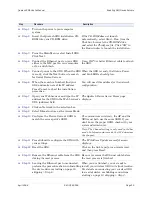
Installing the device drivers
Quatech SDS User’s Manual
Page 16
940-0183-155
April 2008
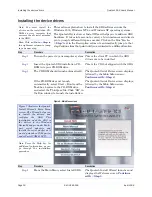
Installing the device drivers
This section explains how to install the SDS software under the
Windows 2000, Windows NT4, and Windows XP operating systems.
The Quatech Device Server Install Wizard helps you to add new SDS
hardware. It takes into account a variety of circumstances and directs
you to jump to different Steps as needed. Click on the blue “
Go to
□
Step
”
text in the
Description
column to automatically jump to that
step. Continue from that point until you are directed to a different location.
Step
Procedure
Description
Step 1
Turn on the power to your computer system.
This is the client PC in which the SDS
drivers are to be installed.
Step 2
Insert the Quatech SDS installation CD-
ROM into your CD-ROM drive.
This is the CD that shipped with the SDS.
Step 3
The CD-ROM should launch automatically.
If the CD-ROM does not launch
automatically, select Start – Run from the
Task bar, browse to the CD-ROM drive,
and select the ThinQ.exe file. Click “OK” in
the Run window to launch the installation.
The Quatech Serial Device screen displays,
followed by the Main Menu screen.
Continue with
□
Step 4.
The Quatech Serial Device screen displays,
followed by the Main Menu screen.
Continue with
□
Step 4.
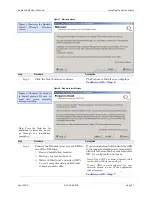
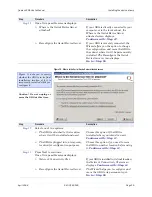
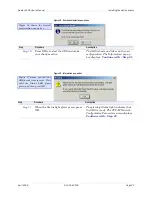
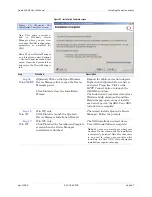
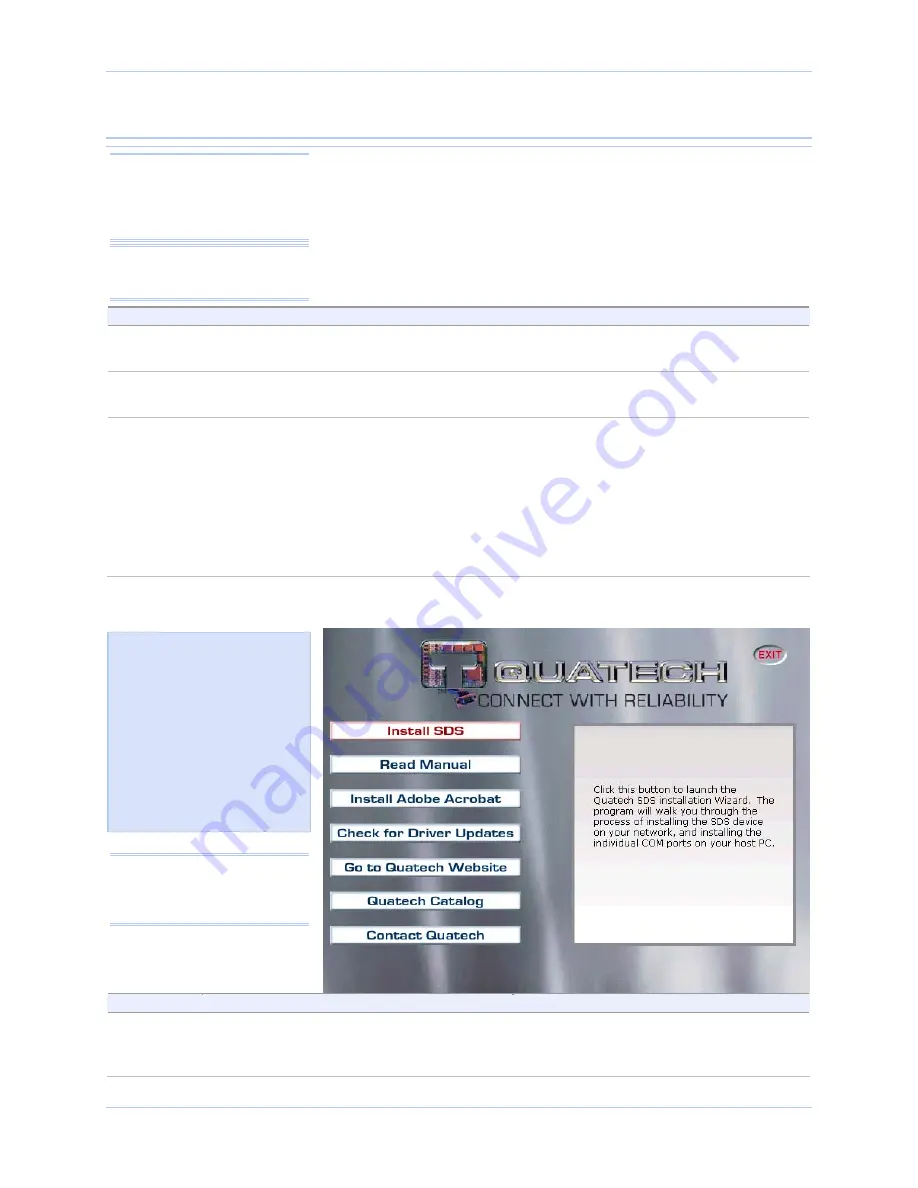
Figure 6 - Main Menu screen
Step
Procedure
Description
Step 4
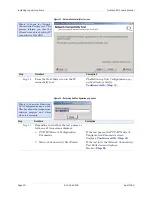
From the Main Menu, select Install SDS.
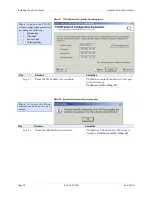
The Quatech Install Wizard launches and
displays the Welcome screen.
Continue
with
□
Step 5.
Note: You must install the
drivers on the installation CD-
ROM on every computer that
accesses the device(s) attached
to the SDS.
Hint: Click on
Go to
□
Step
in
the rightmost column to jump
to your next
step.
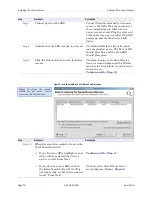
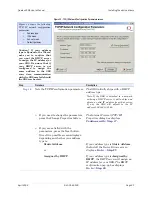
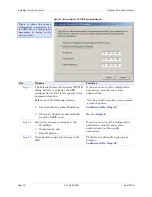
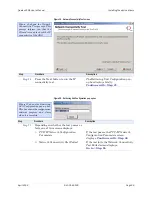
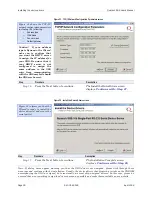
Figure 7 illustrates the Quatech
Install Wizard’s Main Menu
screen. The Wizard helps you
to install the drivers and
configure the SDS. This
installation adds the SDS to
the devices in the Windows
Device Manager under Multi-
port serial adapters and
installs the serial port(s) as it
would a standard COM port(s)
under Ports (COM & LPT).
Note: Press the Help key for
additional information as you
go through the installation
procedure.

