z
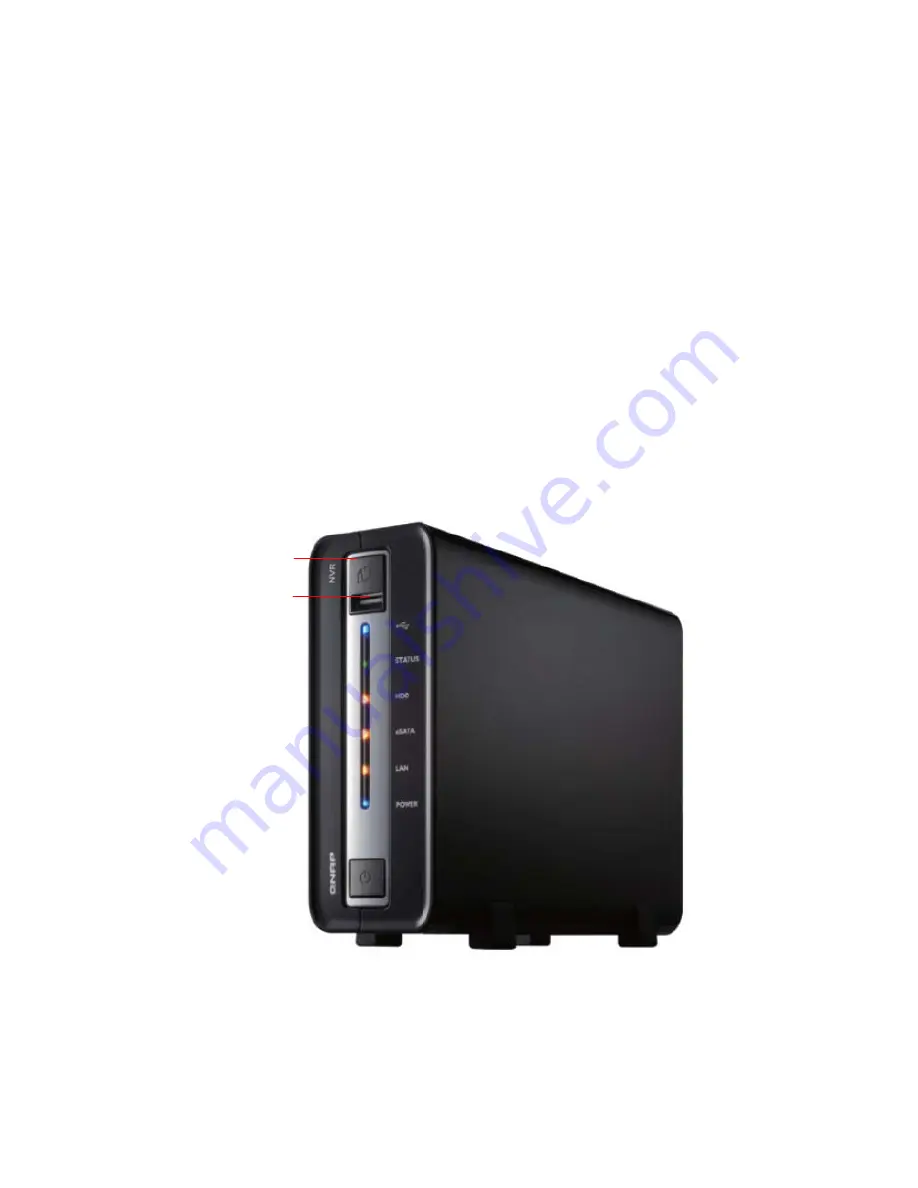
Enable front video backup button
NVR supports direct copy of recording data on the server to the connected USB
device via the USB port. You can set the number of days that the video is
recorded to copy to the device.
To use this function, please follow the steps below:
1.
Set the number of days that the latest recordings should be backed up. If
3 days are entered, the recordings of today, yesterday and the day before
yesterday will be backed up.
2.
Connect a USB storage device, e.g. USB disk drive to the front USB port of
NVR.
Press the
Backup
button on NVR. The recording data on NVR will start to
be copied to the USB device instantly. If the USB device is recognized,
the USB LED glows in blue. The USB LED will blink in blue when the data
is being copied. The LED will become blue again when data copy is
finished. You can then safely remove the device.
Note:
Video backup function supports only USB device of 10GB storage
capacity or above.
One Touch Auto
Video Backup
USB 2.0
74
Содержание NVR-101
Страница 12: ...Central Surveillance Deployment for International Enterprise 12 ...
Страница 24: ...NVR will restart after changing the settings When quick setup is completed click Finish to continue 24 ...
Страница 25: ...3 Connect to NVR After finishing quick setup you will return to the main screen of Finder 25 ...
Страница 27: ...When the live video is displayed and the recording indicator is shown you have successfully installed NVR 27 ...
Страница 50: ...5 2 3 View System Settings You can view all current system settings e g server name on this page 50 ...
Страница 55: ...5 3 5 View Network Settings You can view current network settings and status of NVR in this section 55 ...
Страница 77: ...5 7 7 Ping Test To test the connection to a specific IP address enter the IP address and click Test 77 ...
Страница 79: ...5 8 2 System Information This page shows the current system status for diagnosis 79 ...


