SmartStor DS4600 Product Manual
68
•
Hour
•
Day
•
Day of the week
6.
Choose the corresponding values from the dropdown menus:
•
Number of hours
•
Time of day in hours and minutes
•
Time of day and day of the week
7.
Click the
Add
button.
The newly created schedule appears in the Schedule List.
The backed up files will appear on the DAS in a folder named
BACKUPDATA_your username
.
See “Creating a Backup Schedule” on page 59.
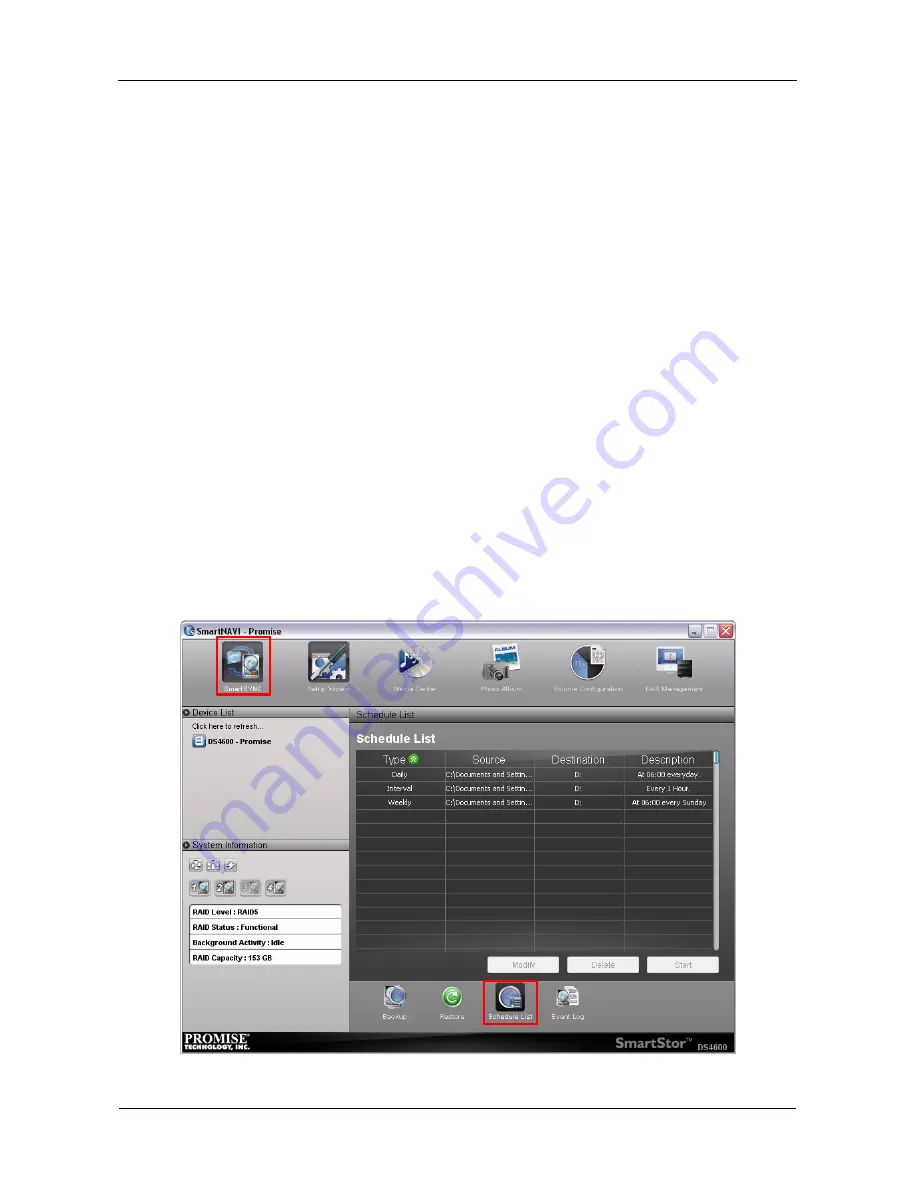
Viewing Backup Schedules
To view the list of current schedules:
1.
Go to the
Main Window
.
2.
Click the
SmartSYNC
icon and click the
Schedule List
button.
The list of all backup schedules appears.
Содержание SmartStor DS4600
Страница 1: ...SMARTSTOR DS4600 Product Manual Version 1 0 ...
Страница 6: ...SmartStor DS4600 Product Manual vi GNU General Public License 137 Index 139 ...
Страница 21: ...Chapter 2 Installation and Setup 15 Figure 4 SmartStor on a MAC SmartStor appears as a Hard Disk Drive ...
Страница 24: ...SmartStor DS4600 Product Manual 18 ...
Страница 48: ...SmartStor DS4600 Product Manual 42 RAID 10 4 drives ...
Страница 50: ...SmartStor DS4600 Product Manual 44 Click the Next button D to continue ...
Страница 54: ...SmartStor DS4600 Product Manual 48 Figure 7 SmartStor file structure viewed from a MAC ...
Страница 70: ...SmartStor DS4600 Product Manual 64 10 Click the Add button ...
Страница 76: ...SmartStor DS4600 Product Manual 70 5 Click the folder whose contents you want to backup ...
Страница 78: ...SmartStor DS4600 Product Manual 72 9 Click the Add button The modified schedule appears in the Schedule List ...
Страница 86: ...SmartStor DS4600 Product Manual 80 3 Click the Clear All button 4 Click the Yes button in the confirmation box ...
Страница 95: ...Chapter 3 SmartNAVI 89 Optional ...
Страница 96: ...SmartStor DS4600 Product Manual 90 To view a photo click the View icon ...
Страница 142: ...SmartStor DS4600 Product Manual 136 5 Boot the SmartStor See Connecting the Power on page 9 ...
Страница 144: ...SmartStor NS4600N Product Manual 138 ...


