Chapter 3: SmartNAVI
41
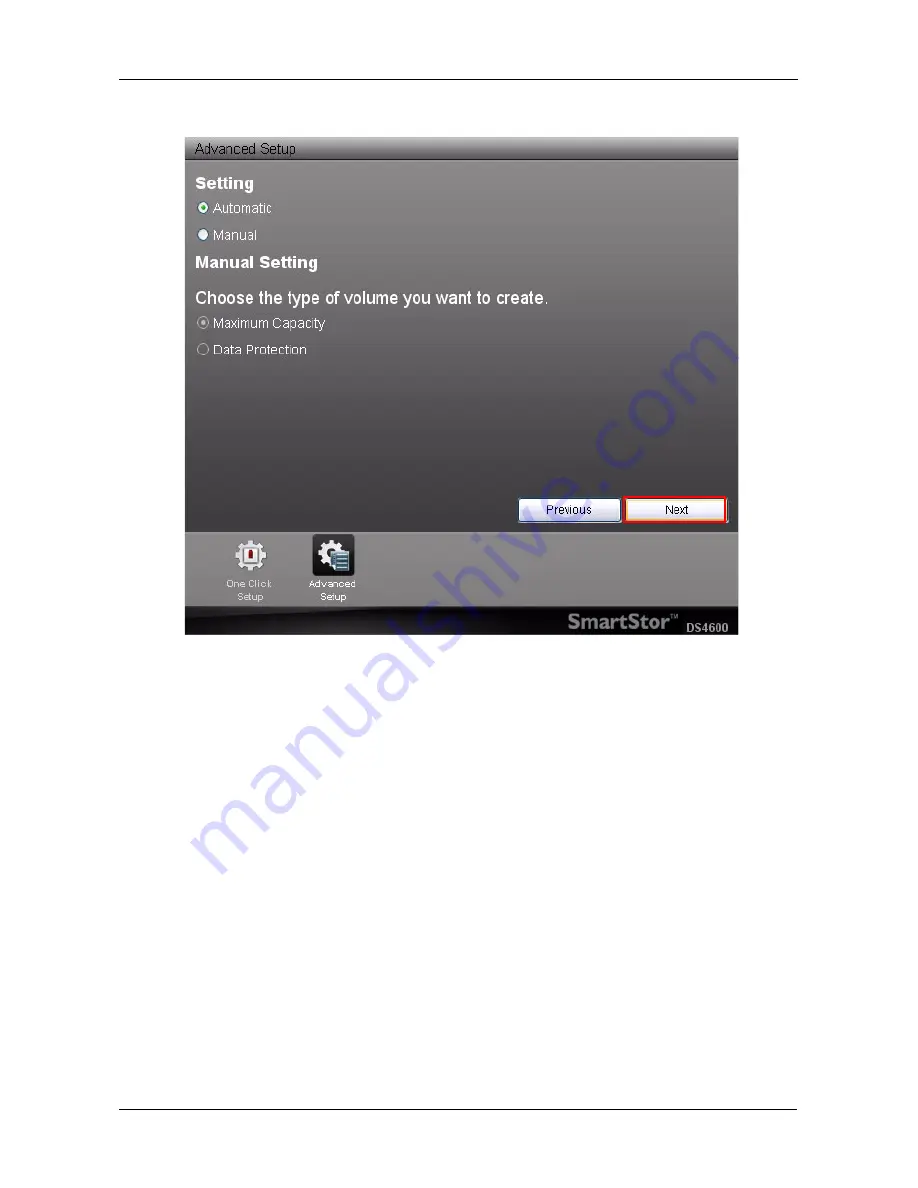
Click the
Next
button to continue.
5.
If you chose Manual under Create Volume, choose the type of volume you
want.
•
Maximum Capacity – RAID 0, using all disk drives
•
Data Protection – Your choice of RAID level, based on the number of
disk drives installed:
•
RAID 1 – 2 drives
•
RAID 5 – 3 or 4 drives
Содержание SmartStor DS4600
Страница 1: ...SMARTSTOR DS4600 Product Manual Version 1 0 ...
Страница 6: ...SmartStor DS4600 Product Manual vi GNU General Public License 137 Index 139 ...
Страница 21: ...Chapter 2 Installation and Setup 15 Figure 4 SmartStor on a MAC SmartStor appears as a Hard Disk Drive ...
Страница 24: ...SmartStor DS4600 Product Manual 18 ...
Страница 48: ...SmartStor DS4600 Product Manual 42 RAID 10 4 drives ...
Страница 50: ...SmartStor DS4600 Product Manual 44 Click the Next button D to continue ...
Страница 54: ...SmartStor DS4600 Product Manual 48 Figure 7 SmartStor file structure viewed from a MAC ...
Страница 70: ...SmartStor DS4600 Product Manual 64 10 Click the Add button ...
Страница 76: ...SmartStor DS4600 Product Manual 70 5 Click the folder whose contents you want to backup ...
Страница 78: ...SmartStor DS4600 Product Manual 72 9 Click the Add button The modified schedule appears in the Schedule List ...
Страница 86: ...SmartStor DS4600 Product Manual 80 3 Click the Clear All button 4 Click the Yes button in the confirmation box ...
Страница 95: ...Chapter 3 SmartNAVI 89 Optional ...
Страница 96: ...SmartStor DS4600 Product Manual 90 To view a photo click the View icon ...
Страница 142: ...SmartStor DS4600 Product Manual 136 5 Boot the SmartStor See Connecting the Power on page 9 ...
Страница 144: ...SmartStor NS4600N Product Manual 138 ...


