SmartStor DS4600 Product Manual
130
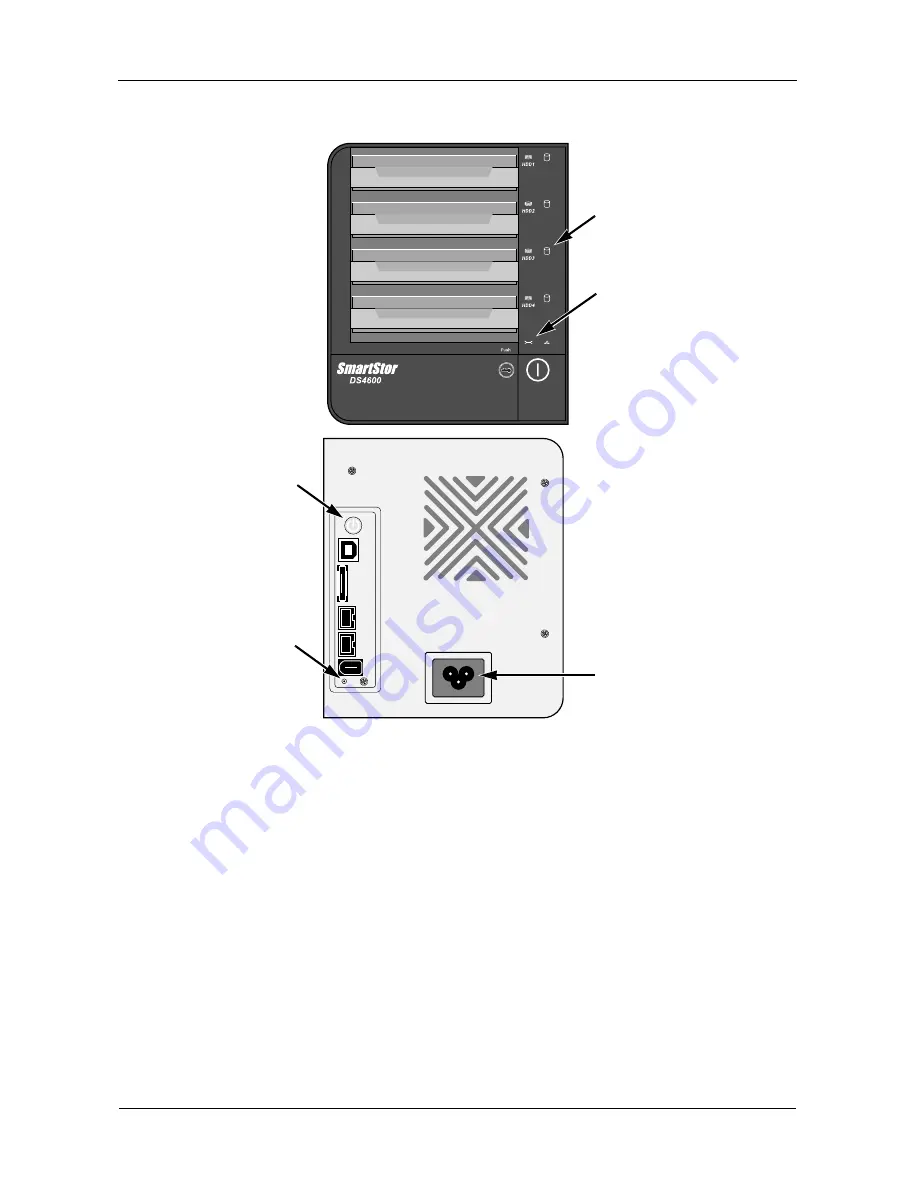
Figure 1. SmartStor front and back views
Removing Disk Drives
To remove disk drives:
1.
Open the SmartStor’s front door.
2.
Pull out the drive carrier from the enclosure.
3.
Carefully remove the disk drive from the drive carrier, so that the screw holes
on the sides of the carrier align with the screw holes in the drive. See
page 131, Figure 2.
4.
Remove the screws from the holes in the drive carrier and the sides of the
disk drive.
5.
Remove four screws per drive.
System Status LED
Power Button
Power Connection
Disk Activity LED
Reset Button
Содержание SmartStor DS4600
Страница 1: ...SMARTSTOR DS4600 Product Manual Version 1 0 ...
Страница 6: ...SmartStor DS4600 Product Manual vi GNU General Public License 137 Index 139 ...
Страница 21: ...Chapter 2 Installation and Setup 15 Figure 4 SmartStor on a MAC SmartStor appears as a Hard Disk Drive ...
Страница 24: ...SmartStor DS4600 Product Manual 18 ...
Страница 48: ...SmartStor DS4600 Product Manual 42 RAID 10 4 drives ...
Страница 50: ...SmartStor DS4600 Product Manual 44 Click the Next button D to continue ...
Страница 54: ...SmartStor DS4600 Product Manual 48 Figure 7 SmartStor file structure viewed from a MAC ...
Страница 70: ...SmartStor DS4600 Product Manual 64 10 Click the Add button ...
Страница 76: ...SmartStor DS4600 Product Manual 70 5 Click the folder whose contents you want to backup ...
Страница 78: ...SmartStor DS4600 Product Manual 72 9 Click the Add button The modified schedule appears in the Schedule List ...
Страница 86: ...SmartStor DS4600 Product Manual 80 3 Click the Clear All button 4 Click the Yes button in the confirmation box ...
Страница 95: ...Chapter 3 SmartNAVI 89 Optional ...
Страница 96: ...SmartStor DS4600 Product Manual 90 To view a photo click the View icon ...
Страница 142: ...SmartStor DS4600 Product Manual 136 5 Boot the SmartStor See Connecting the Power on page 9 ...
Страница 144: ...SmartStor NS4600N Product Manual 138 ...


