9.45, 9.45i Treadmill
Page 35
Procedure 6.2 - Replacing the Terminal Block (1L Units)
WARNING
Always turn off the circuit breaker and unplug the treadmill before you remove the treadmill hood.
Removing the Terminal Block
1.
Remove the hood as described in Procedure 5.1 of the Residential Treadmill Service
Manual.
2.
Remove the screws that secure the protective cover and terminal block to the treadmill.
3.
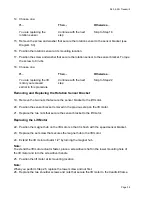
Remove the stud that secures the blue wires to the terminal block.
4.
Remove the stud that secures the brown wires to the terminal block.
Replacing the Terminal Block
Note:
You can connect the wires to either terminal stud. However, you cannot mix brown and blue
wires on any one stud (see Wiring Diagram 7.1 or 7.3).
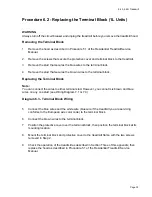
Diagram 6.3 - Terminal Block Wiring
5.
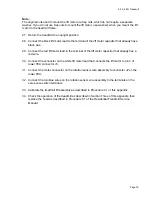
Connect the blue wires and the white wire (blue wire if the treadmill you are servicing
conforms to the European wire color code) to the terminal block.
6.
Connect the brown wires to the terminal block.
7.
Position the protective cover over the terminal block, then position the terminal block at its
mounting location.
8.
Mount the terminal block and protective cover to the treadmill frame with the two screws
removed in Step 2.
9.
Check the operation of the treadmill as described in Section Three of this appendix, then
replace the hood as described in Procedure 5.1 of the Residential Treadmill Service
Manual.
Содержание 9.45
Страница 55: ...9 45 9 45i Treadmill Page 55 Wiring Diagram 7 1 9 45 1L Unit...
Страница 56: ...9 45 9 45i Treadmill Page 56 Block Diagram 7 2 9 45 1L Units...
Страница 57: ...9 45 9 45i Treadmill Page 57 Wiring Diagram 7 3 9 45 2P 3Y Units...
Страница 58: ...9 45 9 45i Treadmill Page 58 Block Diagram 7 4 9 45 2P 3Y Units...

