9.45, 9.45i Treadmill
Page 34
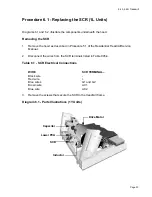
Replacing the SCR
4.
Coat the mounting surface of the SCR with a thin coat of thermal compound. Position the
SCR at its mounting location. The treadmill frame is used a a heat sink for the SCR.
Therefore, it is critical that the SCR is in full contact with the frame.
5.
Position the screws that secure the SCR to the treadmill frame. Using the torque wrench,
torque each screw to 10 in-lbs.
6.
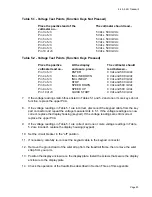
Connect the wires listed in Table 6.1 to the SCR terminals.
7.
Check the operation of the treadmill as described in Section Three of this appendix, then
replace the hood as described in Procedure 5.1 of the Residential Treadmill Service
Manual.
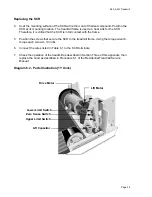
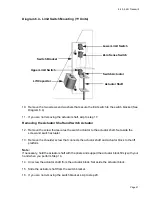
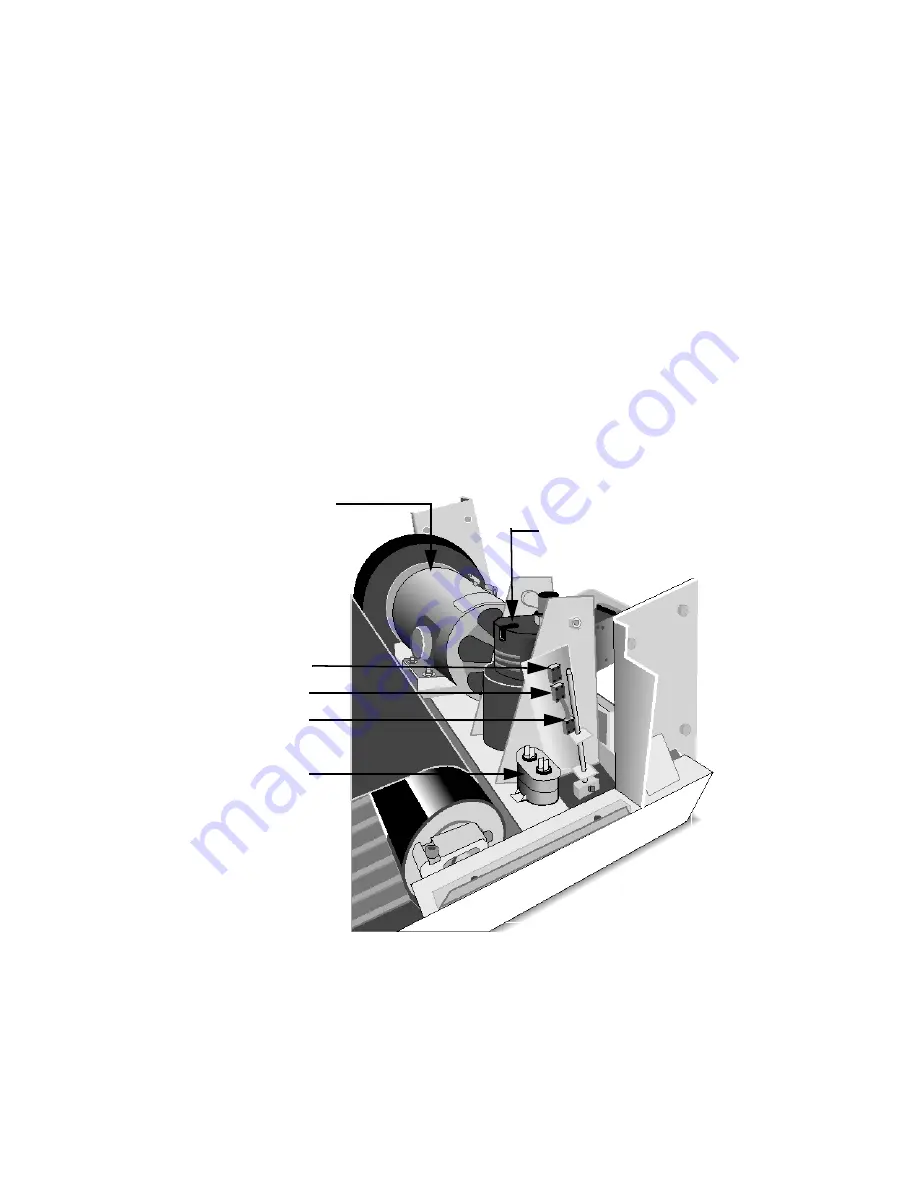
Diagram 6.2 - Parts Illustration (1Y Units)
Drive Motor
Lift Motor
Lower Limit Switch
Zero Sense Switch
Upper Limit Switch
Lift Capacitor
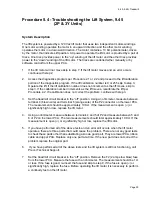
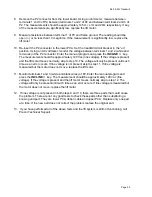
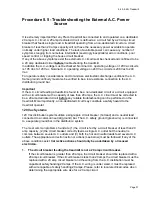
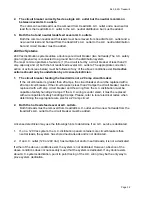
Содержание 9.45
Страница 55: ...9 45 9 45i Treadmill Page 55 Wiring Diagram 7 1 9 45 1L Unit...
Страница 56: ...9 45 9 45i Treadmill Page 56 Block Diagram 7 2 9 45 1L Units...
Страница 57: ...9 45 9 45i Treadmill Page 57 Wiring Diagram 7 3 9 45 2P 3Y Units...
Страница 58: ...9 45 9 45i Treadmill Page 58 Block Diagram 7 4 9 45 2P 3Y Units...

