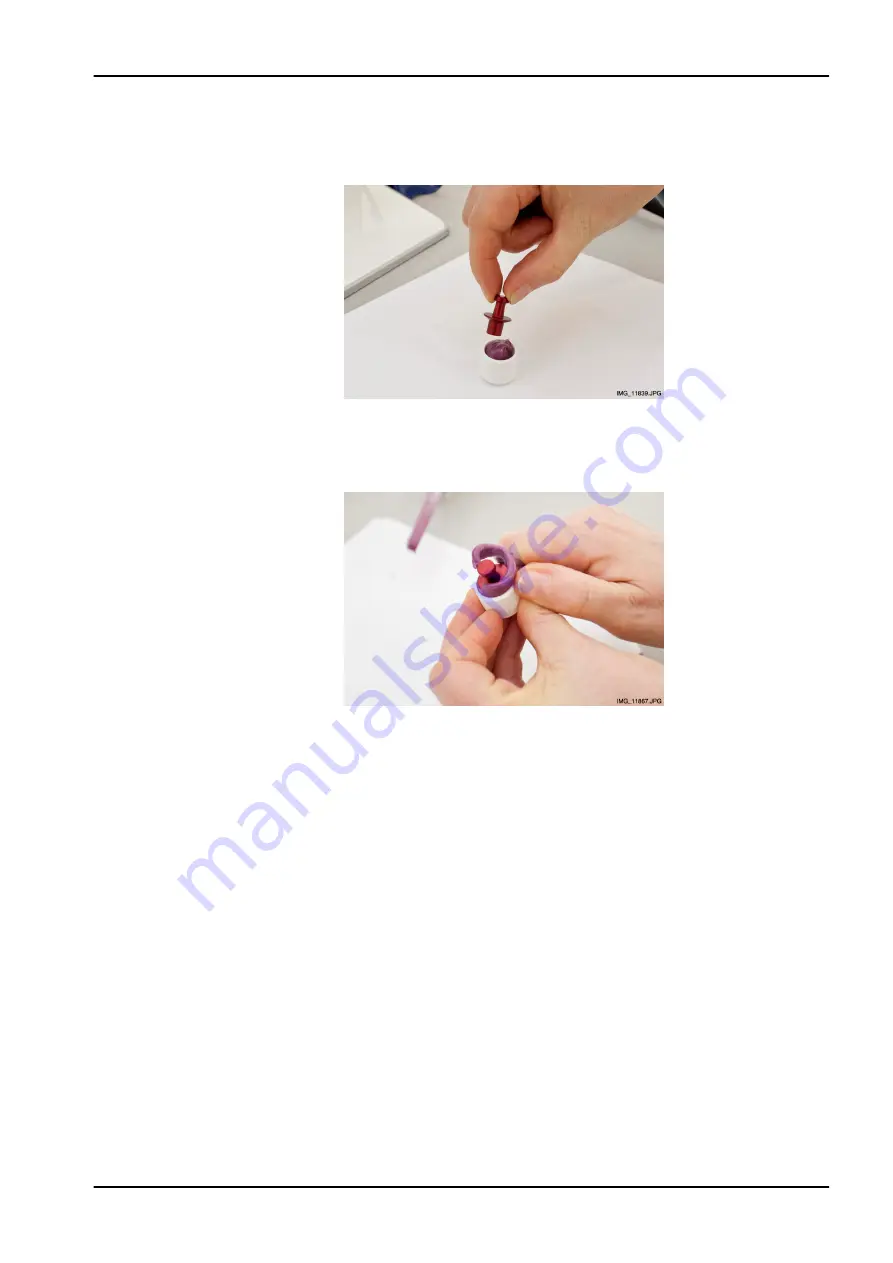
2. Place the calibration pin provided (part number 10031265) in the
material. Note that the calibration pin has to be pushed in thicker end
first. The middle rim has to be flush with the top edge of the calibration
cup.
3. Let the material set. The setting time depends on the material used. Wait
slightly longer than recommended in the instructions supplied by the
manufacturer to ensure proper hardening.
4. Remove all excess material from the top of the calibration cup.
5. Gently pull the calibration pin out and ensure that the surfaces of the
hole formed by the calibration pin are even (no air bubbles in inside
walls).
10 3D model exposure
User's manual
Planmeca ProMax 59
Содержание ProMax 3D Mid
Страница 1: ...PlanmecaProMax 3D Plus 3D Mid user s manual 3D imaging EN 10032998 10032998...
Страница 104: ......
Страница 105: ......


