THH960
User Manual
(v1.6)
31
The direction ring and selection button (see 1.3.1 item 12) can also be
used to scroll and select.
Step 2 Reenter the Measure/Capture submenu
(as needed) and follow the steps
described in 3.2.2.3 through 3.2.2.5 to adjust the region, to set the region
emissivity, and select the OSD display settings for the region.
Step 3 Tap the screen outside of the menu area when you are finished modifying all
of the region measurement parameters.
3.2.2.3
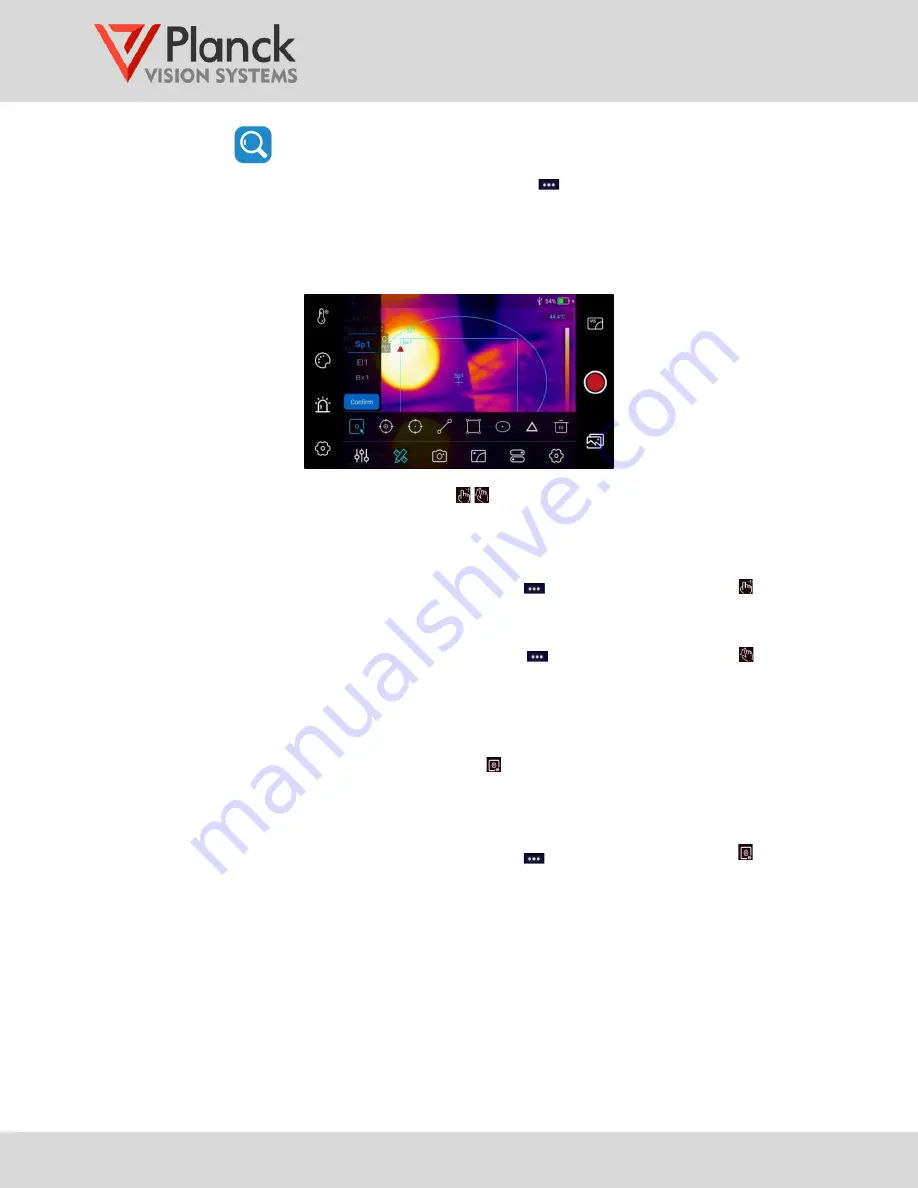
Move and scale measurement region ,
Use the following steps to change the position and size of a selected region.
Step 1 Select the region of interest using the steps outlined in 3.2.2.2.
Step 2 Reenter the Measure/Capture submenu
(as needed) and tap the icon to
move the selected region position. The position may be moved on the touch
screen or by using the direction ring (see 1.3.1 item 12).
Step 3 Re-enter the Measure/Capture submenu
(as needed) and tap the icon to
adjust the selected region size. Adjust the region size on the touch screen (by
dragging the sides) or by using the direction ring (see 1.3.1 item 12).
Step 4 Tap the screen outside of the menu area to complete the regional settings.
3.2.2.4
OSD settings for regional measurements
Use the following steps to change the display settings for a selected region.
Step 1 Select the region of interest using the steps outlined in 3.2.2.2.
Step 2 Reenter the Measure/Capture submenu
(as needed) and tap the icon to
set the temperature measurement display content.
Step 3 Use the touch screen toggle switches to choose the content to be displayed or
by using the direction ring and selection button (see 1.3.1 item 12). The marker
switch is used to display the location of minimum and maximum temperatures.
The emissivity switch is used to display the value corresponding to the region.


