Getting started
03
70
En
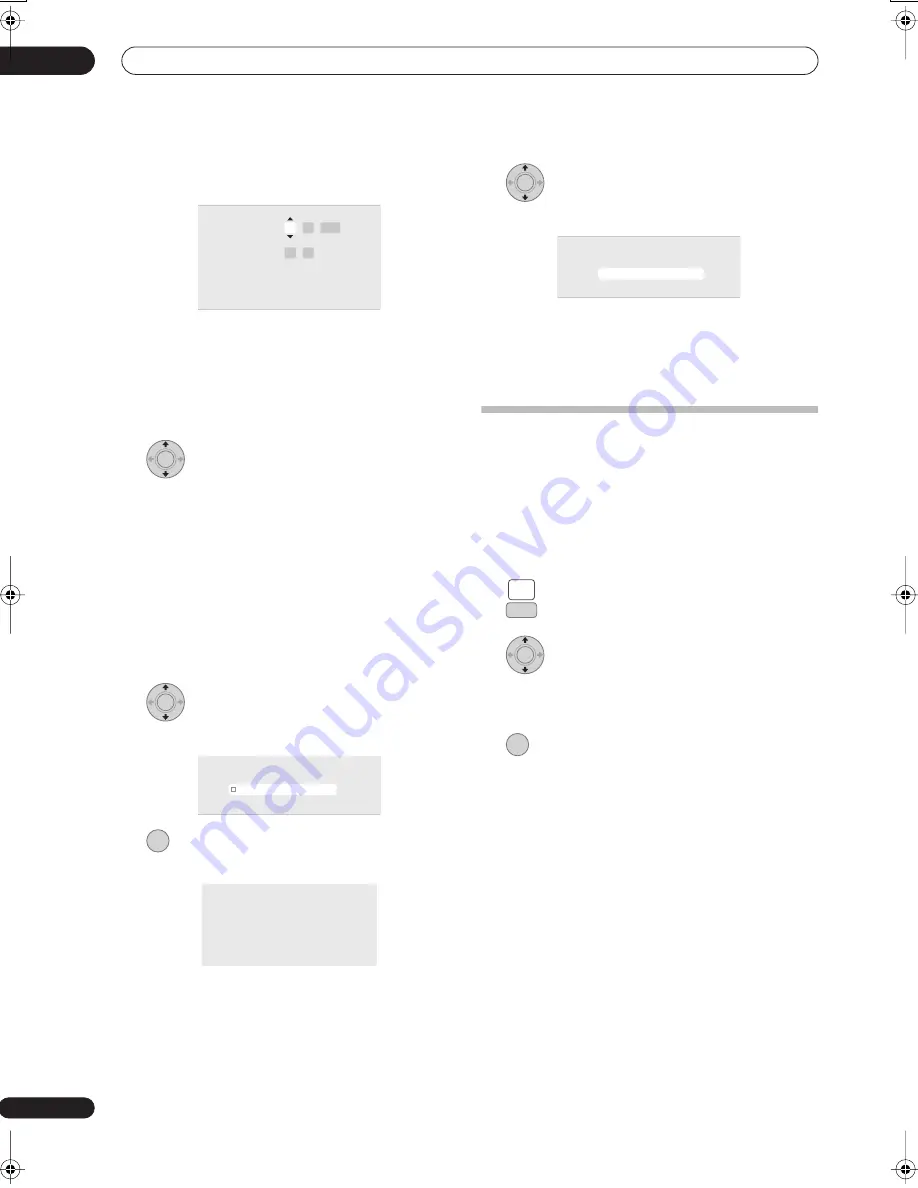
Set the date (day/month/year) and time, then
press ENTER to make all the settings.
• Use the
/
buttons to change the value in the
highlighted field.
• Use the
/
buttons to move from one field to
another.
• You can go back to the previous screen in the Setup
Navigator by pressing
RETURN
.
10
Select the EPG (Electronic Programme
Guide) type to use.
•
GUIDE Plus+
: Use the Gemstar GUIDE Plus+ EPG
(see also
Setting up the GUIDE Plus+® system
on
page 71 and
Using the GUIDE Plus+ electronic
programme guide
on page 74).
•
Digital EPG
: Use the SI EPG (programme information
broadcast together with digital channels).
• If no channels were found when scanning for digital
TV channels then this screen does not appear and the
EPG is set according to the country set in step
7
above.
11
Select the TV screen type, ‘Wide (16:9)’ or
‘Standard (4:3)’.
12
Press to continue after reading the HDD
caution.
13
Select ‘Finish Setup’ to exit the Setup
Navigator, or ‘Go Back’ if you want to start again.
That completes basic setup using the Setup Navigator.
• If there are blank channels with no station, you can
set these to skip using the manual channel setting.
See
Manual CH Setting
on page 154.
For users receiving digital broadcast
services
This unit can set its internal clock automatically from
digital broadcasts. However, depending on the
broadcaster, the clock information received may not be
accurate.
Use the following procedure (while the recorder is not
recording) to set the clock manually.
1
Press HOME MENU.
2
Select ‘Initial Setup’ > ‘Basic’ > ‘Clock
Setting’.
3
Highlight the time setting.
4
Press to display the manual clock setting
screen.
5
Set the correct time.
Return to automatic clock setting
• To return to the automatic clock setting, follow the
instructions for ‘Replace Channels’ (page 153).
k Setting
Line System
er Save
P
p Navigator
p Navigator
Manual Clock Setting
Date
Time
Time Zone
Summer Time
O n
England
London
01 /
/
01
00 : 00
2007
MON
2/2
ENTER
ENTER
k Setting
Line System
er Save
P
p Navigator
p Navigator
TV Screen Size
Wide (16:9)
Standard (4:3)
ENTER
k Setting
Line System
er Save
P
p Navigator
p Navigator
In the event of HDD failure, recordings may
be lost or normal playback/recording may
not be possible.
As recordings might be lost in case of a HDD
failure, we recommend to use the HDD only
as temporary storage media.
Please copy recordings you want to keep
to recordable DVD.
Press ENTER to continue.
ENTER
k Setting
Line System
er Save
p Navigator
p Navigator
S e t u p i s c o m p l e t e !
F i n i s h S e t u p
G o B a c k
F i n i s h S e t u p
HOME
MENU
SETUP
ENTER
ENTER
02SDVRLX70D_EN.book 70 ページ 2007年7月18日 水曜日 午前10時9分
Содержание LX01
Страница 54: ... Section Two HDD DVD Recorder SDVR LX70D ...


