


Customer Care Center 1-800-732-2677
28
PROBLEM
SOLUTION
Rechargeable lithium-
ion battery is installed in
charging station but red
light is still blinking
• Check to make sure rechargeable battery is not inserted into charging station upside down. Battery end with
the contacts should be inserted into charging station.
• Make sure battery is fully seated and making good contact with charging station by pressing firmly and
slightly moving side to side.
• Remove battery from charging station. Disconnect power adapter, wait 5 seconds then reconnect. Reinsert
battery into charging station.
• Make sure battery is not too cold (below 32°F/ 0° C) or too hot (above 140° F/ 40° C). If battery is too
cold or too hot, leave battery at room temperature for an hour then try again.
• Ensure supplied power adapter is being used.
• Try another battery power adapter if available (pet door uses same adapter).
• Try another batter in charging station if available.
Charger is plugged
in and battery is NOT
inserted but red light is
illuminated
• If power adapter has a LED, check if light on power adapter is illuminated to ensure adapter is receiving
power.
• Make sure power adapter connector is fully inserted in connection on charging station.
• Plug power adapter into another outlet to ensure outlet is working properly.
• Try another power adapter if one is available (pet door uses same adapter).
ATTENTION screen:
Low Battery Mode
• Recharge battery.
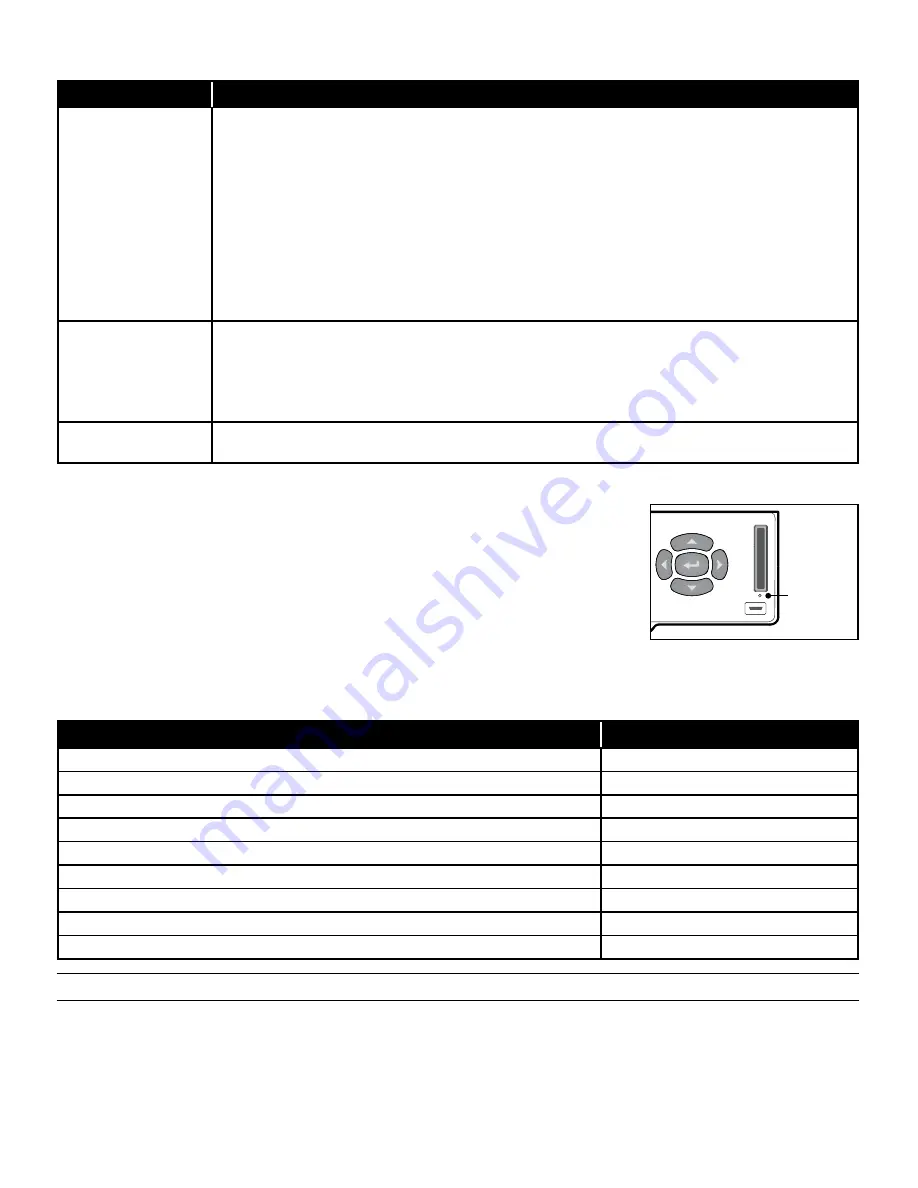
Reset Button
If a problem continues or if you still have issues after turning off your SmartDoor
™
Plus, you
may need to reset your pet door. The reset button “reboots” your pet door while keeping your
programmed settings. The Reset Button is the small, pin-sized button located on the control
panel. Use a small push pin or paper clip to access the Reset Button. Push and then release.
After your pet door reboots, the startup screen will appear and then return to the Main Menu.
Replacement Parts and Accessories
Replacement parts or accessories for your SmartDoor Plus pet door can be purchased by visiting
www.petsafe.net
or by
contacting our Customer Care Center at
1-800-732-2677
.
Customer Care International
USA & Canada - Tel: 800-732-2677 / Monday - Friday 8 AM - 8 PM / Saturday 9 AM – 5 PM
Australia - Tel: 1800 786 608 / Monday - Friday 8:30 AM - 5 PM
New Zealand - Tel: 0800 543 054 / Monday - Friday 10:30 AM - 7 PM
Reset Button
Reset Button
Reset Button
Description
Part Number
SmartDoor Plus Key
PAC00-13798
SmartDoor Plus Rechargeable Battery with Charge Station
PAC00-13799
SmartDoor Plus Wall Entry Kit, Small+
MPA19-13800
SmartDoor Plus Wall Entry Kit, Medium
MPA19-13801
Rechargeable Lithium-Ion Battery (battery only)
MPA19-13812
Power Adapter
MPA19-13813
Installation Hardware Kit
MPA19-14363
Battery Doors and LCD Door Kit
MPA19-14364
Wall Entry Installation Hardware Kit
MPA19-14367


