C o n f i g u r a t i o n
4-17
3
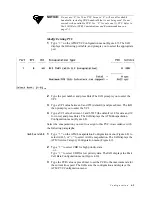
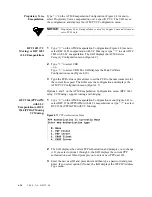
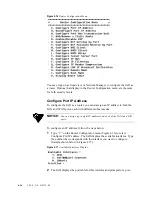
Type the port to configure and press Enter. The IAD displays the IP
interfaces on the port you’re configuring:
4
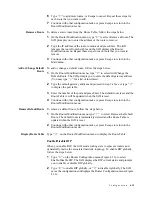
Enter the ID of the interface (0-7) to configure and press Enter. The IAD
displays the current IP Address and prompts for a new one.
5
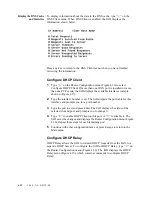
Type the new IP address and press Enter. The IAD displays the current
Subnet Mask and prompts for a new one:
6
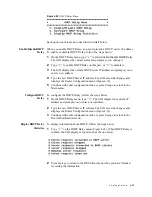
Type the new Subnet Mask address and press Enter. The IAD prompts you
to determine traffic priority on this port:
7
Do one of the following:
Set the interface to high priority to type
“H”
−
or
−
Set the interface to normal priority to type
“N”
Configuration is complete.
8
The IAD then prompts you to save the new information.
9
Type
“Y”
to confirm your changes, or press Escape to cancel. If you
confirm, the IAD saves the settings. If bridging is enabled and an IP address
is assigned on the WAN interface, the IAD displays an IP Over Bridge
prompt.
10
Type
“E”
to enable IP Over Bridge on the WAN port, or
“D”
to disable it.
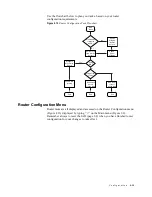
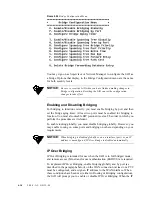
The IAD saves the changes and displays the Router Configuration menu
(Figure 4.16).
11
Repeat the steps listed above for each remaining port to configure.
12
Continue with other configuration tasks, or press Escape to return to the
Main menu.
13
Reset the IAD when you finish router configuration.
Unconfigure Port IP Address
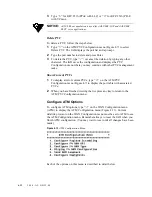
To unconfigure a Port IP Address, follow the steps below.
1
Type
“U”
on the Router Configuration menu (Figure 4.16) to select
Unconfigure Port IP Address. If more than one WAN port is installed or
more than one PVC exists, the IAD displays the interfaces on this IAD
(sample shown in Figure 4.17).
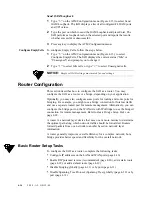
2
Type the interface number to which the IP address is assigned.The IAD
displays the port table for this interface and prompts you to select a port.
3
Type the port and press Enter. The IAD displays the IP interfaces on the
port you’ve selected.
4
Enter the ID of the interface to delete and press Enter. The IAD deletes the
IP address and saves the configuration.
5
Continue with other configuration tasks, or press Escape to return to the
Router Configuration menu.
Содержание JetFusion 2004
Страница 12: ...viii 2 0 0 0 A 2 G B 2 2 0 0...
Страница 20: ...1 6 2 0 0 0 A 2 G B 2 2 0 0...
Страница 174: ...6 12 2 0 0 0 A 2 G B 2 2 0 0...
Страница 184: ...8 4 2 0 0 0 A 2 G B 2 2 0 0...
Страница 186: ...A 2 2 0 0 0 A 2 G B 2 2 0 0...
Страница 187: ...M e n u M a p A 3...
Страница 188: ...A 4 2 0 0 0 A 2 G B 2 2 0 0...

