15
Set Preview Mode
By default, the
Preview mode
is
On
, allowing you to preview the JPG scanned image for 2
seconds immediately after scanning. Two options appear on the screen with the image
allowing you to press
to
Save
(default)
or
to
Delete
the image immediately
(delete
confirmation displays during deletion)
.
When
Preview mode
is off, the JPG scanned image is saved immediately without displaying
a preview.
Scans performed with
Preview mode
off
use less battery power, so you can expect more
scans with
Preview mode
off.
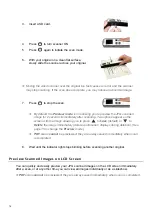
Change the Preview mode:
1. With
the
screen displayed, press
to enter
Menu
mode.
2. Press to focus on
Preview
, and then press
to select it.
3. Press to focus on
Off
, and then press
to select it.
4. Press to exit.
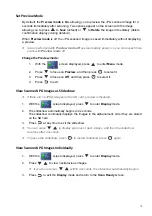
View Scanned JPG Images as Slideshow
If there are no JPEG images on the SD card, preview is disabled.
1. With
the
screen displayed, press
to enter
Display
mode.
2.
The slideshow automatically begins in 4 seconds.
The slideshow continually displays the images in the alphanumeric order they are stored
on the SD card.
3. Press at any time to exit the slideshow.
You can press
to display previous or next images, and then the slideshow
resumes after 4 seconds.
To pause the slideshow, press
; to restart slideshow press
again.
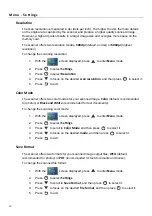
View Scanned JPG Images Individually
1. With
the
screen displayed, press
to enter
Display
mode.
2. Press
to view next/previous images.
If you do not press
within 4 seconds, the slideshow automatically begins.
3. Press to exit the
Display
mode and return to the
Scan Ready
screen.


