44
Note:
To move the camera to another registered preset
position, press the SET button after selecting a desired
preset position number in step 2. The PRESET/AUTO
PAN window will not close and it is possible to select
another preset number.
■
Auto Function (Auto Pan, etc)
Moves a camera with an auto function set in advance.
Important:
When monitor 1 is selected, it is impossible to move a
camera with an auto function by performing the follow-
ing steps.
In this case, perform the settings using the setup menu
of camera.
z
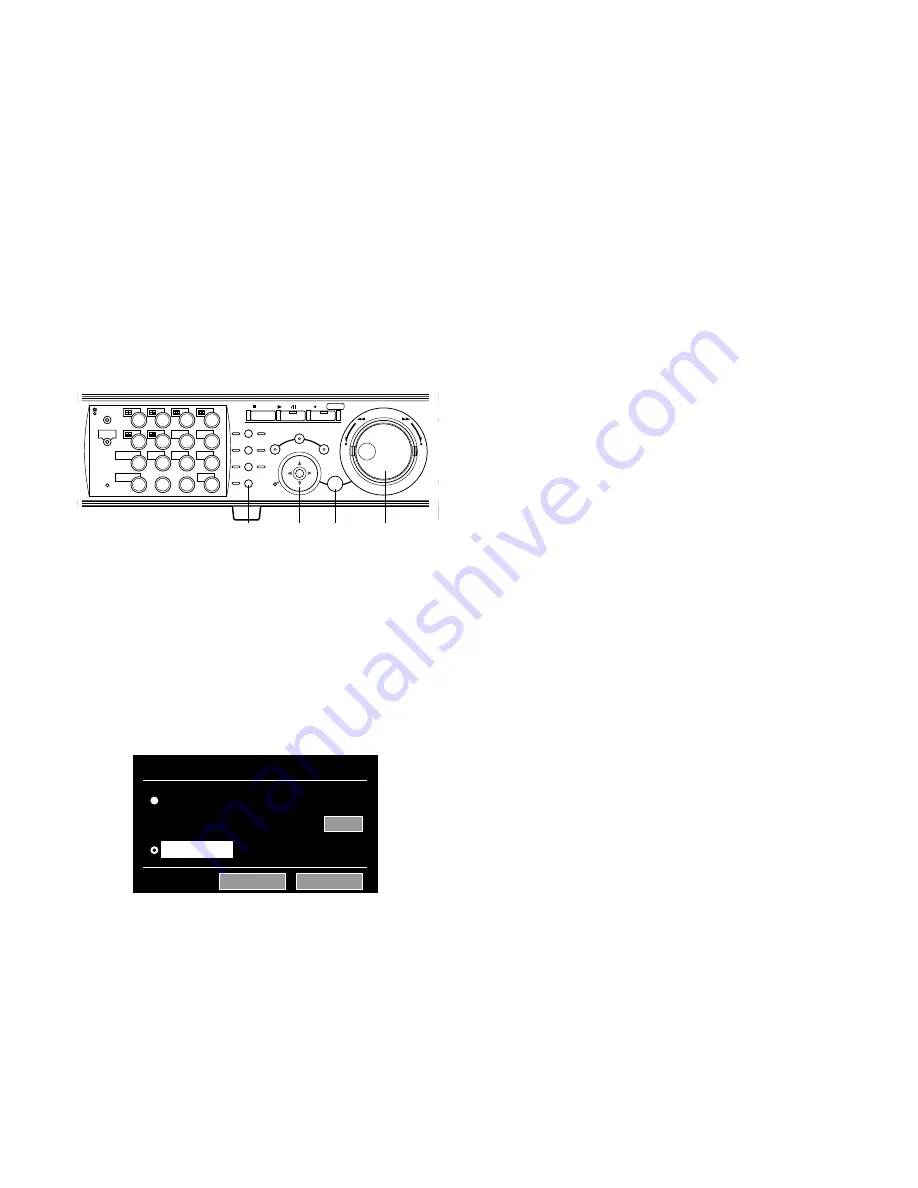
Press the PRESET/AUTO button.
The PRESET/AUTO indicator will light and the PRESET/
AUTO PAN window will be displayed.
x
Move the cursor to "AUTO PAN" using the
arrows button and check the radio button next
to "AUTO PAN" using the jog dial.
c
Select "OK" using the arrows button and press
the SET button.
The PRESET/AUTO PAN window will be closed and auto
function will start.
During auto function, it is impossible to register a preset
position. To close the PRESET/AUTO PAN window, select
"CANCEL" using the arrows button and press the SET but-
ton. The setting will be canceled and the PRESET/AUTO
PAN window will be closed.
Note:
Refer to the operating instructions of the camera for
further information about the auto function of the cam-
era in use.
R
2
R
1
LOGOUT
MONITOR1
MONITOR2
5
9
2
6
10/0
14
13
3
7
11
SHIFT
SEQ
COPY
DISK SELECT
EL-ZOOM
TEXT
LOGOUT
4
8
12
OSD
MARK
1
15
16
BUSY
316
REV
FWD
STOP
PLAY
PAUSE
REC - REC STOP
SEARCH
SETUP
/ESC
PAN/TILT
SLOW
A-B
REPEAT
GOTO
LAST
LISTED
ZOOM/
FOCUS
IRIS
PRESET
/AUTO
SET
–
+
z
x
xc c
PAN/
TILT
PRESET / AUTO PAN
PRESET NUMBER
PRESET
AUTO PAN
32
OK
CANCEL


