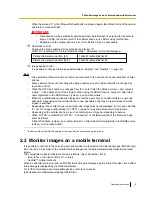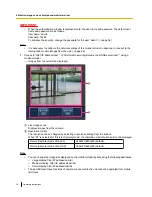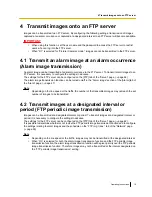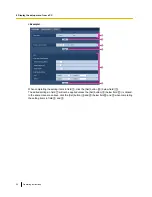
[Image capture size] buttons
These buttons will be displayed only when a JPEG image is displayed.
[VGA]
The characters “VGA” will turn green and images in the main area will be
displayed in VGA size.
[QVGA]
The characters “QVGA” will turn green and images in the main area will be
displayed in QVGA size.
[640x360]
The characters “640x360” will turn green and images in the main area will be
displayed in 640x360 (pixels).
[320x180]
The characters “320x180” will turn green and images in the main area will be
displayed in 320x180 (pixels).
[D1]
The characters “D1” will turn green and images in the main area will be displayed
in D1 (NTSC: 720x480 pixels, PAL: 720x576 pixels).
Note
•
The buttons [VGA] and [QVGA] are displayed only when “VGA [4:3]” is selected for “Picture
(Camera) mode”.
•
The buttons [640x360] and [320x180] are displayed only when “VGA [16:9]” is selected for “Picture
(Camera) mode”.
•
The [D1] button will be displayed only when “D1” is selected for “Picture (Camera) mode”.
[Image quality] buttons
These buttons will be displayed only when a JPEG image is displayed.
•
[1] button:
Images in the main area will be displayed in accordance with the setting for “Quality1” of
“Image quality setting”. (
®
page 33)
•
[2] button:
Images in the main area will be displayed in accordance with the setting for “Quality2” of
“Image quality setting”. (
®
page 33)
[Zoom] buttons
*2
•
:
Click this button to adjust the zoom ratio to the “Wide” side.
•
:
Click this button to set the zoom ratio to x1.0.
•
:
Click this button to adjust the zoom ratio to the “Tele” side.
[Focus] buttons
*2
•
:
Click this button to adjust the focus automatically.
•
:
Click this button to adjust the focus to the “Near” side.
•
:
Click this button to adjust the focus to the “Far” side.
[Auto mode]
*2
Select an operation from the pull-down menu and click the [Start] button. The selected operation will start.
Click the [Stop] button to stop the operation.
The selected operation will stop when the camera (panning/tilting/zooming/focusing) is operated.
•
Auto track:
Automatically performs tracking for cameras that supports auto track.
•
Auto pan:
Automatically pans between the start position and the end position set in advance.
Even when the camera is operated for zooming or focusing, the camera continues panning.
(However, panning will stop when the zoom button (x1) is clicked.)
•
Preset sequence:
Automatically moves to the preset positions orderly (start from the lowest preset
position number).
•
Patrol 1-4:
Performs patrols 1-4 that were set in advance.
Note
•
To check if the camera supports auto track, refer to the operating instructions of the camera.
10
Operating Instructions
1 Monitor images on a PC

