149
English
Performing a capture operation
1
Start “App Launcher” from the control menu.
App Launcher
2
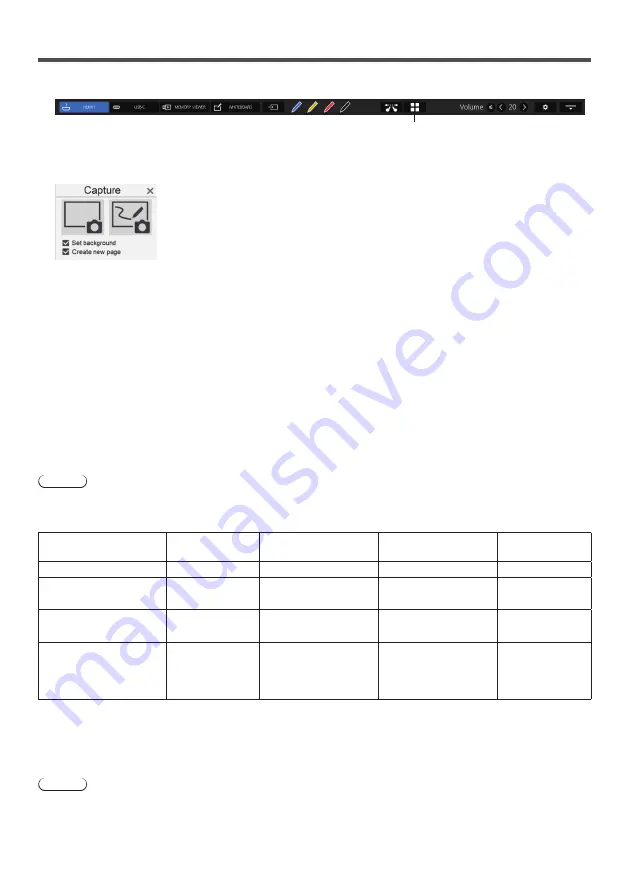
Start [Capture] from App Launcher.
Capture App will start.
3
Click the Capture button (on the right or left)
An image is captured according to the function.
The capture function of this unit has the following two modes:
Video only (left button): Captures only a video, not including drawings on WhiteBoard
Screen shots are saved during zooming, simple drawing, screen splitting, or image display is active.
With USB input, screen shots are always saved.
WhiteBoard capture (right button): Captures an image, superimposing drawing on WhiteBoard on it
[Set background]:
Sets the captured image to the background of the WhiteBoard page when checked.
[Create new page]:
Sets the captured image to the background of a new page when checked. When it is not checked, it will be set to the
background of the current page.
Note
●
This item is valid only when [Set background] is checked.
The operating conditions for both modes are as described below. When it is disabled, it will be grayed out and you
cannot click it.
Status
Video only button
WhiteBoard Capture
button
[Set background]
checked
[Create new page]
checked
WhiteBoard not activated
Enabled
Disabled
Disabled
Disabled
WhiteBoard activated
(WhiteBoard mode)
Disabled
Enabled
Disabled
Disabled
WhiteBoard activated
(Transparent mode)
Enabled
Enabled
Enabled
Disabled
WhiteBoard activated
(Transparent mode
+ [Set background]
checked)
Enabled
Enabled
Enabled
Enabled
When you click a capture button, the captured image file is saved.
The file is saved in the USB memory when a USB memory is connected, and in the internal memory when it is not
connected.
A dialog is displayed when a file is saved.
Note
●
The capture operation during simple drawing is different. (see page 143)
●
Depending on the settings, colors of the captured data may differ from those of the original image.


