
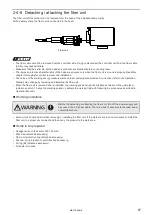

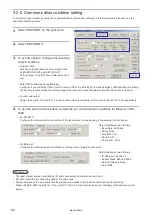

72
6.
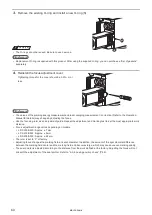
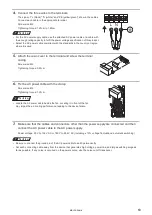
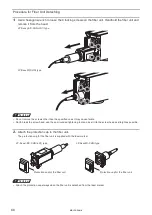
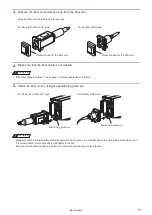
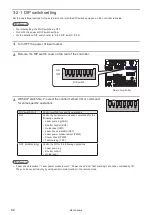
After the temporary fitting of the fiber unit by tightening loosely, evenly tighten the screws in a
criss-cross manner to the specified torque of 1.5 N·m.
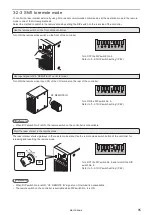
LP-Sxxx(-SF/-CHN/-LS1) type
LP-SxxxW(-CHN) type
ワㄐㄕㄊㄆ
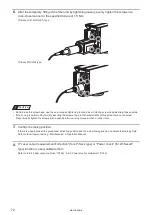
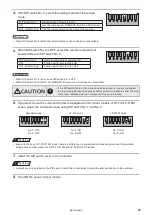
• Not to break the screw head, use the end-rounded tightening tool and insert it to the screw head as straight as possible.
• If the O-ring is deformed by forcibly inserting the screws, the proof characteristics of this product are not ensured.
Proportionally tighten the screws with a specified torque using torque wrench or other tools.
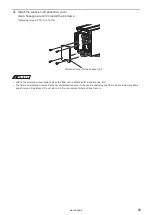
7.
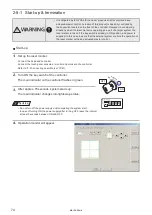
Confirm the lasing position.
If there is a gap between the guide laser indicating position and the actual lasing position, calibrate the marking field.
Refer to “Environment setting - Maintenance” in Operation Manual.
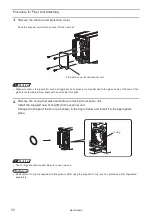
8.
If “Laser output measurement/correction” (for LP-Sxxx type) or “Power check” (for LP-SxxxW
type) function is used, calibrate them.
Refer to “4-2-8 Laser output optimize” (P.136), “4-2-9 Power monitor calibration” (P.140).
ME-LPS-SSM-8
Содержание LP-S Series
Страница 15: ...15 MEMO ME LPS SSM 8 ...
Страница 26: ...26 Chapter 1 Specification ME LPS SSM 8 ...
Страница 41: ...41 Chapter 2 Preparation ME LPS SSM 8 ...
Страница 78: ...Chapter 3 Connection for External Control ME LPS SSM 8 ...
Страница 126: ...Chapter 4 Maintenance ME LPS SSM 8 ...
Страница 148: ...Troubleshooting ME LPS SSM 8 ...
Страница 169: ...Index ME LPS SSM 8 ...
Страница 172: ...172 MEMO No 9000 0066 16V ME LPS SSM 8 ...
Страница 173: ...No 9000 0066 16V ...


