R
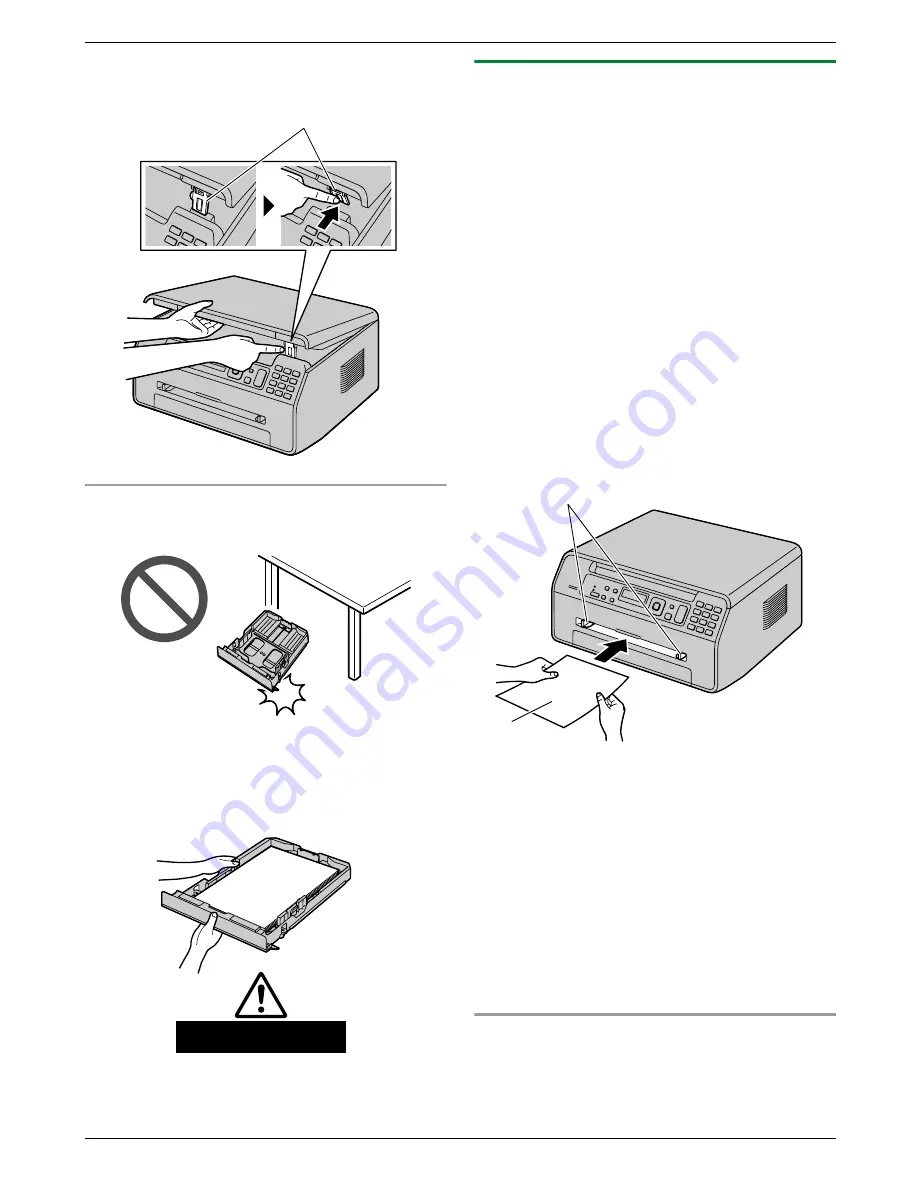
After use, pull up the paper exit, and then replace the
tab (
A
) to the original position.
A
Caution for the paper input tray
R
Do not drop the paper input tray.
R
Hold the paper input tray with both hands when
removing or installing. The paper input tray
weighs approximately 1.5 kg when fully loaded
with recording paper.
Approx. 1.5 kg
1.8.2 Manual input tray
You can use the manual input tray for printing with the
computer and for copying. It can hold one page at a time.
When printing or copying multiple pages, add the next
page after the first page has been fed into the unit.
R
Please refer to page 83 for information on recording
paper.
R
When printing with the computer, custom size
recording paper can also be used.
R
The unit is set for printing A4-size plain paper by
default.
–
To use other paper sizes, change the
recording paper size setting (feature #381 on
page 54).
–
To use thin or thick paper, change the
recording paper type setting (feature #384 on
page 54).
1
Adjust the width of the guides (
A
) to the size of the
recording paper.
2
Insert the paper, print-side up (
B
) until the unit
grasps the paper and a single beep is heard.
A
B
Note:
R
To print from the manual input tray;
– when printing with the computer, select #2 for the
printer properties.
– when making a copy, set the copy input tray
setting to
“
#2
”
beforehand (feature #460 on
page 60).
If these settings are not changed, when printing or
copying multiple pages, the 1st page will be printed
from the manual input tray, but the rest of the pages
will be printed from the paper input tray.
R
If the paper is not inserted correctly, re-adjust the
paper, or the paper may jam.
When printing on thick paper
R
When you use thick paper for the recording paper, be
sure to open the rear cover before start printing. Thick
paper will be printed out from the rear side.
15
1. Introduction and Installation


