– 124 –
Chapter 5 Shooting — Convenient shooting functions
Setting the size of the frame.
1
Select the size of the frame in the [OUTPUT SETTINGS] menu
→
[LCD MARKER]
→
[SAFETY AREA].
Displaying frame marker
A frame marker can be displayed.
1
From the [OUTPUT SETTINGS] menu
→
[LCD MARKER]
→
[FRAME MARKER], select the angle of view.
f
The frame marker is not displayed when [OFF] is selected.
Setting the display color
1
From the [OUTPUT SETTINGS] menu
→
[LCD MARKER]
→
[FRAME COLOR], select the display color.
@
@
NOTE
t
The marker cannot be recorded.
t
When the enlarged display function and the focus square display of the focus assist function is enabled and while displaying the color bars, the marker
is not displayed.
t
Displays/hides of the marker can be temporarily switched by pressing the USER button with [LCD MARKER] assigned.
t
The marker can be displayed in the output image from the <SDI OUT> terminal by setting in the [OUTPUT SETTINGS] menu
→
[SDI OUT] →
[MARKER DISP]
→
[ON], and setting [SDI/HDMI MARKER]. Similarly, the marker can be displayed in the output image of the <HDMI> terminal by
setting the [OUTPUT SETTINGS] menu
→
[HDMI OUT]
→
[MARKER DISP]
→
[ON].
One-push auto focus function
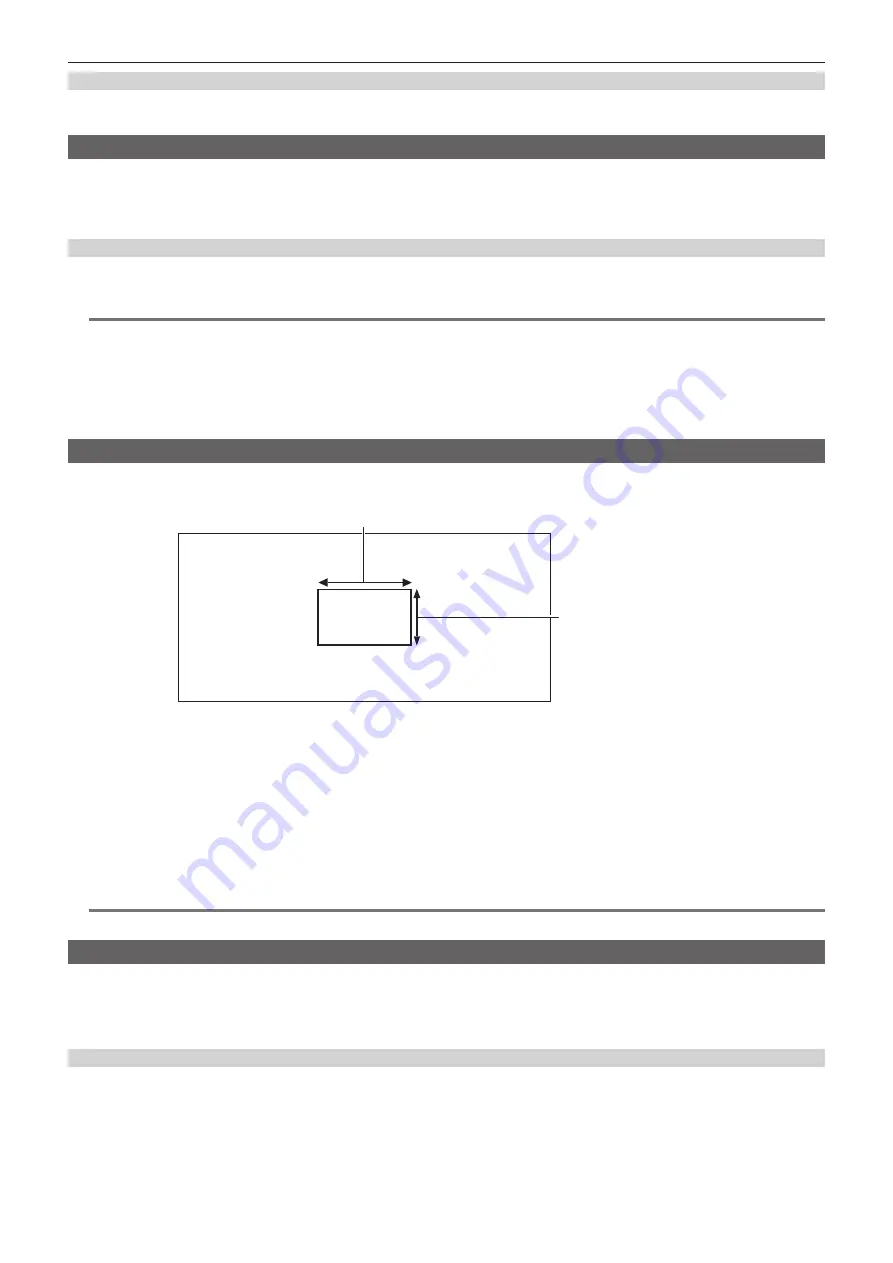
The one-push auto focus function is a function to automatically adjust the focus.
The focus area is 1/3 of the screen height and 1/4 of the width.
1/4 or more of the screen width
1/3 or more of the screen
height
r
Assign [ONE PUSH AF] to the USER button
Set so enable/disable of the one-push auto focus function can be switched with an arbitrary USER button.
1
Select the [SYSTEM SETTINGS] menu
→
[USER SWITCHES]
→
[USER1] to [USER9]
→
[ONE PUSH AF].
f
[ONE PUSH AF] is assigned to the <USER 1> button as a factory setting.
r
Using the one-push auto focus function
1
Set the focus switch on the lens to AF.
2
Press the USER button to which [ONE PUSH AF] is assigned.
@
@
NOTE
t
The one-push auto focus function operates only when a lens compatible with the auto focus is mounted.
Focus assist function
The focus assist function enables you to focus the target easily.
The recording image on the LCD monitor can be displayed enlarged, or the focused area can be visually enhanced.
It is also possible to make the focusing easier by changing the aperture of the iris to decrease the depth of field.
The focus assist function is displayed only on the LCD monitor.
Enlarged display function
Center of the recording image is displayed enlarged to make it easier to focus.
r
Assigning [EXPAND] to the USER button
Set so enable/disable of the enlarged display function can be switched with an arbitrary USER button.
1
Select the [SYSTEM SETTINGS] menu
→
[USER SWITCHES]
→
[USER1] to [USER9]
→
[EXPAND].
f
[EXPAND] is assigned to the <USER 8> button as a factory setting.
Содержание AU-EVA1E
Страница 9: ...Before using the camera read this chapter Chapter 1 Overview ...
Страница 142: ...This chapter describes the screen displayed on the output video and LCD monitor Chapter 7 Output and Screen Display ...
Страница 158: ...Maintenance of the camera or frequently asked questions are described Chapter 9 Notes ...
Страница 168: ...This chapter describes the specifications of this product Chapter 10 Specification ...
Страница 169: ... 169 Chapter 10 Specification Dimensions Dimensions 135 mm 235 mm 133 mm 196 mm 183 mm 100 mm 170 mm 217 mm ...


