10400455-002
©2008-14 Overland Storage, Inc.
211
SnapScale/RAINcloudOS 4.1 Administrator’s Guide
8 - Maintenance
2.
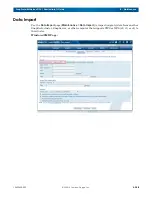
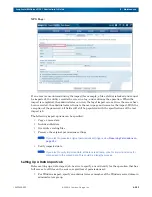
Once you have completed the import information, click
Start Import
to begin the import.
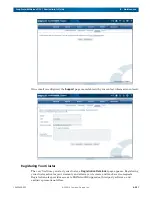
You can see the progress of the import, the estimated time until completion, and the
import log on the secondary
Data Import
page.
3.
When the import is complete, click
View Log
to see details of all errors. Click the
Data
Import Error Log
link to download the entire log.
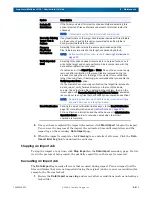
Stopping an Import Job
To stop the import at any time, click
Stop Import
on the
Data Import
secondary page. If a file
was in the process of being copied, the partially-copied file on the target is removed.
Recreating an Import Job
The
Data Import
log records all errors that occurred during import. You can import just the
files and folders that were not imported during the original job due to an error condition (for
example, the file was locked).
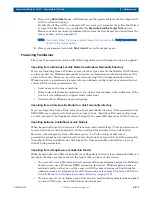
1.
Review the
Data Import
errors log
and correct all error conditions (such as unlocking a
locked file).
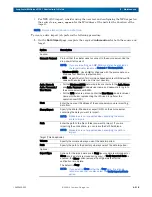
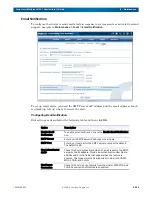
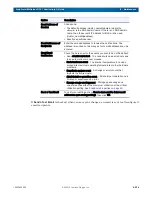
Include All
Sub-folders
If the folder you select for import contains subfolders, selecting this
option imports all files and folders underneath this folder (default is
checked).
NOTE: If disabled,
only
the files in this folder are imported.
Overwrite Existing
Target Files &
Folders
If any files/folders on the target have identical names with files/folders
on the source, checking this option overwrites those files/folders
during import (default is checked).
Preserve
File/Folder
Permissions
Selecting this option retains the source permissions when the
files/folders are imported to the target (unchecked by default).
NOTE: Before selecting this option, review
.
Verify Imported
Data
Selecting this option causes all source data to be read twice, once to
write to the target and once to perform a binary comparison with the
data written (default is unchecked).
If enabled and, if the Import Type is Move, files on the source are only
removed after verification. Otherwise, files are removed during the
process of copying them to the target. If you select to move the files
rather than copy them, it is strongly recommended that you enable the
Verify Imported Data option.
If a file mismatch occurs during verification, the target file is moved to
a
data_import_verify_failures
directory on the root of the same
volume. Check the failed file to determine the problem, then run the
import again with Overwrite Existing Target Files & Folders deselected
(so you do not re-copy files that have already been copied and verified).
NOTE: Depending upon how much data is being imported, verifying
imported data can be a lengthy process.
Email Notification
Clicking the email notification link takes you to the Email Notification
page (for more information, see
Email Notification on page 225
Fill in notification information and check the box next to Administrative
Operation Event in order to receive an email when the import
operation is complete.
Option
Description

