10400455-002
©2008-14 Overland Storage, Inc.
182
SnapScale/RAINcloudOS 4.1 Administrator’s Guide
6 - Security Options
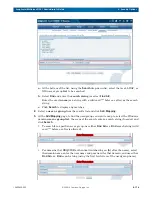
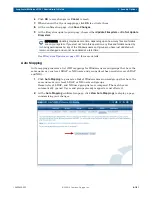
3.
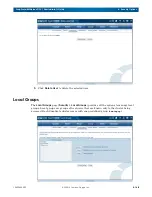
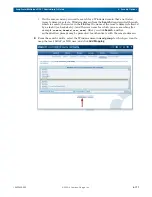
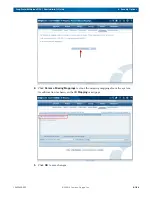
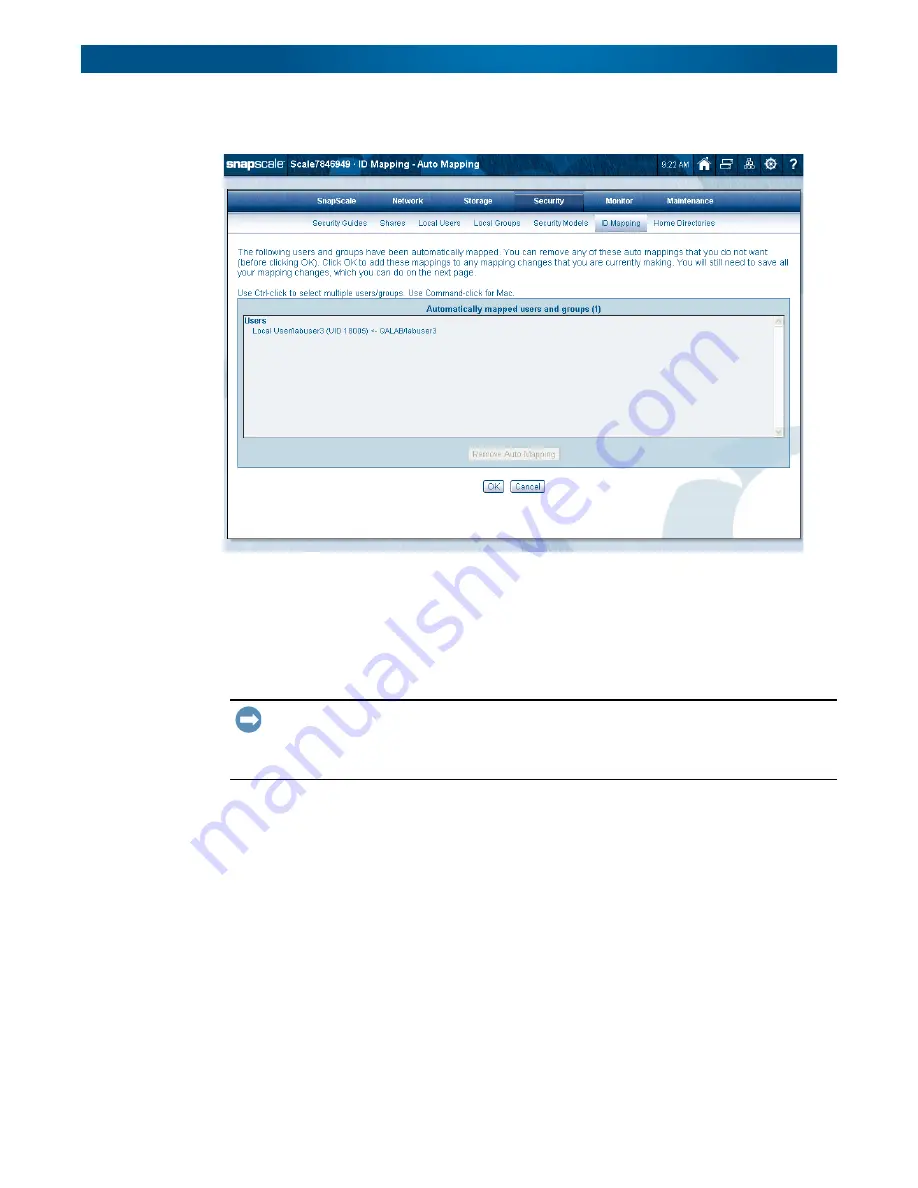
At the summary page, verify the
mappings
and remove (
Remove Auto Mapping
) any
users or groups you do not want to map.
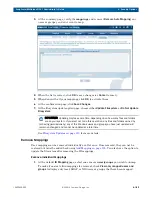
4.
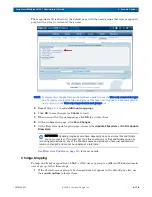
When the list is correct, click
OK
to save changes (or
Cancel
to reset).
5.
When done with all your mappings, click
OK
to activate them.
6.
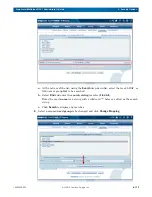
At the confirmation page, click
Save Changes
.
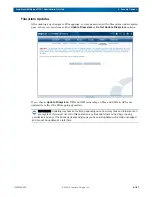
7.
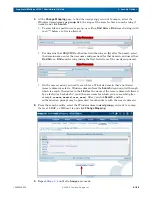
At the filesystem update option page, choose either
Update Filesystem
or
Do Not Update
Filesystem
.
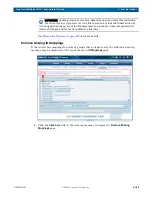
IMPORTANT: Updating may take some time, depending upon how many files and folders
are on your system. If you elect not to do this operation, any files and folders owned by
(or having permissions by) any of the Windows users and groups you have just updated will
remain unchanged and cannot be updated at a later time.
Filesystem Updates on page 213
for more details.
Remove Mappings
User mappings can be removed individually or all at once. Once removed, they can not be
restored but must be added back using
. You also have the option to
update the filesystem after removing the ID mappings.
Remove Individual Mappings
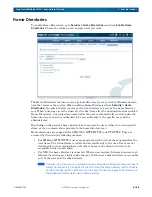
1.
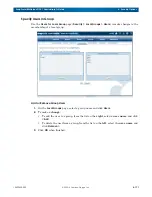
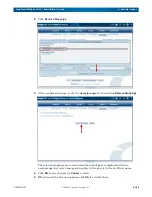
At the default
ID Mapping
page, select one or more
users/groups
you wish to unmap.
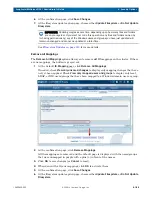
To make it easier to find mappings for removal, check
View only mapped users and
groups
to display only local, LDAP, or NIS users or groups that have been mapped.

