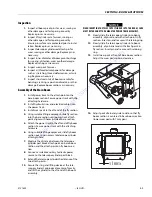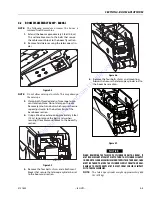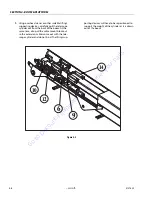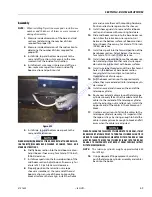
SECTION 4 - BOOM & PLATFORM
4-16
– JLG Lift –
3121623
Disassembly
CAUTION
THE SEALS MUST BE REMOVED USING APPOSITE TOOLS, SEALING SUR-
FACES MUST NOT BE DAMAGED.
1.
After disassembly all parts must be cleaned and
degreased.
2.
Clean all parts with compressed air.
3.
Lubricate all sealing surfaces.
4.
Make sure that the seals are not damaged during
disassembly and assembly.
NOTICE
REMOVE ONLY WHEN THE ACTUATOR IS UNINSTALLED FROM THE
MACHINE/EQUIPMENT.
5.
Fix the actuator to the bench.
6.
Remove valve V, plugs and any bleeder screws
on the body (eg 1, 2).
NOTE:
Place a suitable container below the actuator to col-
lect oil.
7.
Remove protection ring M.
8.
Remove the locking pins S.
9.
Loosen flange F from shaft A using hole Ø6 and
using an appropriate wrench. We recommend
make equipment to facilitate the operation.
NOTE:
Before unscrewing, make a reference between shaft
and flange and measure the gap between them on
side A.
10.
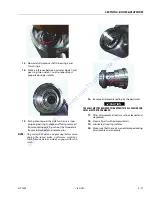
Now carefully remove bearing 5 and thrust ring
4 .
11.
Using holes Ø6 on the head of shaft and using a
proper wrench, rotate shaft A clockwise to bring
piston P to touche against the stop on body C.
12.
With the piston stop, rotate the shaft anti-clock-
wise and this will march by the body.
NOTE:
On gear teeth of shaft and piston (before disengag-
ing the same) make a reference, marking a tooth for
every detail on which engages with reciprocal.
Detail 8, remove before removing shaft!
Go to
Discount-Equipment.com
to
order your
parts


