


Note:
Do not enter plaintext values in the password fields.
11.
On the Ready to Complete screen, review the selections, and do one of the following:
•
Edit a previous screen by way of the Back button.
•
When the edits are completed, or if no edits are required, click Finish
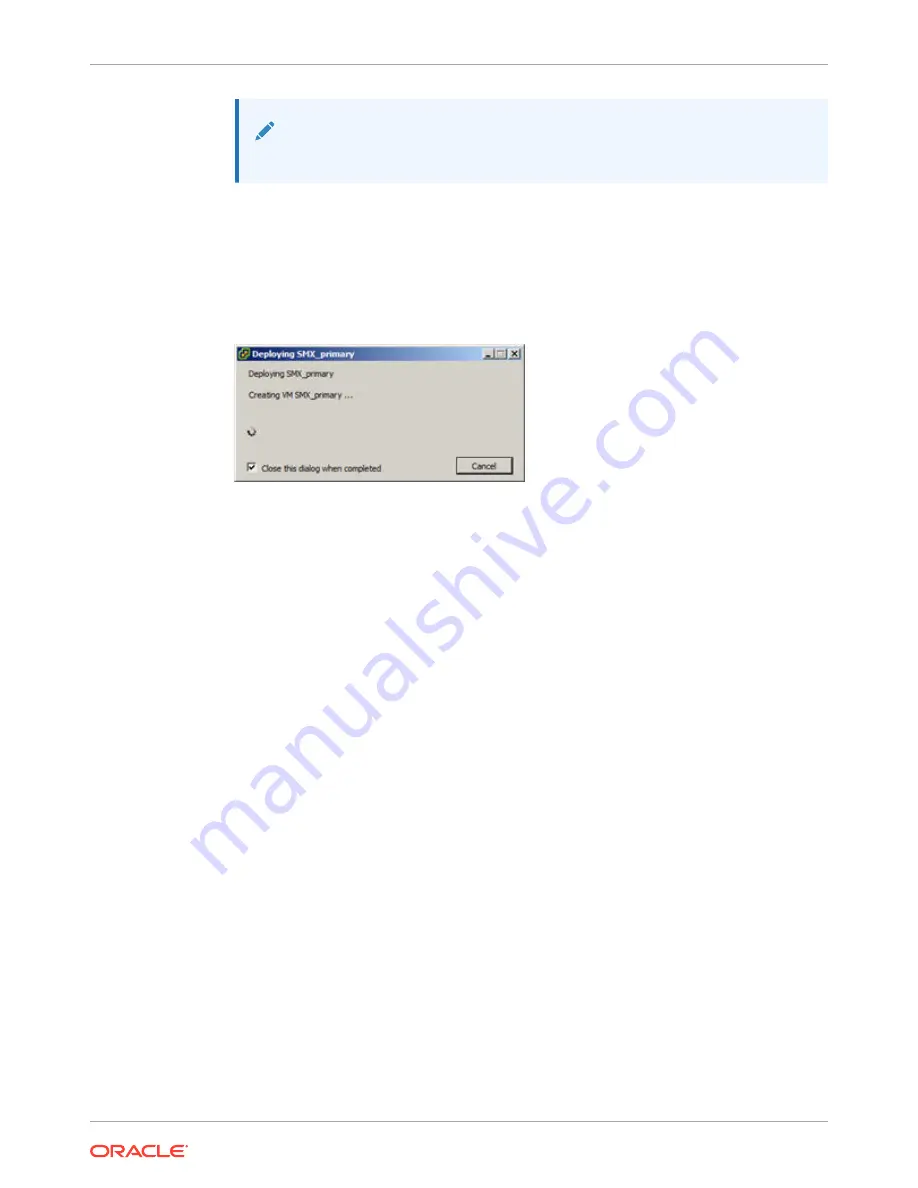
The system displays the Deploying screen.
Figure 6-2 OVF Deployment Status Dialog
When the Deploying screen closes, VM creation and deployment is completed.
Create and Deploy on Hyper-V®
Follow the steps below to deploy the Oracle Communications Session Border Controller
(OCSBC) on Hyper-V on Windows 2012 R2 (Generation 1). This procedure assumes you
understand deployment with Hyper-V hypervisor and that the majority of deployment tasks,
from hardware installation and startup to Virtual Machine (VM) resource and management
setup, are complete.
For information on Hyper-V, refer to the following link.
https://docs.microsoft.com/en-us/windows-server/virtualization/virtualization
Before You Begin:
•
Refer to your OCSBC version's Release Notes for minimum required memory and CPUs.
•
Confirm that the Hyper-V hypervisor is installed on an appropriate network server.
•
Confirm that the server has 40GB of space for this installation.
•
Confirm the number of network interfaces needed for your deployment. (Wancom0,
wancom1 and wancom2 should be Legacy Network Adapters; all others should be
Network Adapters (PV).
•
Confirm the amount of memory needed for your deployment.
•
Confirm the number of processors to use for your deployment.
•
Confirm your .vhd (Virtual Hard Drive) file is available to Hyper-V in a permanent location.
Keeping this Oracle distribution on the same physical server as the Hyper-V manager
ensures the best access to it during OCSBC operation.
The following procedure describes an example that provides basic deployment guidelines.
Steps for deploying your system may differ. You may, for example, decide not to use the
Chapter 6
Create and Deploy on Hyper-V®
6-7
Содержание netra X5-2
Страница 101: ...Chapter 7 Create and Deploy on Azure 7 35 ...
Страница 127: ...Figure 11 7 BMC Step 9 10 Click Next after the write operation is complete Chapter 11 Creating a Build Image 11 5 ...
Страница 151: ...Appendix A Acme Packet 6300 6350 Physical Interfaces A 12 ...
Страница 152: ...Note The Quad 10 GbE NIU must go in slot 0 Appendix A Acme Packet 6300 6350 Physical Interfaces A 13 ...


