Cash Register CM 980-SF / 980-F / 960-SF / 962-SF
Olympia 2012
Page 43
All Rights Reserved!
6.4.1.6
Department status
The department status defines whether it concerns a positive or negative department and an itemised or single item
department.
Department type
DP status number
Positive itemised department
00
Positive single item department
01
Negative itemised department (e.g. for deposit refunds)
02
Negative single item department
03
Print the same PLU on a receipt (single receipt department-specific)
06
Print each PLU on a single receipt
07
6.4.2
Programming departments
1.
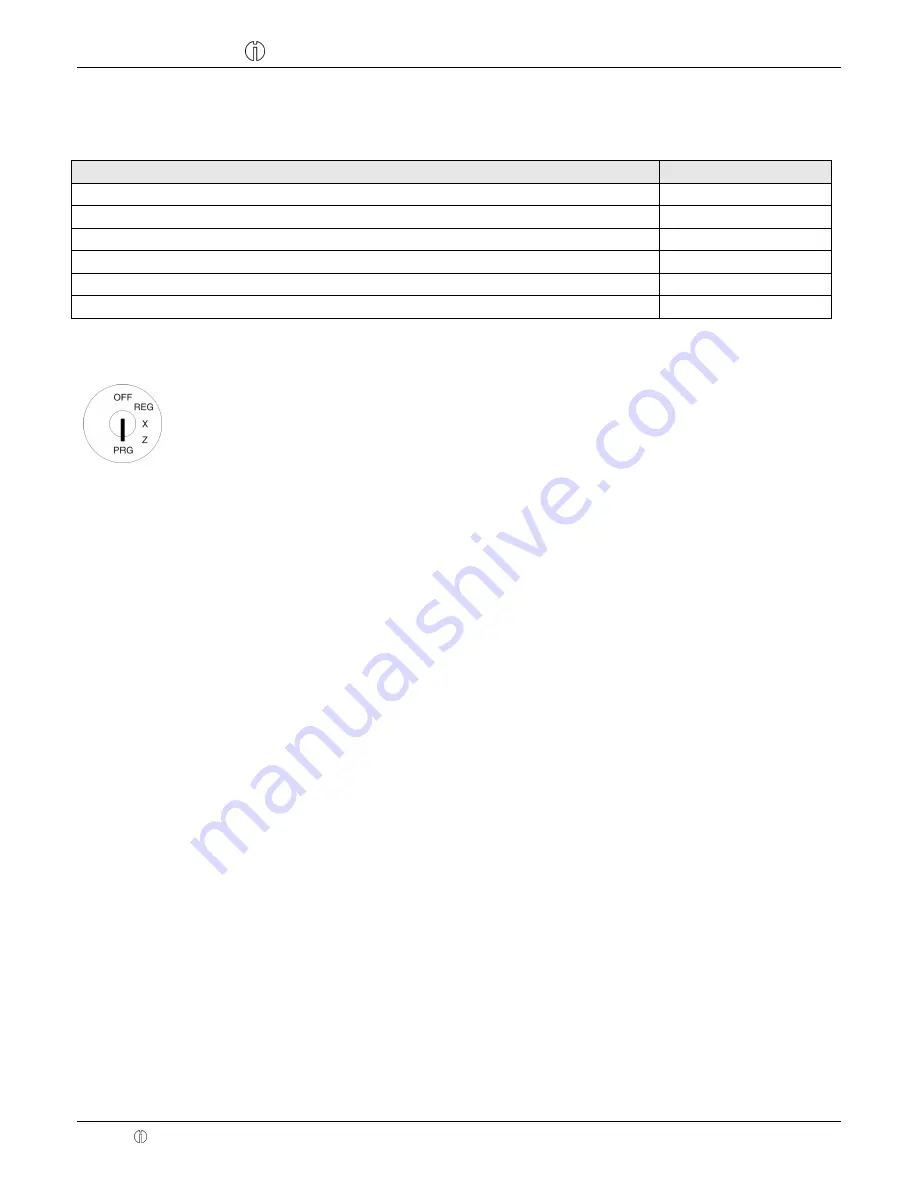
Set the key to PRG
2.
Select
programming number 01
(see Chapter 6.1.2).
3.
Press the
┣CASH┫
key to confirm the input.
Programming department names (option):
4.
Use the
┣↑┫
and
┣↓┫
keys to move to the input area for the department name.
5.
Press the
┣CASH┫
key to confirm the input.
6.
Delete the old department name by pressing the
┣CLR┫
key.
Enter the required text (max. 24 characters) (see Chapter 6.2).
Save each letter after entry by pressing the
┣CASH┫
key!
7.
Press the
┣CASH┫
key to confirm the input.
Programming department fixed price 1 (option):
8.
Use the
┣↑┫
and
┣↓┫
keys to move to the input area for department fixed price 1.
9.
Enter the fixed price 1 (including decimal places and decimal point).
10. Press the
┣CASH┫
key to confirm the input.
The cash register automatically switches to the next programming step.
Programming department fixed price 2 (option):
11. Enter the fixed price 2 (including decimal places and decimal point).
12. Press the
┣CASH┫
key to confirm the input.
The cash register automatically switches to the next programming step.
Assigning a VAT rate:
13. Enter the tax rate group.
14. Press the
┣CASH┫
key to confirm the input.
The cash register automatically switches to the next programming step.
Assigning a department group:
15. Enter the number of the department group.
16. Press the
┣CASH┫
key to confirm the input.
The cash register automatically switches to the next programming step.
- Continued on next page -

